
Crispy Fried Chicken Tenders
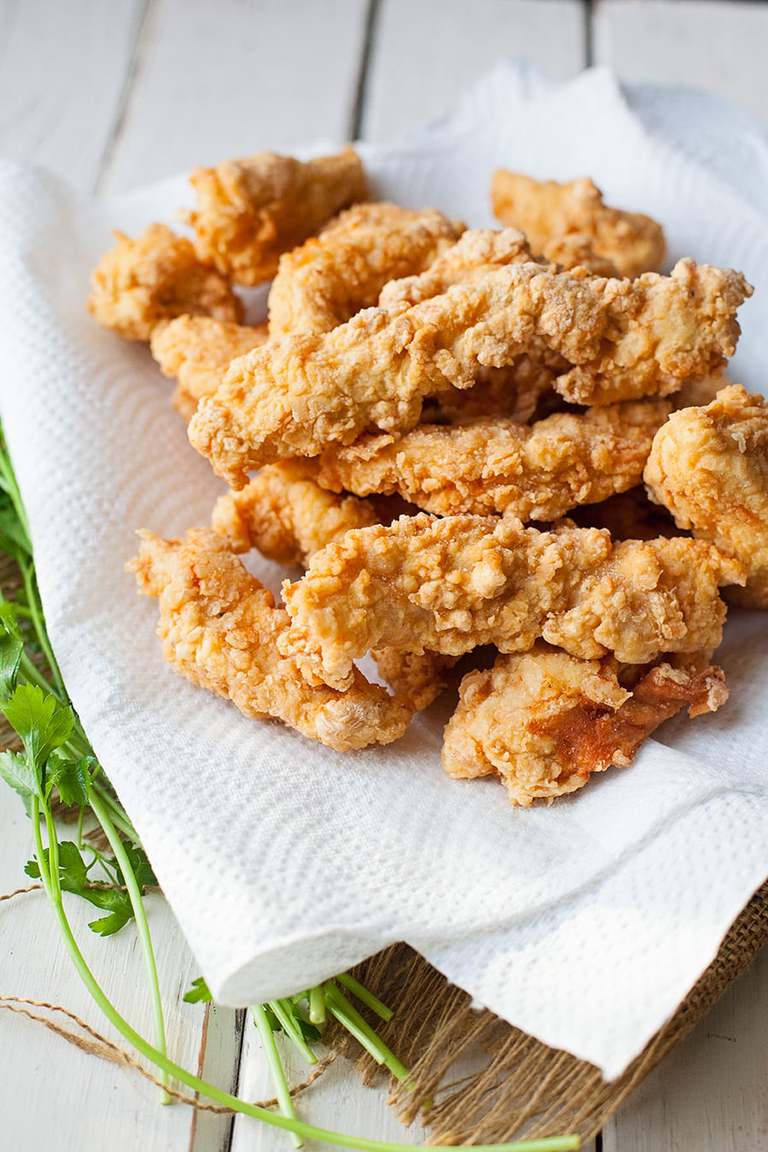
Truly crispy fried chicken tenders are a dinnertime staple you’re whole family will love. Get all my tips for making that crispy crust you crave, seasoning like a pro (and shortcuts if you don’t know how), and fry them up like “cast iron skillet” is your middle name.

Key Points for this Recipe
- Learning to fry is tricky at first. If you want to use an electric skillet to keep the heat even, you can do that. Otherwise cast iron will give you the most even heat.
- Expect that you may get the oil too hot and burn your chicken tenders or too cool and cause the breading to fall off. This happens as you’re learning. Adjust your heat up or down as needed.
- Make sure your flour is well seasoned. You can also just season the chicken directly. You’ll need more seasoning than you think you will for the flavor to carry over to the final product.
- Consider adding garlic powder, onion powder, or other seasonings to the flour. 1-2 teaspoons should do it, or to taste.
- Press the breading on your chicken tenders very firmly and let them sit 5 minutes before frying. This helps the breading really bond with the chicken.
- I like to use chicken breasts sliced in to strips as my “tenders” instead of actual tenders because of the tough tendon that runs through them.
- Refined coconut oil is excellent for frying if you don’t want to use vegetable oil.
How to store leftover chicken tenders
Store leftovers in the fridge in an air tight container for up to three days.
Seasoning options
Try these as cajun chicken or Nashville hot versions.
How to know if chicken tenders are done
Cook your tenders to an internal temperature of 165 f, and there should be no pink inside when you cut them open. You can use a meat thermometer to check the temperature if you are unsure.
Watch me make the full recipe on YouTube
Add a skillet of cornbread and you’ll be all set! You can learn how to make cornbread here if you don’t know how or get brave and learn how to fry bone-in buttermilk fried chicken.
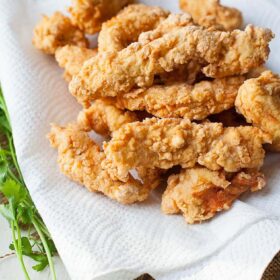
Crispy Fried Chicken Tenders
Ingredients
- 1-2 pounds chicken tenders or 2 large boneless skinless chicken breasts sliced into 1-inch thick strips
- 1 1/2 cups all purpose flour
- 3/4 teaspoon salt
- 1/2 teaspoon black pepper
- 1 egg beaten with 2 tablespoons water
- vegetable oil for frying
Instructions
- Fill a 9-inch cast iron or standard skillet with about 2 inches of oil. Start heating it over medium-high heat while you bread the chicken. (Keep an eye on it!)
- In a large bowl, mix the flour, salt and pepper.
- In another large bowl, beat the egg and water
- Dredge the chicken in the flour, coating well. Shake off excess flour and dip in the egg, the back in the flour.
- Set the chicken to the side to rest for about 5 minutes. (This helps the coating stick better)
- Check your oil temperature with a candy thermometer if necessary (you should be around 365-375 degrees) or drop in a little bit of flour–if it sizzles immediately, you can add one piece of chicken.
- If the chicken sizzles, add about 5 pieces at a time and cook until golden brown on that side–about 8 to 10 minutes or so.
- Turn, and repeat until all brown.
- Cook the rest of the chicken in batches.
- Transfer to a paper towel lined plate and sprinkle with a little more salt if needed.





OK stupid question. Can I use self-rising flour? It’s what I have and I want to try these.
Sure Sarah. It shouldn’t matter too much in this case. –Rachel
Thank you for this recipe and step by step instructions! Definitely think letting the chicken sit for 5 minutes before frying helps keep the flour to stick! Chicken came out perfectly and my little one said they were his most favorite!!
Can you deep fry instead?
Of course!
@Rachel Ballard, thank you so much for this wonderful recipe,I am 59 years old and that was the best chicken I’ve ever cooked my husband loved it and he really don’t care for chicken, thank you so much, sincerely Sallie
That’s wonderful Sallie! Congratulations. 🙂 –Rachel
I just want you to know that your recipe is awesome!! The tenders came out great ! It’s my first time making them. My son and I enjoyed them very much. Stay safe and thank you for a recipe that I will use again and again.
Wonderful Nancy! It’s your recipe now! ❤️ –Rachel
I cook often and I have to say frying plain chicken like this is the best!!! Just flour and it gives you the perfect tenders
Simple is often the best! I agree Isabella. –Rachel
Hi! Thank-you for the awesome recipe. I hate cooking, but really enjoyed how much my family loved this meal!!
Oh Beth, you know that makes me super happy and I hope that someday you can love cooking. I built this site for you! With the right recipes I know you can enjoy it more and more. All the best to you! –Rachel
I used a different pan so I don’t know if that affected it I cooked them ab 8 minutes and 1 minute or so after I turned them and most of them came out burnt I’m not sure if my oil was too hot or not but overall the chicken was still delicious!
Hey Kylie, your pan quality certainly does effect frying. In fact I’d argue that it’ the MOST important part of the process. So if you pulled out a Walmart cheap-o that can really effect how well you pan regulates the heat. Your oil was most certainly too hot and/or your pan couldn’t spread the heat out well enough for even cooking. I’d recommend trying again, turning the heat down, and or getting a new pan. –Rachel
First attempt – not bad, a solid B, I think.
4 thermometers in the drawer and none that register anything over 300. I added a little cayenne, but it still needed the salt after frying. So, it didn’t look as crunchy as your photo, but tasted great. Kentucky Kernal and a new thermometer next time. Your psychological preparation at the beginning was a great help!
A solid B is a great start Mark. 🙂 Your heat likely needed to be a touch higher for that super crispy outside (too low and the breading sweats) but you’ll nail it next time. Don’t give up! –Rachel
Very tasty!! I cut the chicken into chunks and also added Cayenne, smoked paprika, garlic powder and onion powder to the flour – soo good!! What a great recipe, also pretty new to frying but it worked out! Thanks Rachel 🙂
Stay safe!!
Thanks Paul! I’m so glad! You be safe as well 🙂 –Rachel
I made these chicken strips following your recipe and they cane out perfect! My family loved them. I am learning how to cook for my family and I was so proud of myself thank you!
I am so so so proud of you too JoAnne! When this whole mess is over, just keep cooking!! Your family will thank you for it later. Way to go! –Rachel