
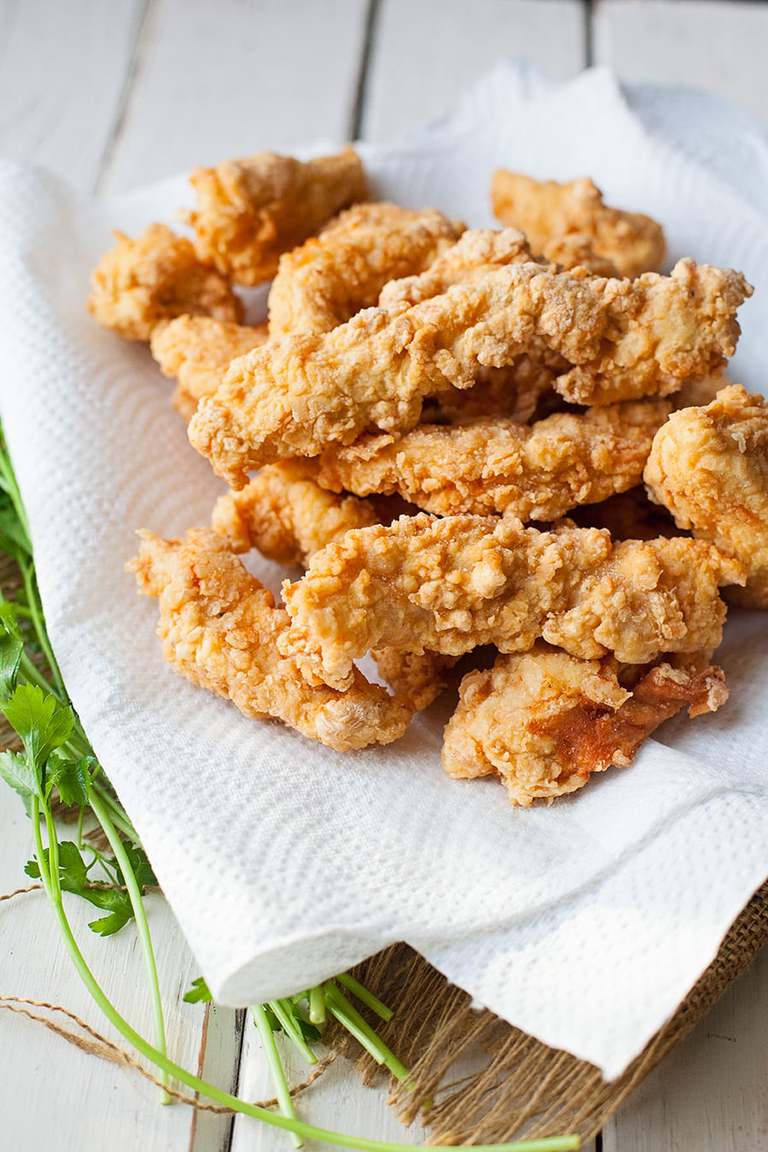
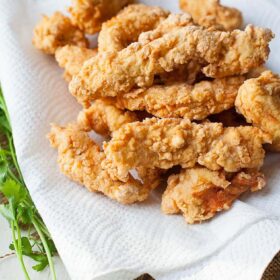
Crispy Fried Chicken Tenders
Truly crispy fried chicken tenders are a dinnertime staple you’re whole family will love. Get all my tips for making that crispy crust you crave, seasoning like a pro (and shortcuts if you don’t know how), and fry them up like “cast iron skillet” is your middle name.
I’m not going to lie or sugar coat this. If you haven’t ever fried anything, you’ll more than likely mess this up.
Because there’s some sort of rule that says that if you don’t get your first cast iron skillet by the age of 5, you won’t be able to hack it as an adult. No–frying takes practice. Lots of it.
Sometimes you’ll burn things, sometimes you’ll cook it too low and all the breading will fall off. Sometimes it will be golden on the outside and raw in the middle.
You just can’t give up. If you need to, use an electric skillet where you can set the heat or a fryer for safety. Please don’t burn your house down.
Don’t walk away from it. Don’t do laundry. Don’t take a nap. (I know a friend who has!)
My crispy fried chicken tenders don’t have any buttermilk listed, but if you want to wet yours in some before you drop them in the first round of flour, you can do that. I just didn’t here because I get the best crust with egg and flour.
No matter what–once you get the hang of this, you can FRY ANYTHING.
You can make your family the most unhealthy ones on the block. I mean–think about it: donuts, pickles, Twinkies, funnel cakes. Oh man. Funnel cakes. I’m just looking out for your best interests here.
I am your enabler.
Tips for the best crispy fried chicken tenders
-Make sure your flour is well seasoned. If you aren’t confident in that area, I’ve given you measurements for salt and pepper in the recipe.
-Use a good skillet that controls heat well. Of course I’m going to recommend cast iron.
-Press the breading on your chicken tenders really firmly, then let them sit for a couple of minutes before you fry them. This makes the breading soft of gooey and it crisps up even better.
Watch me make the full recipe on YouTube
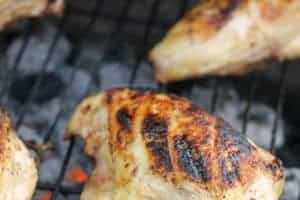
Add a skillet of cornbread and you’ll be all set! You can learn how to make cornbread here if you don’t know how or get brave and learn how to fry bone-in buttermilk fried chicken.
Crispy Fried Chicken Tenders
Ingredients
- 1-2 pounds chicken tenders or 2 large boneless skinless chicken breasts sliced into 1-inch thick strips
- 1 1/2 cups all purpose flour
- 3/4 teaspoon salt
- 1/2 teaspoon black pepper
- 1 egg beaten with 2 tablespoons water
- vegetable oil for frying
Instructions
- Fill a 9-inch cast iron or standard skillet with about 2 inches of oil. Start heating it over medium-high heat while you bread the chicken. (Keep an eye on it!)
- In a large bowl, mix the flour, salt and pepper.
- In another large bowl, beat the egg and water
- Dredge the chicken in the flour, coating well. Shake off excess flour and dip in the egg, the back in the flour.
- Set the chicken to the side to rest for about 5 minutes. (This helps the coating stick better)
- Check your oil temperature with a candy thermometer if necessary (you should be around 365-375 degrees) or drop in a little bit of flour–if it sizzles immediately, you can add one piece of chicken.
- If the chicken sizzles, add about 5 pieces at a time and cook until golden brown on that side–about 8 to 10 minutes or so.
- Turn, and repeat until all brown.
- Cook the rest of the chicken in batches.
- Transfer to a paper towel lined plate and sprinkle with a little more salt if needed.


Loved it. I very rarely fry anything because I don’t like the smell in my house but I decided to try this recipe out. I added extra spices (onion powder, garlic and cumin) but still really couldn’t taste anything. The texture was so perfect that I will try this again, but I will amp up the spices. The only thing I didn’t do based on others reviews, was to transfer to a paper towel. I transferred the tenders to a wire rack over a paper towel. The tenders went great with Sweet Baby Ray’s Honey mustard dipping sauce. I stunk up my house though. I often plug appliances outside to avoid the heat or the smell (turkey or a roast in a Nesco plugged into an outside outlet) and if I make this again, I will plug a hot plate outside for the frying pan and cook it outside.
I am using a deep fryer, will that change the amount of time to cook?
Hi Jeanie, you know it shouldn’t. You’d just want to do a total cook time instead of a time per side. Otherwise you will be just fine. –Rachel
Hi guys, just to bump into your conversation here ?, I use a deep fryer when I make these (made them just today, in fact), and the total fry time for me is always 6-8 minutes MAX! And I put quite a few in at once, I use a Fry Daddy that has a filtered lid (think it’s called a Fry Daddy Elite). This recipe is great, and always turns out wonderfully! Just bear in mind, if you use tenders from the store and some of them are on the thicker side, for me, it adds about 2 minutes to the total fry time (for a total time of 6 to 8 minutes max), and I always check with a meat thermometer that they’ve reached 165 degrees. Hope this helps! They come out wonderfully, every time. ???
Rachel, what do you fix with the chicken strips or tenders???
We have green beans and mashed potatoes or mac and cheese with ours sometimes Stella, or we’ll put chopped chicken over salad for “fried chicken tender salads”. –Rachel
Fantastic recipe! I used cajun spice to season the flour and followed the recipe. Beautifully crisp and still moist in the centre. My family loved how it stayed crispy, even the next day. Thank you. PS don’t even reply to nasty comments. Not worth your time.
LOL thanks Sarah 😉 I’m so glad you liked them! And I try to avoid the haters–sometimes you just this burning urge to put them in their place though! –Rachel
I have never fried anything in my life and this was so easy and tasty! I added garlic powder, onion powder, and paprika and it was great!
Way to go Amanda! You’ll be a frying machine from here on! –Rachel
just made it and they were really crispy and juicy that recipe his engraved in my head thank you
I’m so glad you enjoyed them Dan! Here’s to many more days of crispy chicken! –Rachel
Why are we seasoning the flour and not the egg wash ?
Great recipe….even this caveman can do it
Hey Chris, well mostly because dry ingredients in to dry will help the seasoning stick more efficiently. You can put it in the egg wash, but you’re going to have to whisk that salt in and then wait for it to dissolve fully (if it even will) and then the pepper will float on top of the eggs and just run off when we dip the chicken. Dry in to dry works a ton better.–Rachel
Can I use self rising flour
Yes you sure can if that’s what you have. It won’t hurt a thing. –Rachel
I made these strips and they were exactly like yours. Simple recipe. It takes a little more time than one might anticipate due to having to prepare in batches (which is essential to keep the oil at the right temperature as it cools slightly after each set of chicken goes in).
I’m interested to maybe try that seasoned flour. The seasoning you suggest is very subtle- ideal if you want to get all your flavoring from a sort of dipping sauce (like in your other tender recipe) but a little light on taste if eaten just alone. I experimented with putting in more spices after my first two test tenders and there’s loads of room to play there which could be fun.
I’m quite proud of myself- I’ve mutilated breaded chicken so many times before but your video and instructions made it easy. Much obliged!
Yes Adam it is subtle. Just a good base for whatever you may want to do with them. I do love seasoned flour though–it is a tad stronger in flavor than my mix, but not a ton. I’m very proud of you as well. You did it! No more mutilated chicken! –Rachel
They can out perfect! A few things, I added garlic powder, paprika and parsley and also, I love that at the top you warned people, if they’re new to frying, they’ll mess up. I can’t tell you how many times I’ve destroyed chicken strips and cried about it. Guess it must be a beginners thing huh? This is the first time I haven’t decimated the chicken, thank you!
You know what I love Raechel? I love that you read the blog post! Hahahahaha!!! Frying really is just practice. I’ve been at it for 20 years and it’s taken all of that time to get good at it. Thankfully, we don’t fry a ton around here but when we do I can handle it. 🙂 You will too! I’m so glad you enjoyed the chicken and your adjustments sound great. –Rachel