The best spatchcock turkey with apple cider maple glaze
Spatchcock a turkey and stick ‘er in the oven. She’ll roast in half the time of a regular whole bird and be juicy if you use these easy tips. Plus, the sauce. It will take a classic baked centerpiece to a whole new level.
Jump to Recipe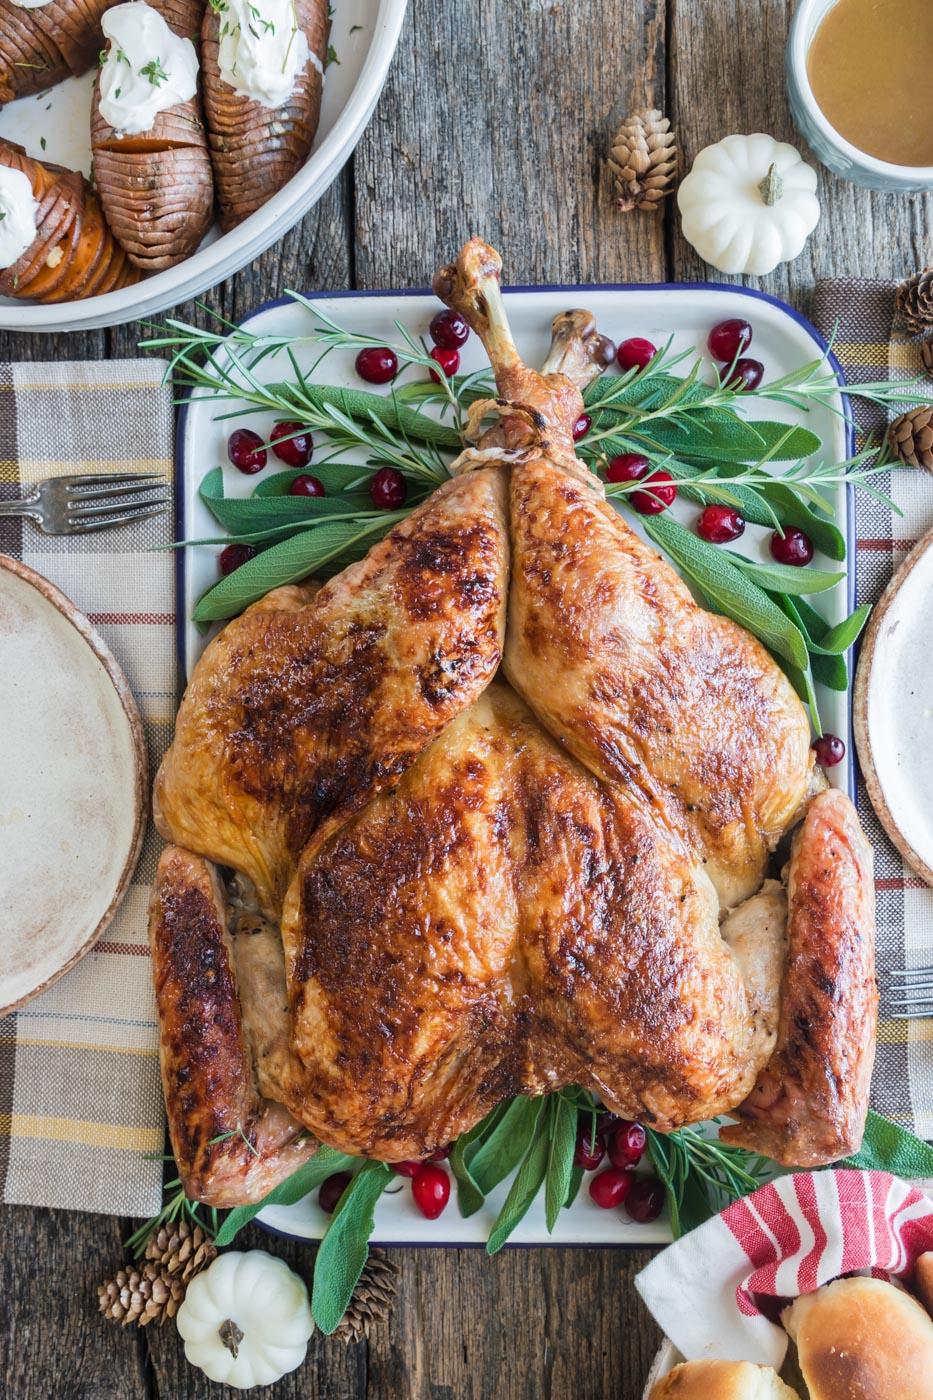
Ya’ know how oven roasted turkey demands gravy to cover up the dryness?
We all know why gravy was invented.
And I know that you know that roasting a whole turkey is blazing scary to do and robs you of valuable oven space for half a day.
So you’re going to discover two things here: 1) how to bake a 14 pound bone-in turkey in just 2-3 hours, not 6 that’s juicy when you’re done.
And 2) how to make a crazy tangy-sweet apple cider and maple syrup glaze and sauce that will make this turkey taste like anything other than an oven bird.
What is a spatchcock turkey?
Spatchcock refers to the way in which a bird is butchered. A spatchcock turkey is one whose backbone is removed, allowing the bird to lay flat.
When compared to a classic preparation, this method has several benefits.
It allows for quicker cook time, ensures that a greater percentage of the skin gets nice and crispy, and allows for more consistent cooking throughout.
How to choose a turkey with the best taste and quality
As always, I recommend buying a local, pasture raised bird but those suckers are expensive.
You can often find such products at Whole Foods, but check out your local farmers market and/or Facebook groups in order to cut costs and support local businesses.
A note on store bought poultry – many labels read “hormone free” and/or “steroid free”. Such labels carry no weight and have been banned for poultry for over 60 years. They are purely a marketing gimmick so don’t pay more for that label.
How to spatchcock a 14 pound turkey
Spatchcocking a turkey might sound intimidating, but it’s really quite simple! Here is a step-by-step guide:
What you will need:
- Large cutting surface
- Paper towels
- Kitchen shears or a sharp boning knife
- Meat thermometer for baking
The steps
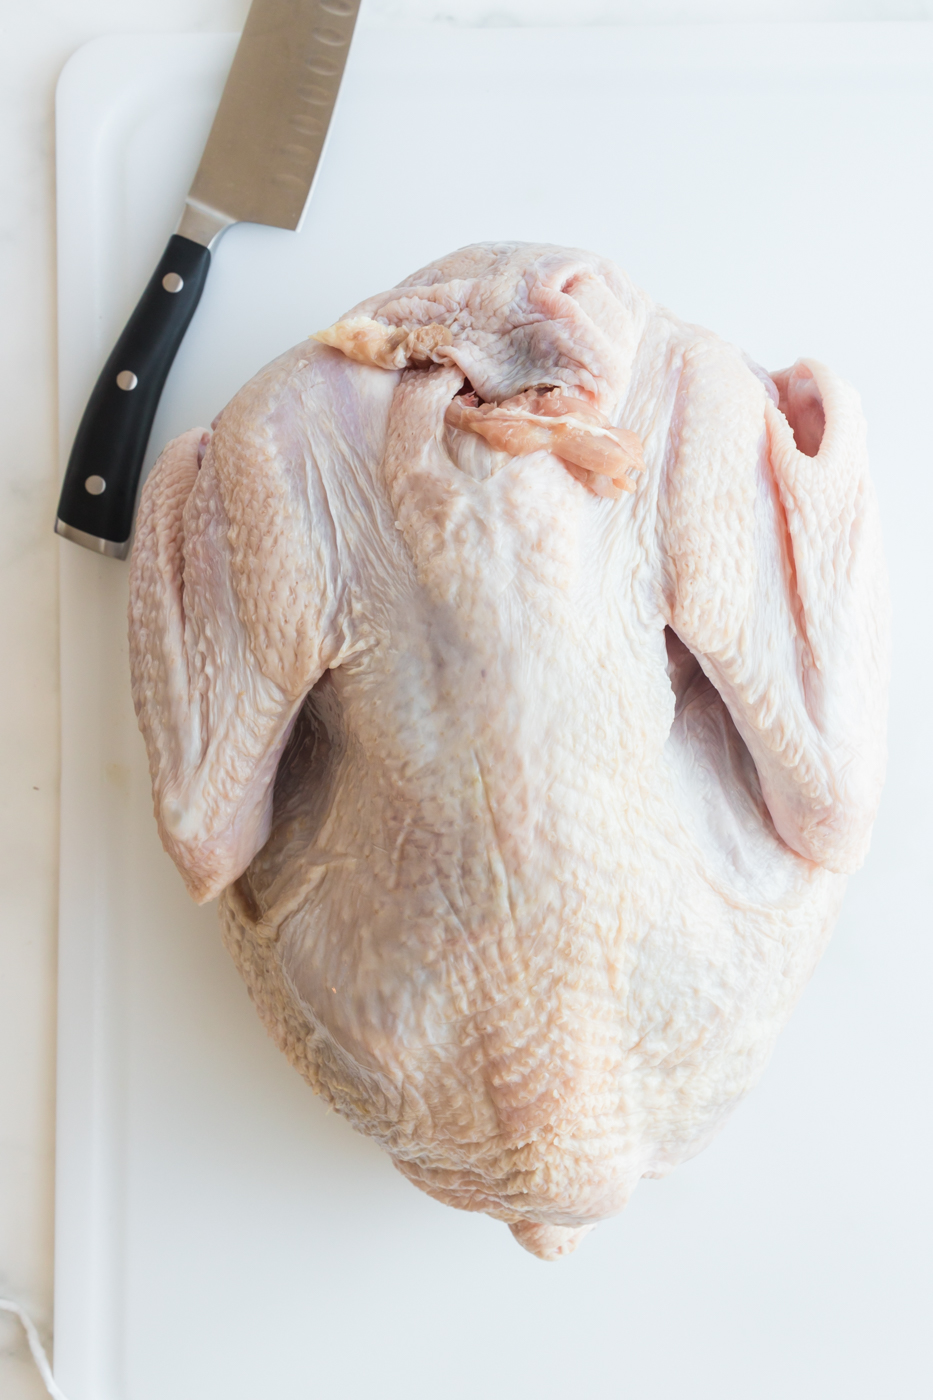
- Place your turkey on a large cutting surface, breast side down.
- Dry the turkey with paper towels so your knife doesn’t slip around too much. You can also put a couple of paper towels under your turkey to stabilize it.
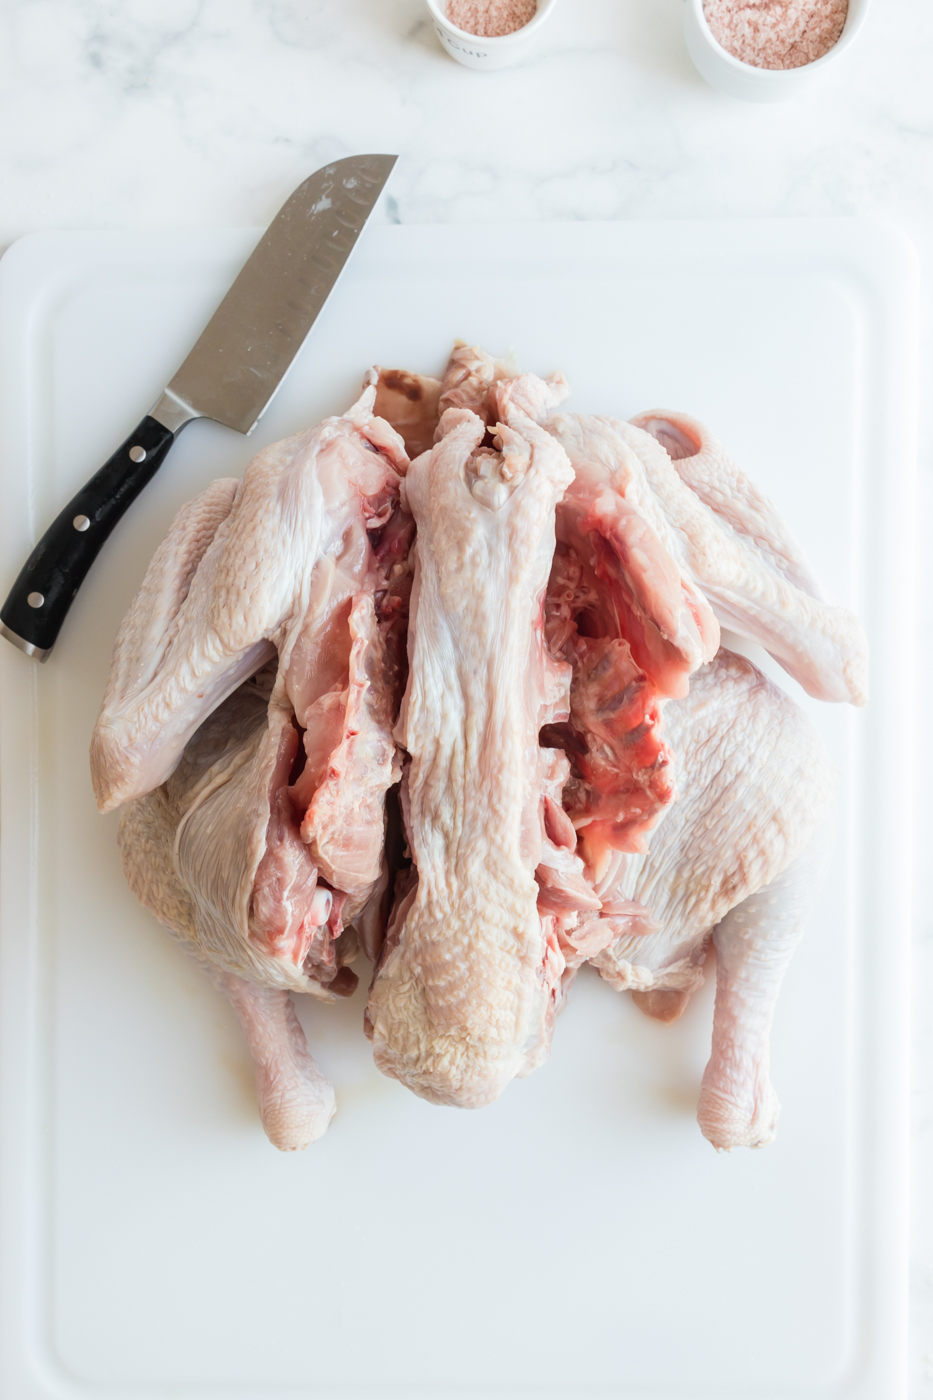
- Using your shears or boning knife, cut along one side of the backbone of the turkey, starting at the tail end. Repeat on the other side, freeing up the backbone and allowing you to remove it. Be so careful here and don’t cut toward yourself.
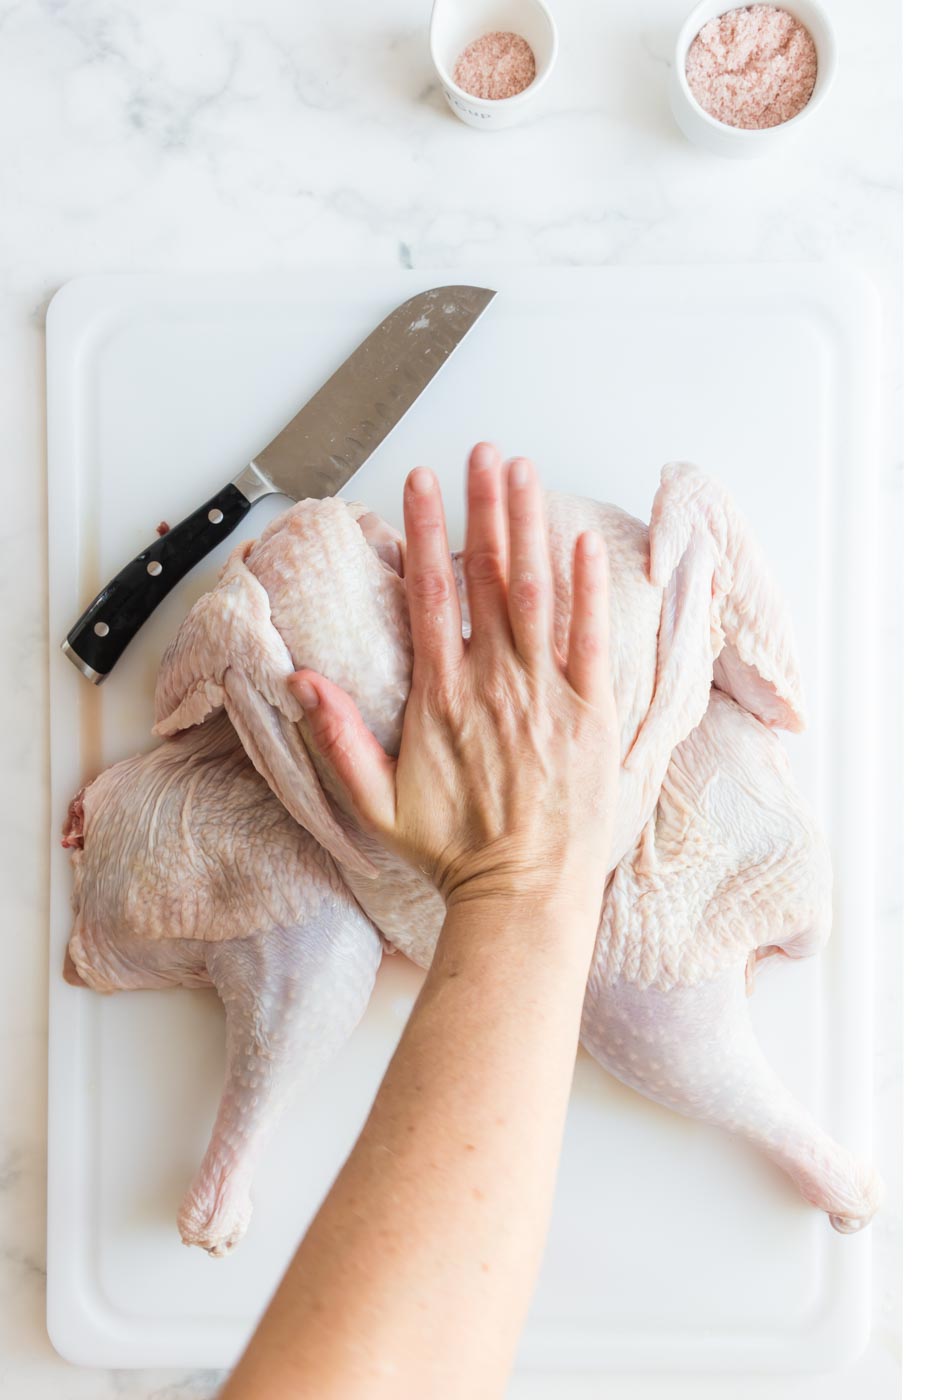
- Turn your turkey over so that it is cut-side down and press your hand right in the center of the breast bone. You’ll hear a crack as it gives way, and you’re done with that part!
Season the turkey
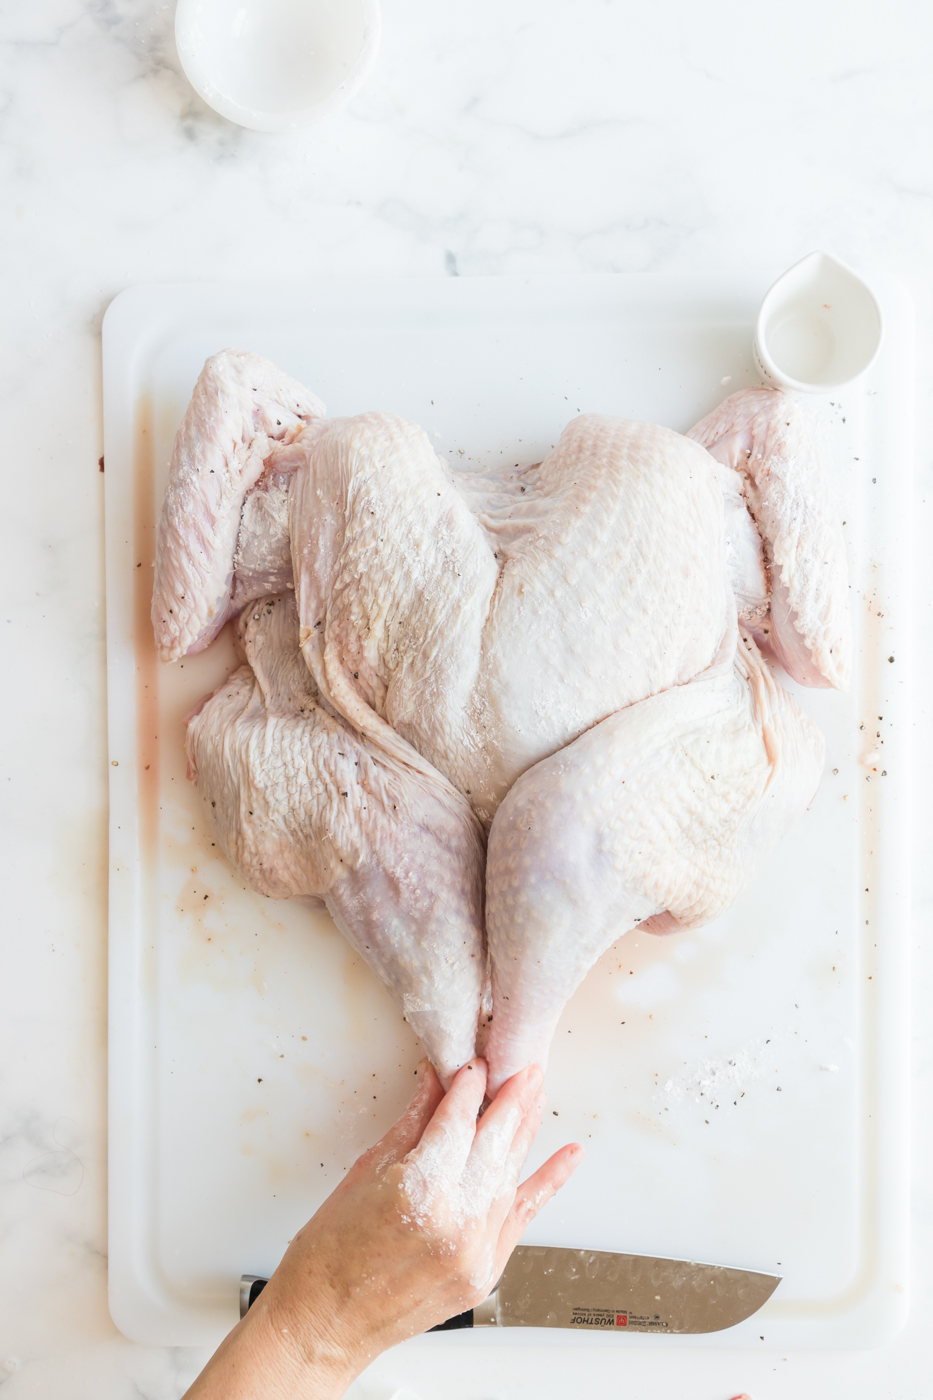
Now that the turkey is flat, use your hand to loosen the skin.
Stick your hand under the breast area first then move to the thighs and gently spread your fingers to loosen the skin but don’t tear it.
Get a tablespoon of pre-measured salt (because this is no time to touch a bunch of stuff with your dirty hands). Spread that salt evenly under the skin of the breasts and thighs.
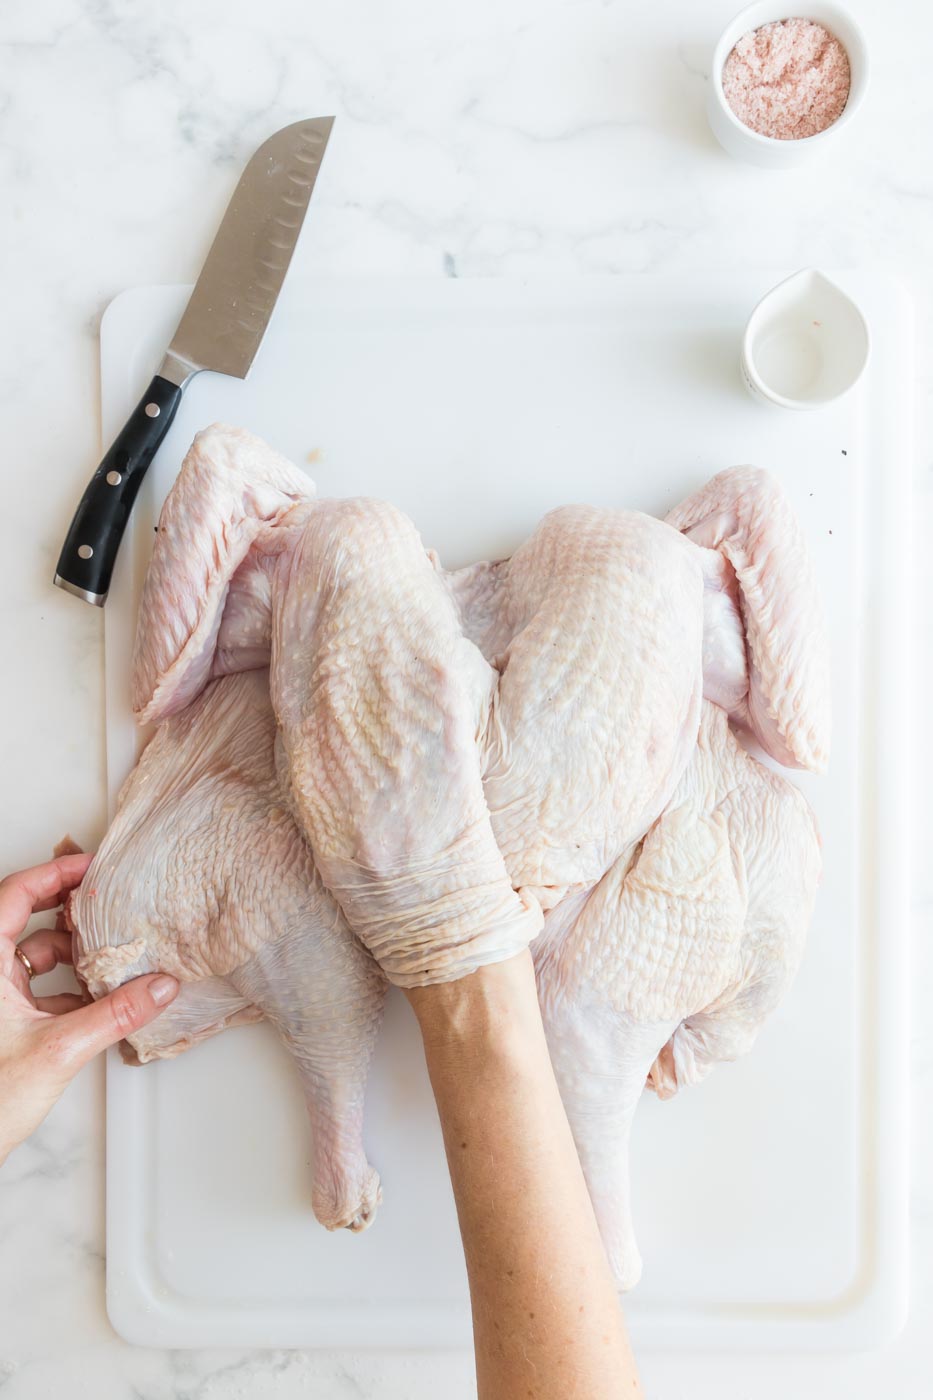
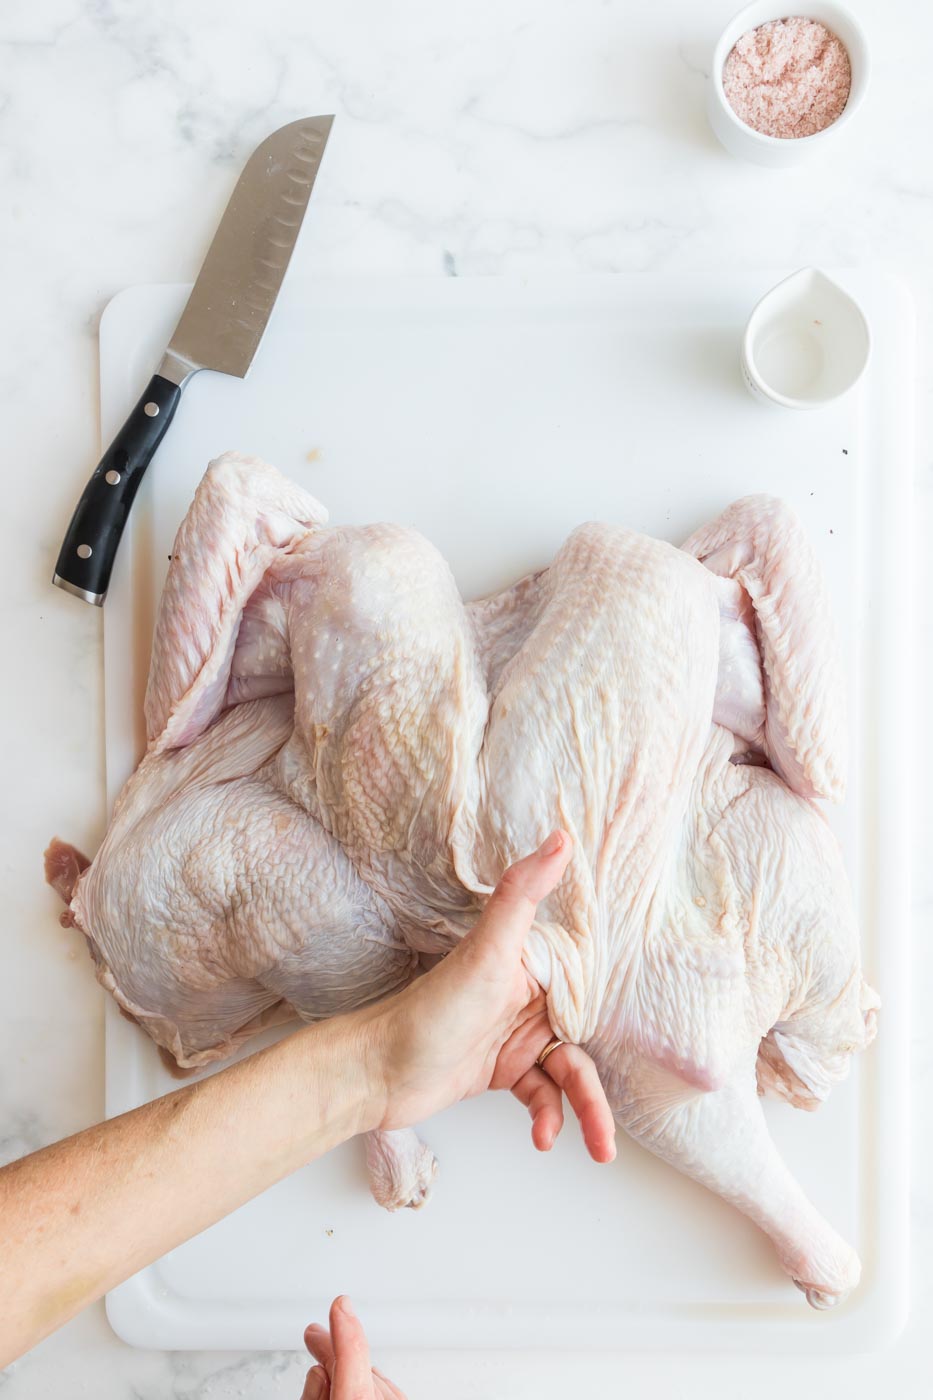
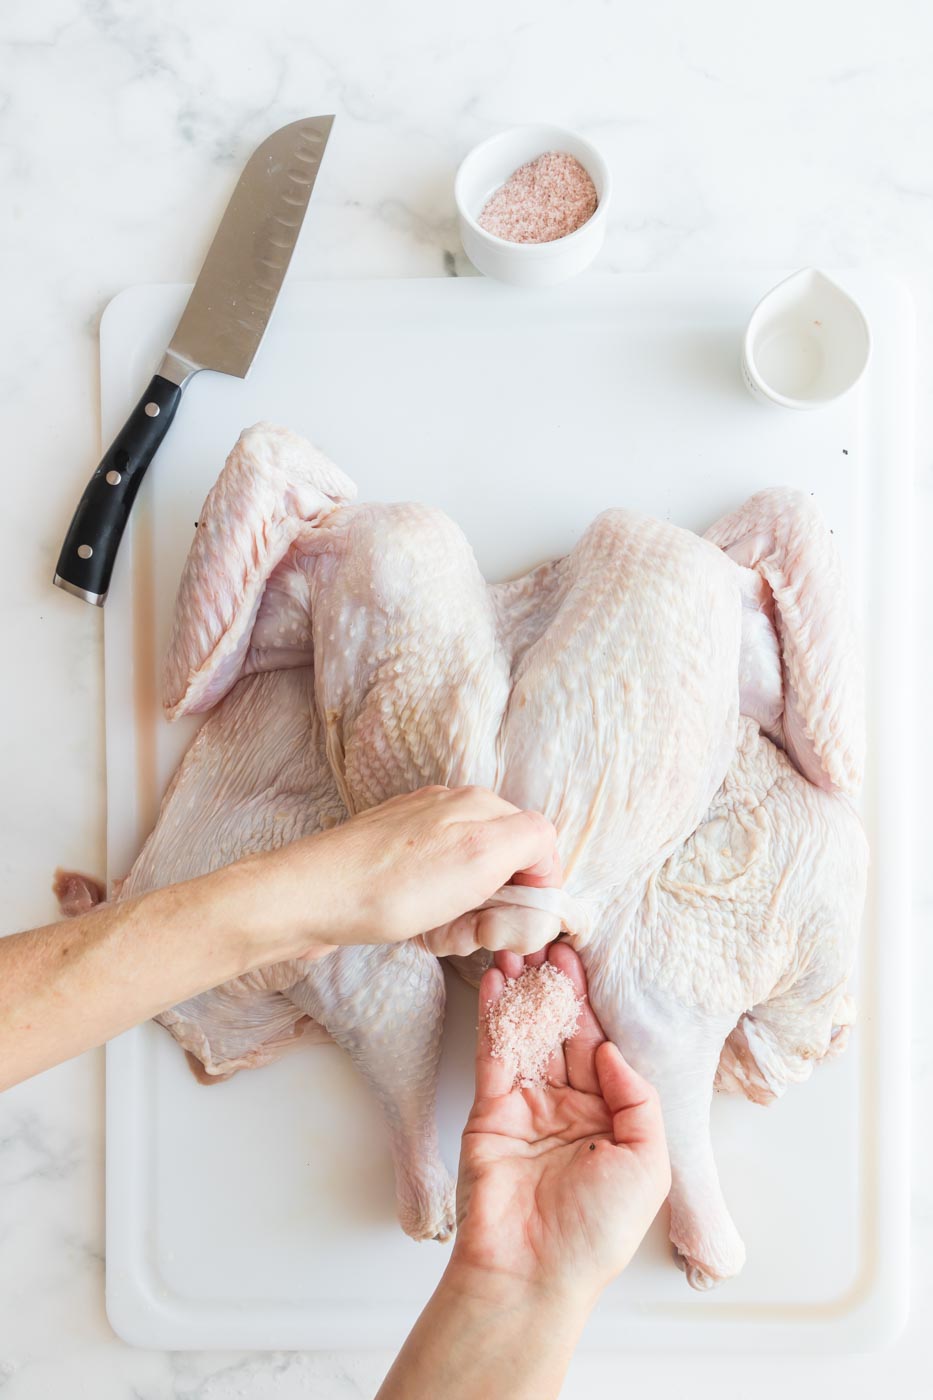
Make a golden crust with a baking powder rub
In a bowl, mix baking powder, salt and pepper and rub all over the outside skin of the turkey. This will help dry out the skin and make a crispier, more golden crust after baking.
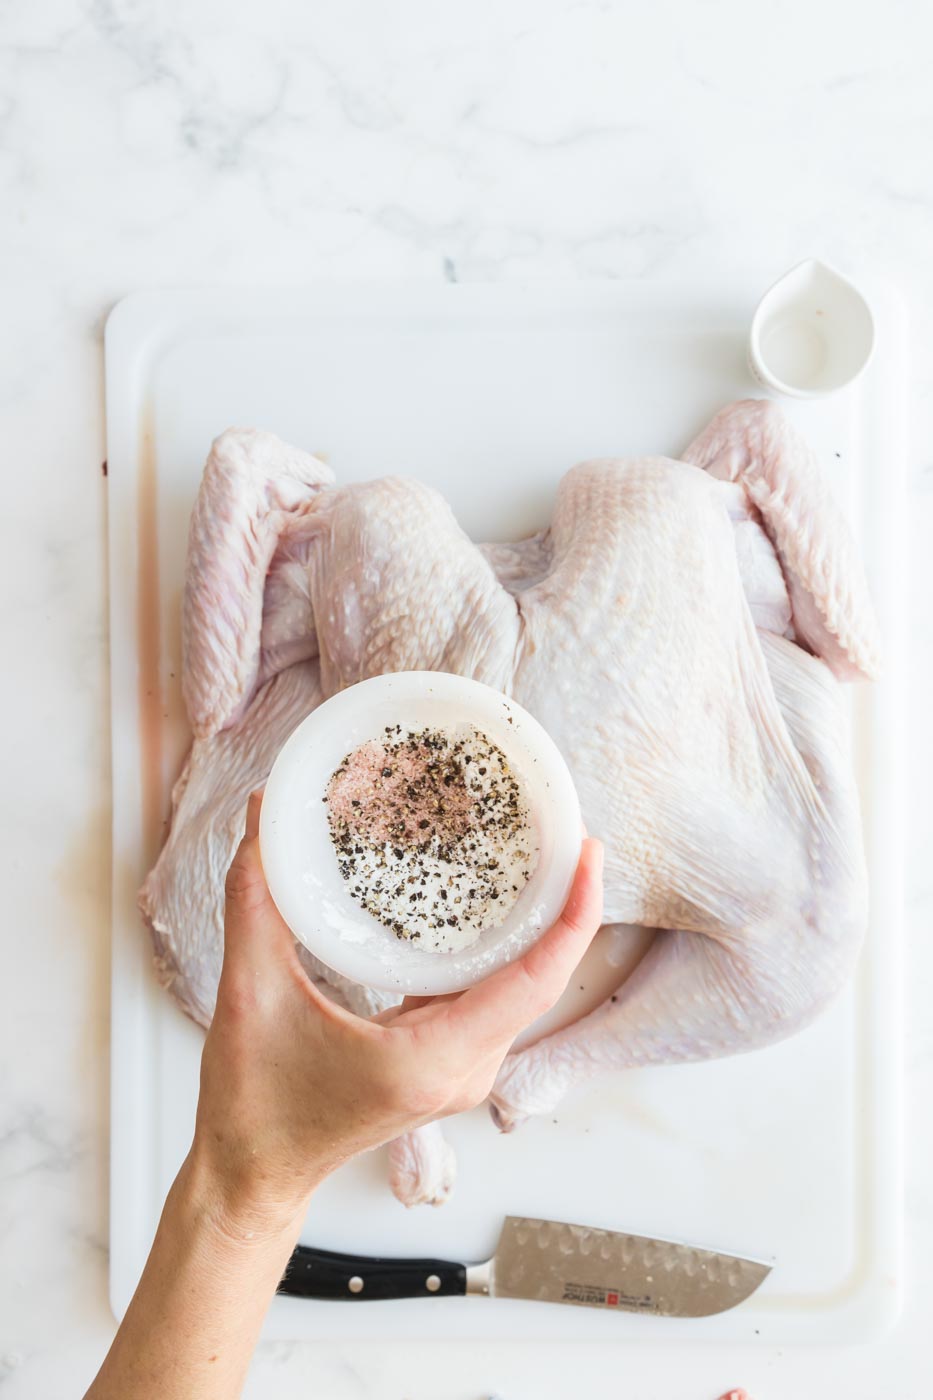
How to truss a spatchcock turkey
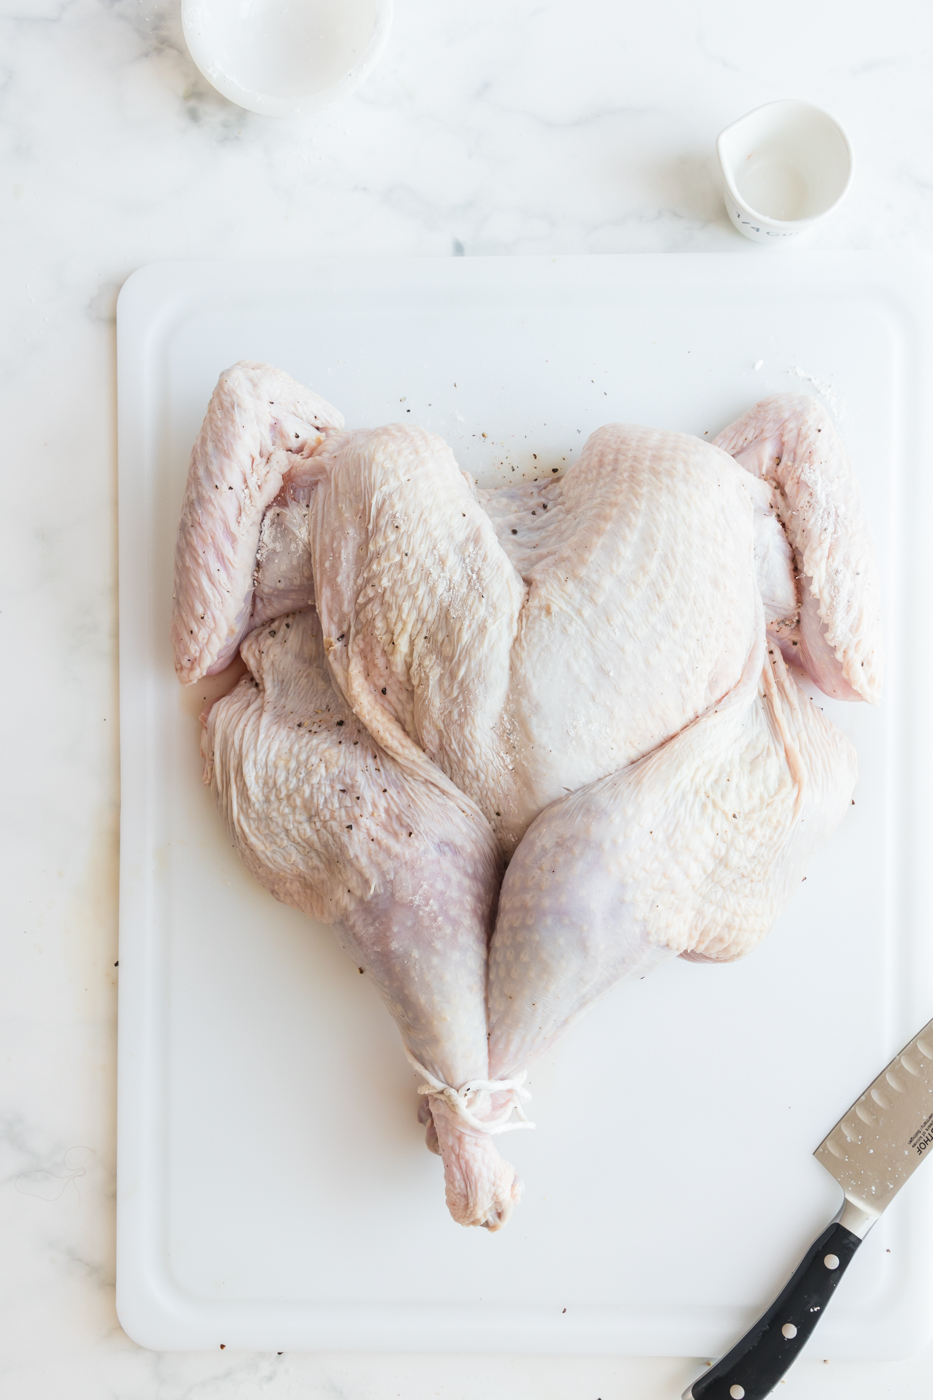
Before you bake your turkey, you’ll need to truss it. Trussing brings the legs and thighs closer to the breasts to prevent the breast meat from drying out.
Simply push the legs and thighs up onto the breast meat and use twine to tie the legs together.
Does spatchcocking a turkey reduce cooking time?
One benefit of spatchcocking a turkey is that your cook time will nearly be cut in half. Why? Because the whole bird is open to the heat of the oven allowing more air to circulate around parts that are hidden using a traditional method.
This recipe is a “low and slow version”. If you are looking to get turkey on the table faster, kick the oven up to 375 degrees F and cook for 1 to 1.25 hours.
Take a look at this recipe for an expedited take.
Should you brine a turkey before you spatchcock it?
You can water brine your turkey here, but it’s not necessary. A good salt and pepper before refrigerating overnight should do just fine.
If you do water brine your turkey, make sure to dry it thoroughly before carrying on with the rest of the recipe.
After dry (or water) brining your turkey, go ahead and spatchcock the bird. Once butchered, you can let the turkey rest in the fridge uncovered to dry the skin before adding the baking powder blend but I didn’t air dry mine.
Should I spatchcock my turkey the night before?
You absolutely can. Put it on your roasting pan if you have room and you’ll be that much further along for tomorrow. You can leave it uncovered in the fridge if you want to–it will help the skin crisp further in the oven.
How long should I cook my spatchcock turkey?
For this recipe, set your oven to 275 degrees F and roast for 2.5 to 3 hours or until a meat thermometer reads 170-175 degrees F at the thigh.
You will need ~14 minutes per pound at this temperature. If you have a larger or smaller bird, adjust accordingly.
Don’t skip the glaze
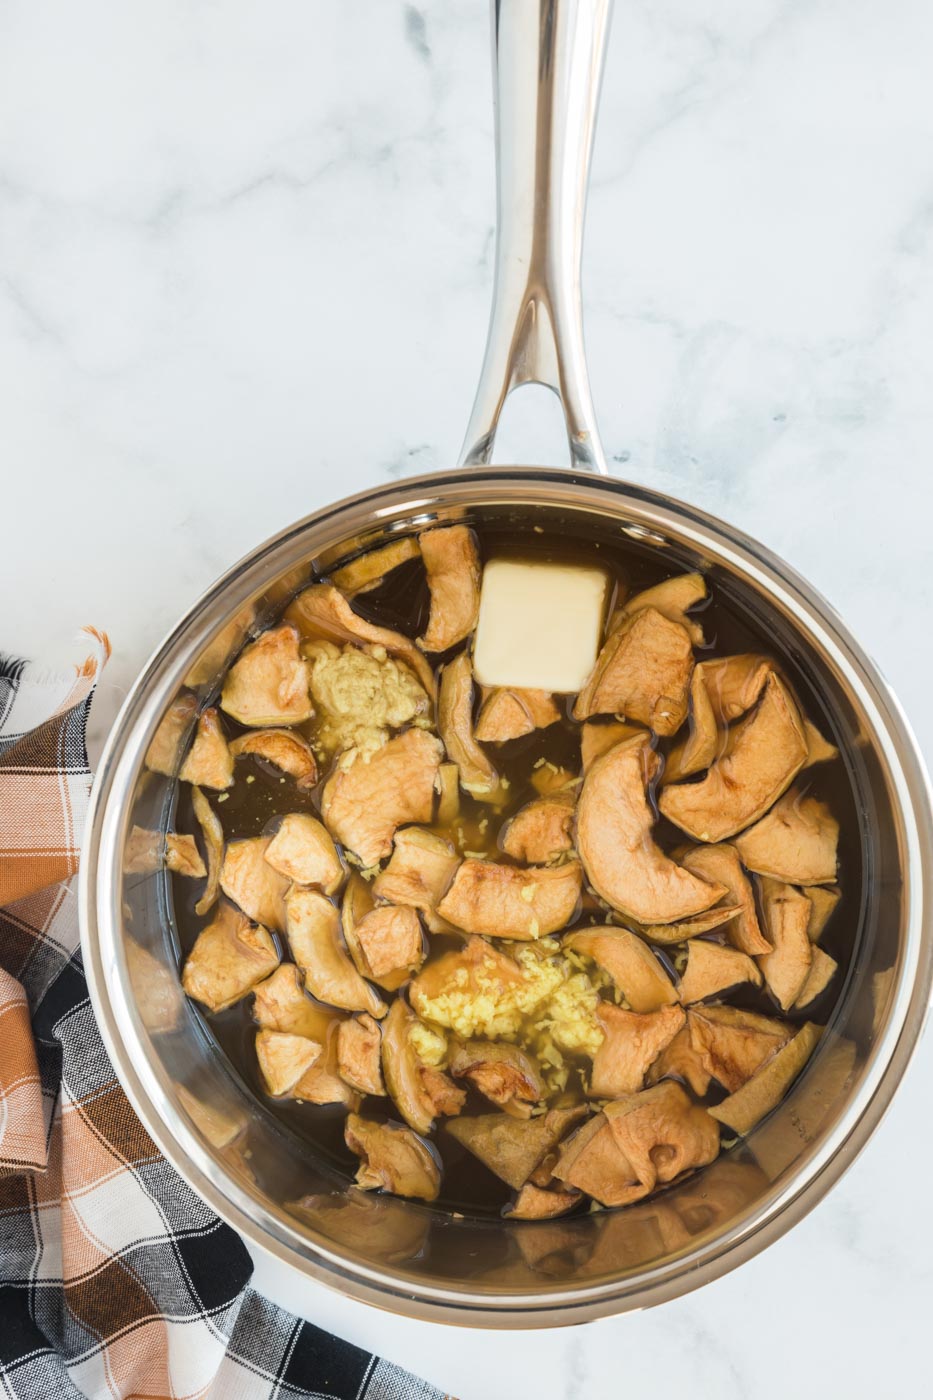
The glaze for this turkey is delicious and I think it’s a nice change from just having gravy. You can certainly make gravy from any drippings you have after baking but this sauce is one part not to skip.
Make sure to assemble it while the turkey roasts (or do it a few days ahead of time and keep it in the fridge).
How to carve a spatchcock turkey
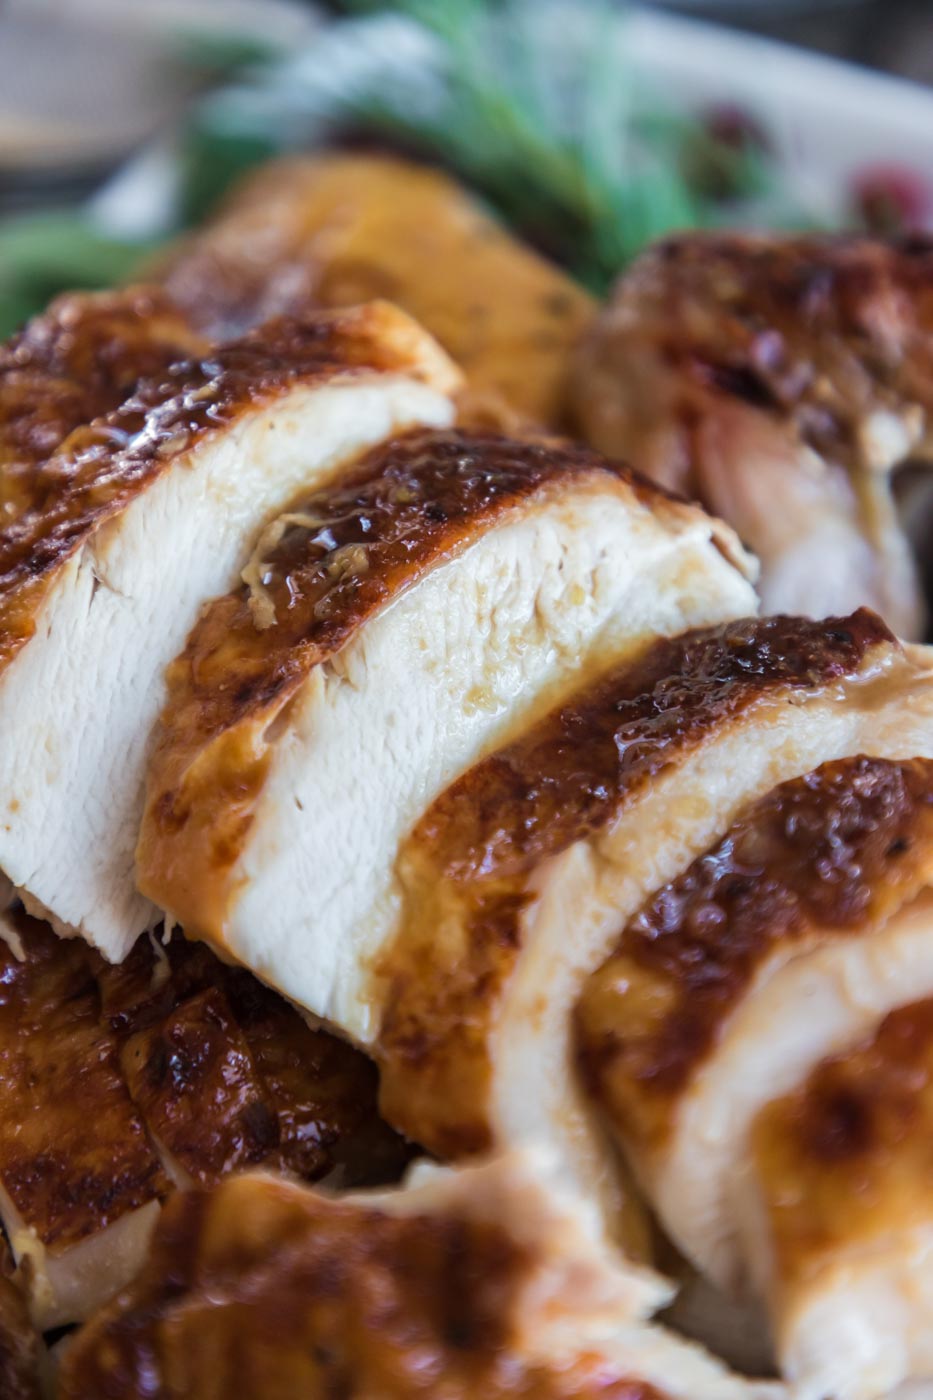
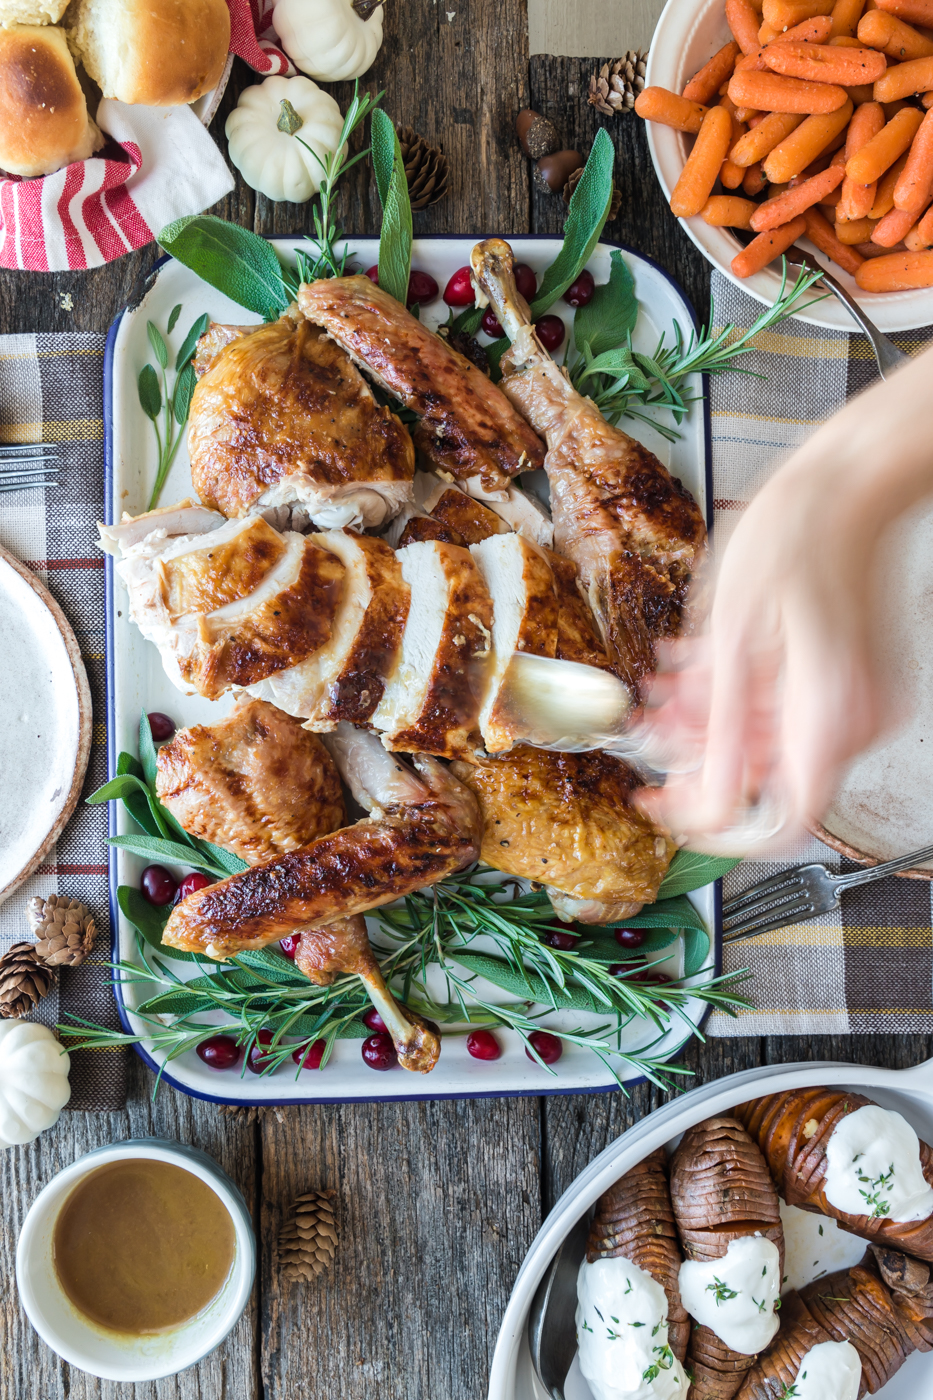
Before carving your turkey, allow it to rest for at least 20 minutes. This will help maintain the juiciness of the bird.
To carve, use a sharp knife to cut into the skin in front of the thigh. When you locate the joint, cut through it, removing the leg. Separate the thigh from the leg at the joint. Do this on both sides.
Next, cut through the wing joints, removing the wings.
Finally, slice down both sides of the breast bone, following the curve of the bone until you are able to remove the breast meat.
Great Meat Thermometers for Every Budget
How long is roasted turkey good for?
It is ok to keep roasted turkey for 3-4 days so long as it is stored in an airtight container in the refrigerator.
Make sure your turkey has cooled to room temperature before storing.
Can I freeze leftover roasted turkey?
You can absolutely freeze leftover roasted turkey.
Allow the turkey to cool to room temperature, remove the meat from the bone, and place it in an airtight container.
Pop it in the freezer for up to 3 months.
What to serve with cider maple turkey
Anything! Turkey is a nearly blank slate that works with lots of flavors but here are some classics to consider:
- Sour cream mashed potatoes
- Homemade rolls
- Baked macaroni and cheese
- Mashed sweet potatoes
- Sauteed brussels sprouts
- Pear Gorgonzola salad
Recipe ideas to use up leftover turkey
Leftover turkey…yum! This is arguably one of the best parts of thanksgiving. Here are some of my favorite ways to repurpose these leftover goodies.
Keep in mind you can swap turkey for chicken in just about any recipe!
- Turkey + Brie Grilled Cheese with Cranberry Mustard
- Leftover turkey casserole
- Turkey and rice soup
- Chicken (or turkey) salad
Spatchcock Turkey with Apple Cider Maple Glaze
Equipment
Ingredients
For the turkey
- 1 14-pound whole turkey
- 2 tablespoons kosher salt divided
- 2 teaspoons black pepper
- 2 teaspoons baking powder
For the cider maple glaze
- 3 cups apple cider
- 1/2 cup maple syrup
- 1/2 cup dried apples
- 1/2 cup apple cider vinegar
- 1 tablespoon dijon mustard
- 1 tablespoon freshly grated ginger
- 2 tablespoons butter
Instructions
- Begin by spatchcocking (butterflying) the turkey. Place the turkey on a sturdy surface breast side down. Use a knife or kitchen shears to cut on either side of the back bone from one end of the bird to the other to remove the spine. Take your time and use a good sharp knife.
- Turn the turkey over and firmly press down in the center of the turkey between the breasts until you hear a cracking sound. Your turkey should now be laying flatter.
- Pat the turkey as dry as you can with paper towels, then use your hands to lift the skin from the breasts and thighs as much as you can. Add one tablespoon of salt to your hand and stick it under the skin using your top hand to press down from the outside, spreading the salt on the meat as evenly as you can. Divide the salt evenly between the two breasts and the thighs. Set aside.
- In a small bowl mix one more tablespoon salt, teaspoon pepper, and baking powder in a bowl. Spread this evenly over all of the skin of the turkey. Transfer the turkey to a roasting pan with a baking rack in it or you can elevate your turkey up on some onion halves if you don't have a rack. Just don't leave the turkey touching the bottom of the pan.
- Preheat the oven to 275 and place the rack into the lower middle position. Put in your meat thermometer (I love the Meater) and roast to 160 degrees in the thickest part of the breast and 170 in the thigh. About 2 1/2 to 3 hours.
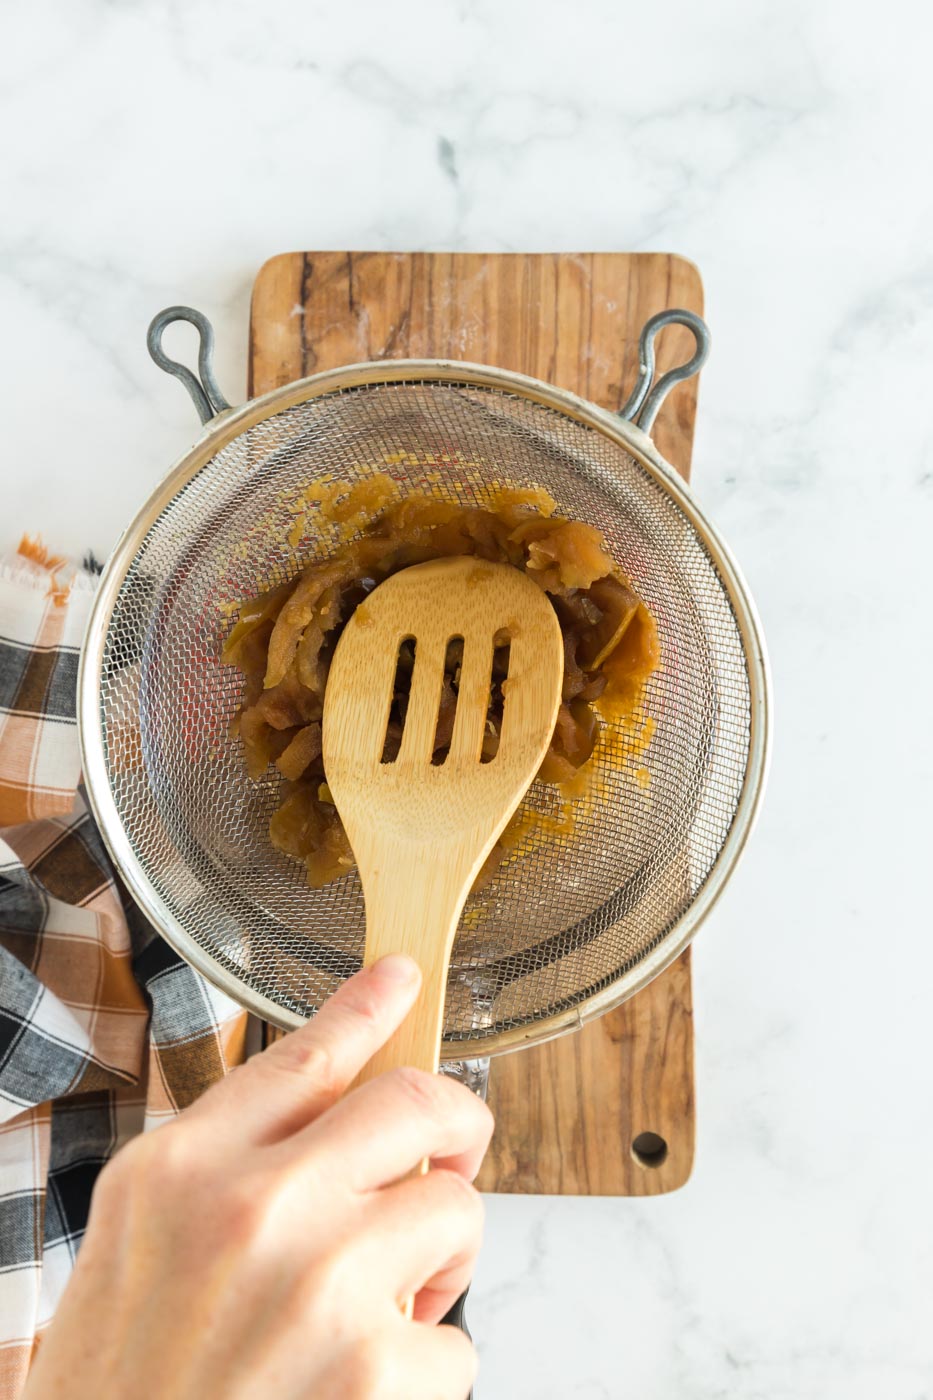
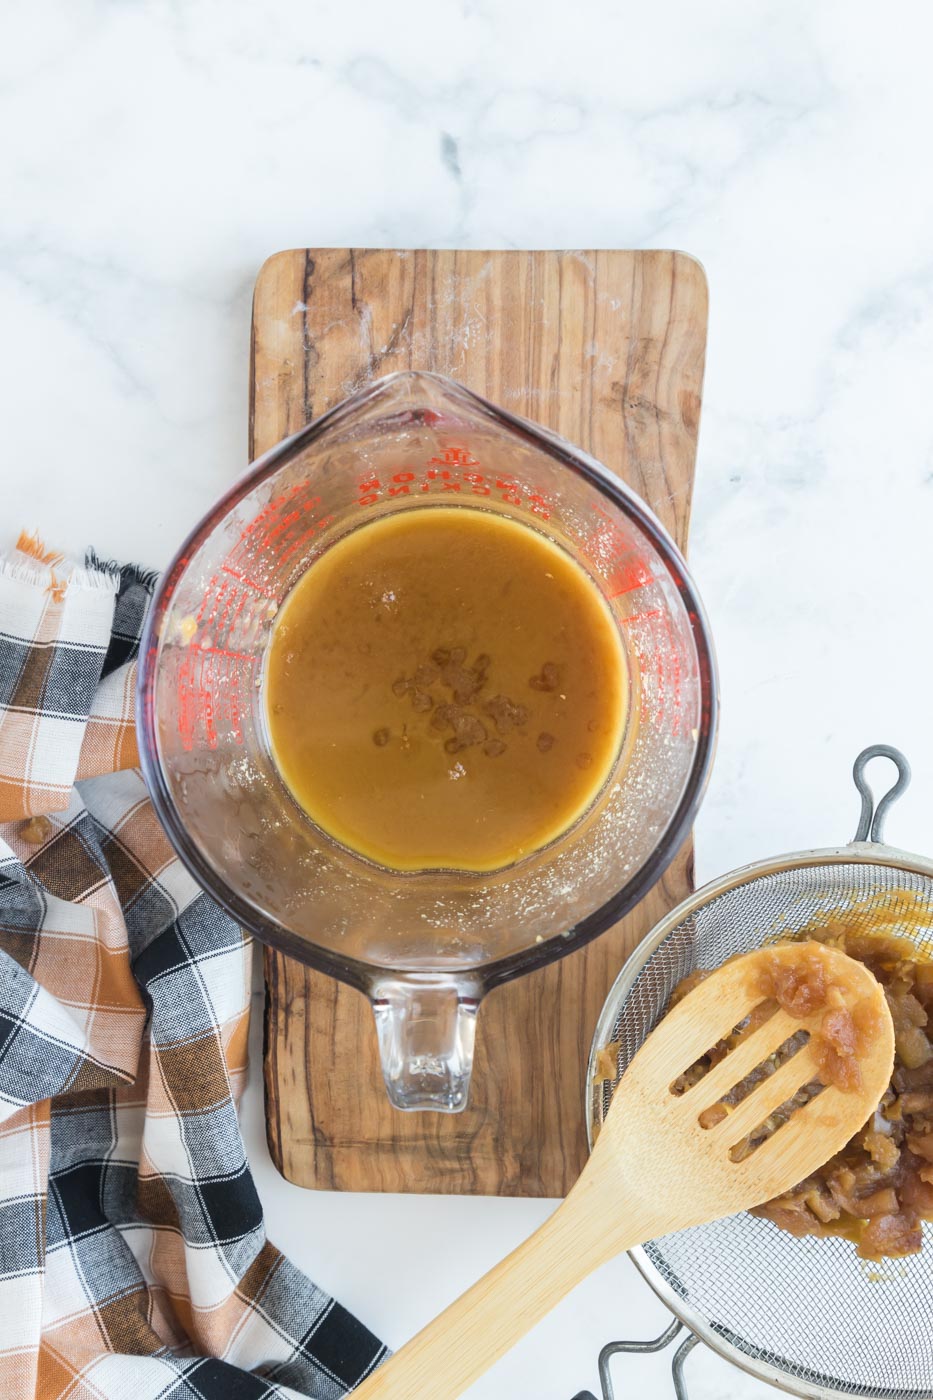
- While the turkey is in the oven, make the glaze. Mix the apple cider, maple syrup, dried apples, apple cider vinegar, mustard, ginger and butter to a boil in a sauce pan. Stir occasionally until the sauce reduces to about 1 1/2 cups which should take about 30 minutes. Strain the mixture to remove the apples and press to get out all the liquid. Set 1/2 cup of the glaze aside for serving later.
- When the turkey is done, take it out and let it rest 10 minutes.
- Increase the oven heat to 425.
- Brush the glaze over the turkey getting in all the nooks and crannies. Bake the turkey for 7 minutes, take it out, glaze it again and put it back in for 7 more minutes. If you want your turkey darker at this point, you can glaze once more and bake for one more round of 7 minutes but that's up to you. Once it's dark enough, remove it from the oven and let the turkey rest 30 to 40 minutes.
- Add the last 1/2 cup of glaze to a sauce pan. Bring to a boil and reduce heat until thickened further and a little syrupy–about 8 minutes.
- Carve the turkey and pass the sauce along side.


About the Author
Rachel Ballard, RN, BSN brings more than 20 years of professional nursing expertise to Feast and Farm. With a love for nutrient dense foods that support wellness, she works to distill complex health information and current trends into recipes that fuel the best version of yourself. Read more about Rachel here.