Peanut Butter Rice Krispie Treats
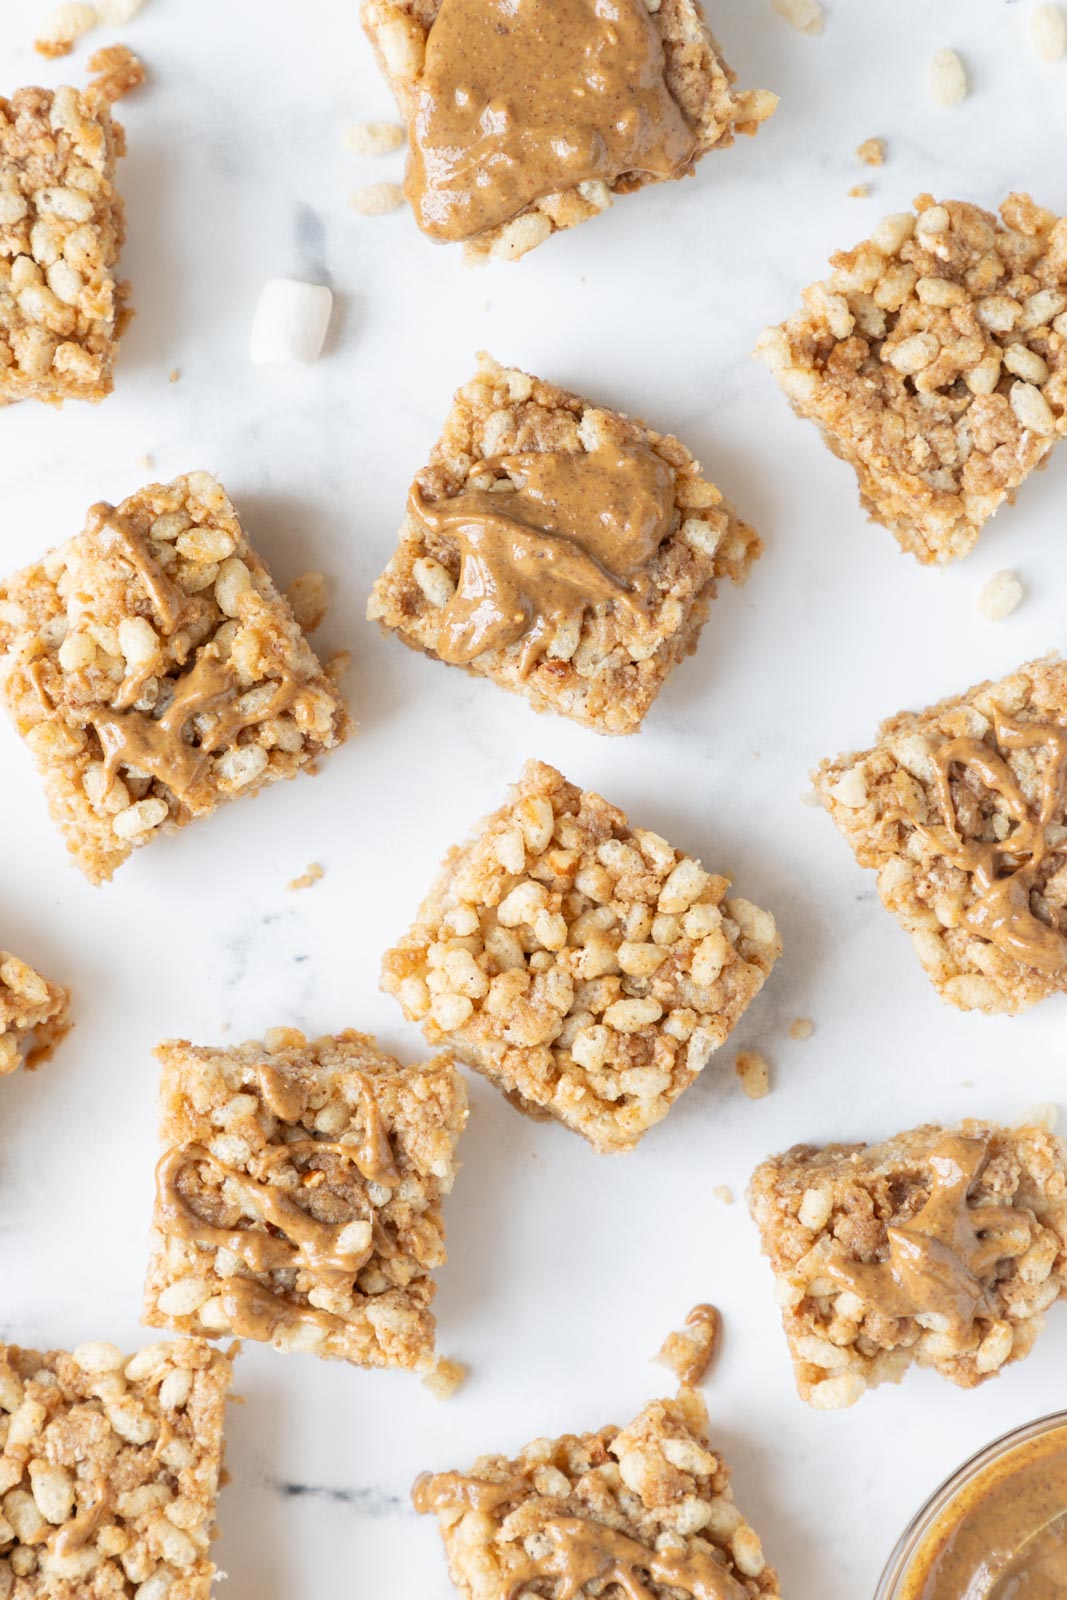
Peanut butter Rice Krispie treats dial up the marshmallow flavor on this classic dessert and you’ll want to have a square! Add chocolate on top or keep ’em plain and gooey–you can’t go wrong.
Jump to Recipe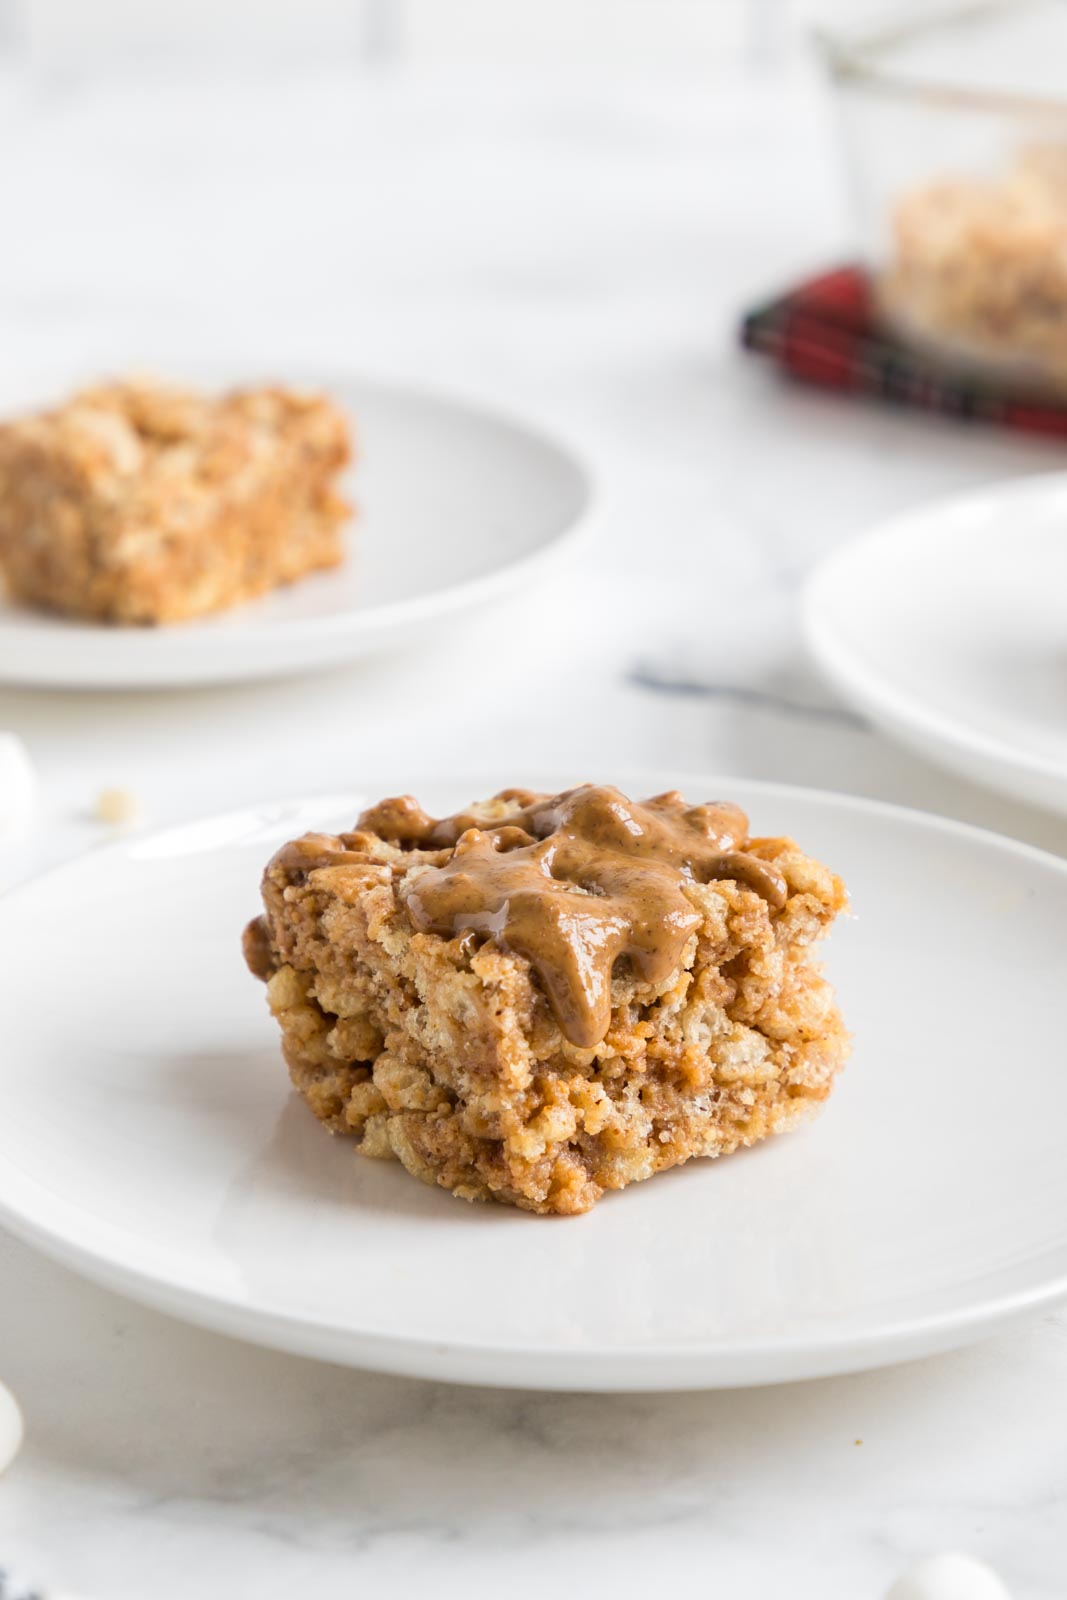
Key Takeaways to Know
- Make these ahead and they are good on the counter for up to four days
- Use a smooth, no-stir peanut butter to keep marshmallows from seizing
- Make sure you don’t boil your marshmallow and butter mixture to prevent hard Rice Krispie treats
- Add chocolate on top, flaky sea salt, or sprinkles for a fun twist
Be sure to check out the full recipe and ingredient list below
Tips for Peanut Butter Rice Krispie Treats
Prepare yourself. These tips and tricks will help you make the best peanut butter Rice Krispie bars the first time around.
- Keep the heat down. When you melt your butter and marshmallows, keep the heat nice and low. This will prevent your Rice Krispie treats from hardening.
- Go mini. Use mini marshmallows instead of full-sized ones. They melt much more quickly and easily.
- Grease up. These Rice Krispie treats love to stick to the pan, so apply your cooking spray liberally. Softened butter will work as well. Alternatively, line the baking dish with parchment paper.
- Gentle. Stir quickly enough to get everything melded together but not so aggressively that you break the delicate cereal. Similarly, when pressing the mixture into the pan, do so gently so as not to crush the Rice Krispies.
- No sticky hands. Wet your fingers with water before handing the Rice Krispie treat mixture. Otherwise, it will glom onto your hands like there’s no tomorrow.
- Melt slowly. When melting the chocolate, do so over low heat. If you are using a microwave, heat in short intervals, stirring between each. This will help keep the chocolate from overheating and, thus, losing its shine.
- Go gluten-free. Feel free to use gluten-free crispy rice cereal.
- Make it vegan. Grab some vegan marshmallows from the store and opt for coconut oil instead of butter if you’re steering clear of animal products.
If you’d like chocolate on top
A chocolate topping is optional but is really easy to add if you want it. Milk chocolate is my favorite but dark chocolate would be divine as well.
Go for chocolate chunks or chop chocolate baking squares up yourself (Hu chocolate is my favorite).
Chocolate chips often contain additives that cause the chocolate to separate as it melts.
Use 1 1/3 cups (8 ounces) chocolate squares or chunks. Melt them in the microwave in 30 second bursts, stirring in between until smooth and glossy. Add two teaspoons refined coconut oil (avocado or vegetable oil would also work) stir to combine and pour over your rice treats. Let set and slice.
Healthier swaps you can make
On a health kick? Be choosy with your ingredients. Here are some ideas for you.
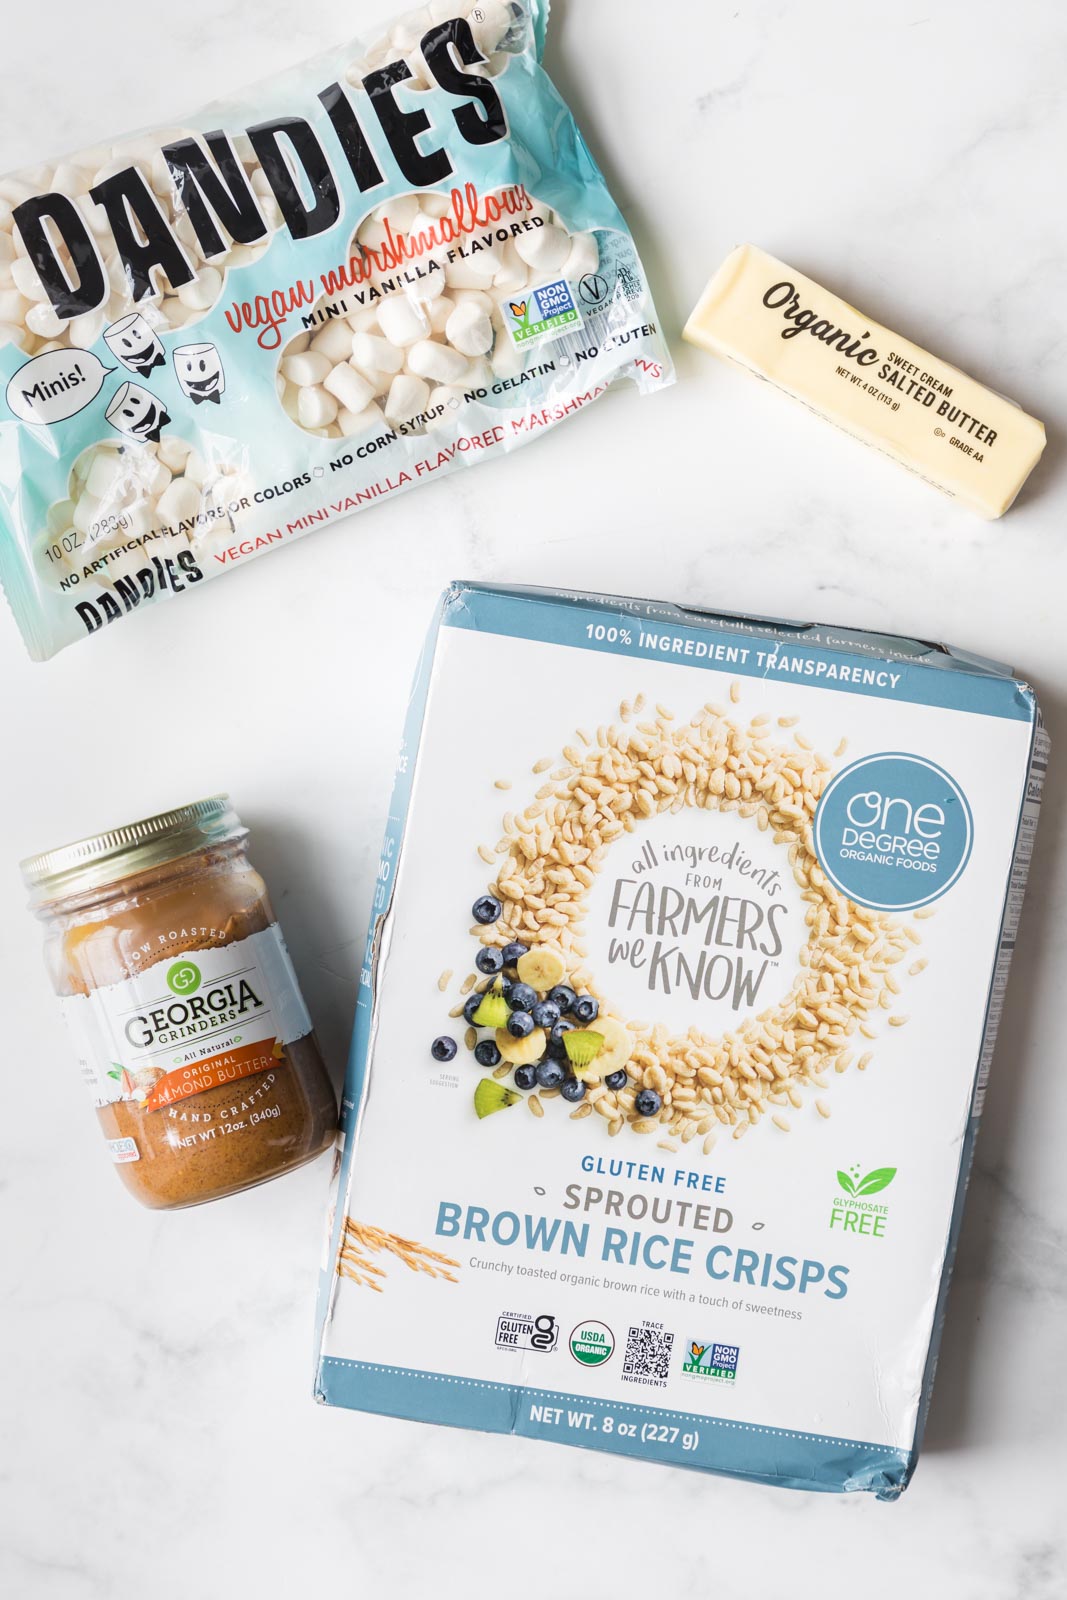
- Go sprouted. Sprouted products can be easier on your digestion and tend to be better for you. Try Farmer’s Know sprouted puffed rice cereal.
- Dandie’s marshmallows. These marshmallows are vegan and free of gelatin, corn syrup, and artificial flavors/coloring.
- Use real butter. Real butter has better flavor and is free from inflammatory oils.
- Choose your peanut butter wisely. Look for products that contain just nuts and salt, but get one that’s no stir and very smooth. I found that some of the more coarsely ground nut butters didn’t play well with the marshmallow and got quite thick.
- Chocolate choices. Opt for Hu or another quality dark or milk chocolate with good, clean ingredients and no additives.
Can Rice Krispie treats be made without marshmallows?
Nope! The texture just won’t be quite the same without them.
You could try using marshmallow fluff instead of whole marshmallows, however. Some people find it more manageable to work with.
Is salted or unsalted butter better for Rice Krispie treats?
Salted and unsalted butter will work equally well. Most people will tell you that salted butter produces tastier results, though.
The salt balances the sweetness of the marshmallows nicely.
Why did my Rice Krispie bars come out hard?
No one wants a hard Rice Krispie treat. Here are some of the more common reasons these nostalgic goodies turn out unpleasantly firm.
- Overheating. High temperatures can change the structure of the sugar molecules in the marshmallows, causing the treats to become brittle when they cool. So be sure to melt the marshmallows over low heat.
- Your ratios are off. If you use too much cereal and not enough peanut butter, butter, and/or marshmallows, your Rice Krispie treats will likely end up too hard. Be sure to measure carefully.
- Aggressive packing. Don’t try to smoosh everything together too much. You want to press the cereal-marshmallow mixture into the pan just enough for everything to come together. Packing it too tightly can end you with hard, dense treats.
Why are my peanut butter treats soggy?
Soggy peanut butter Rice Krispie bars? You likely used too much butter and/or marshmallow. The treats will still be delicious, just a little soft and sticky.
Another culprit for soggy Rice Krispie treats is stale cereal. Make sure the rice cereal you use is fresh.
Do you have to refrigerate homemade Rice Krispie treats?
If stored properly in an airtight container or Ziplock bag (I suggest separating any layers with a sheet of parchment paper), peanut butter Rice Krispie bars should stay good at room temperature for up to 4 days. You can also store them in the fridge for up to 1 week.
How to freeze peanut butter rice krispie treats
Wrap fully cooled Rice Krispie treats in a double layer of plastic wrap or aluminum foil or seal them in a Ziplock bag or an airtight container (use parchment paper to separate any layers). You can store them in the freezer for up to six weeks.
Allow the Rice Krispie treats to thaw at room temperature for 15 minutes before diving in.
If you added a chocolate topping before freezing, it will likely develop a chalky white appearance after thawing but it will taste just as good.
Also know that freezing these bars may cause the cereal to be softer after thawing.
More ways to customize peanut butter Rice Krispie bars
You can easily customize this recipe to make it your own. Here are some fun, creative gourmet Rice Krispie treat ideas to get you inspired.
- Peanut butter balls. Instead of making bars, form the Rice Krispie mixture into balls. You could even dip them in melted chocolate and sprinkles.
- Holiday flare. Add red and green sprinkles to the top of these delicious dessert bars and/or cut them into festive shapes this holiday season.
- Topping galore. Add a sprinkle of flaky salt, chopped nuts, coconut flakes, and/or a drizzle of caramel sauce to the top.
More homemade dessert recipes:
Here are a few other from scratch dessert recipes that I know you’ll love.
- Homemade strawberry shortcake
- Easy Candied Pecans (Cinnamon Sugar)
- Homemade strawberry ice cream
- More homemade desserts
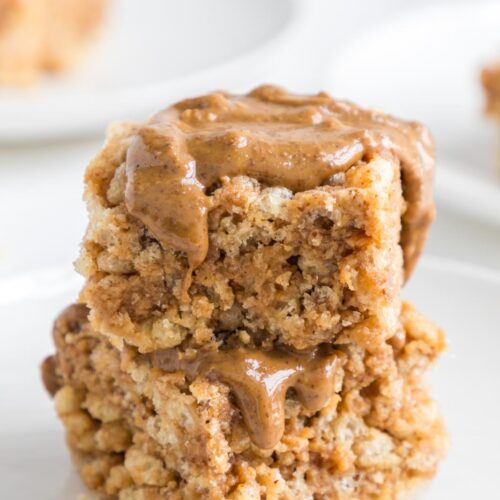
Peanut Butter Rice Krispie Treats
Ingredients
- 10 ounces small marshmallows See note 1
- 6 tablespoons butter salted or unsalted
- 1/2 cup peanut butter I tested with natural, See note 2
- 3 cups Rice Krispies cereal any puffed rice cereal will work, See note 3
For chocolate topping
- 8 ounces chocolate See note 4
- 2 teaspoons refined coconut oil See note 5
Instructions
- Lightly grease an 8×8 baking dish with butter. Set aside.
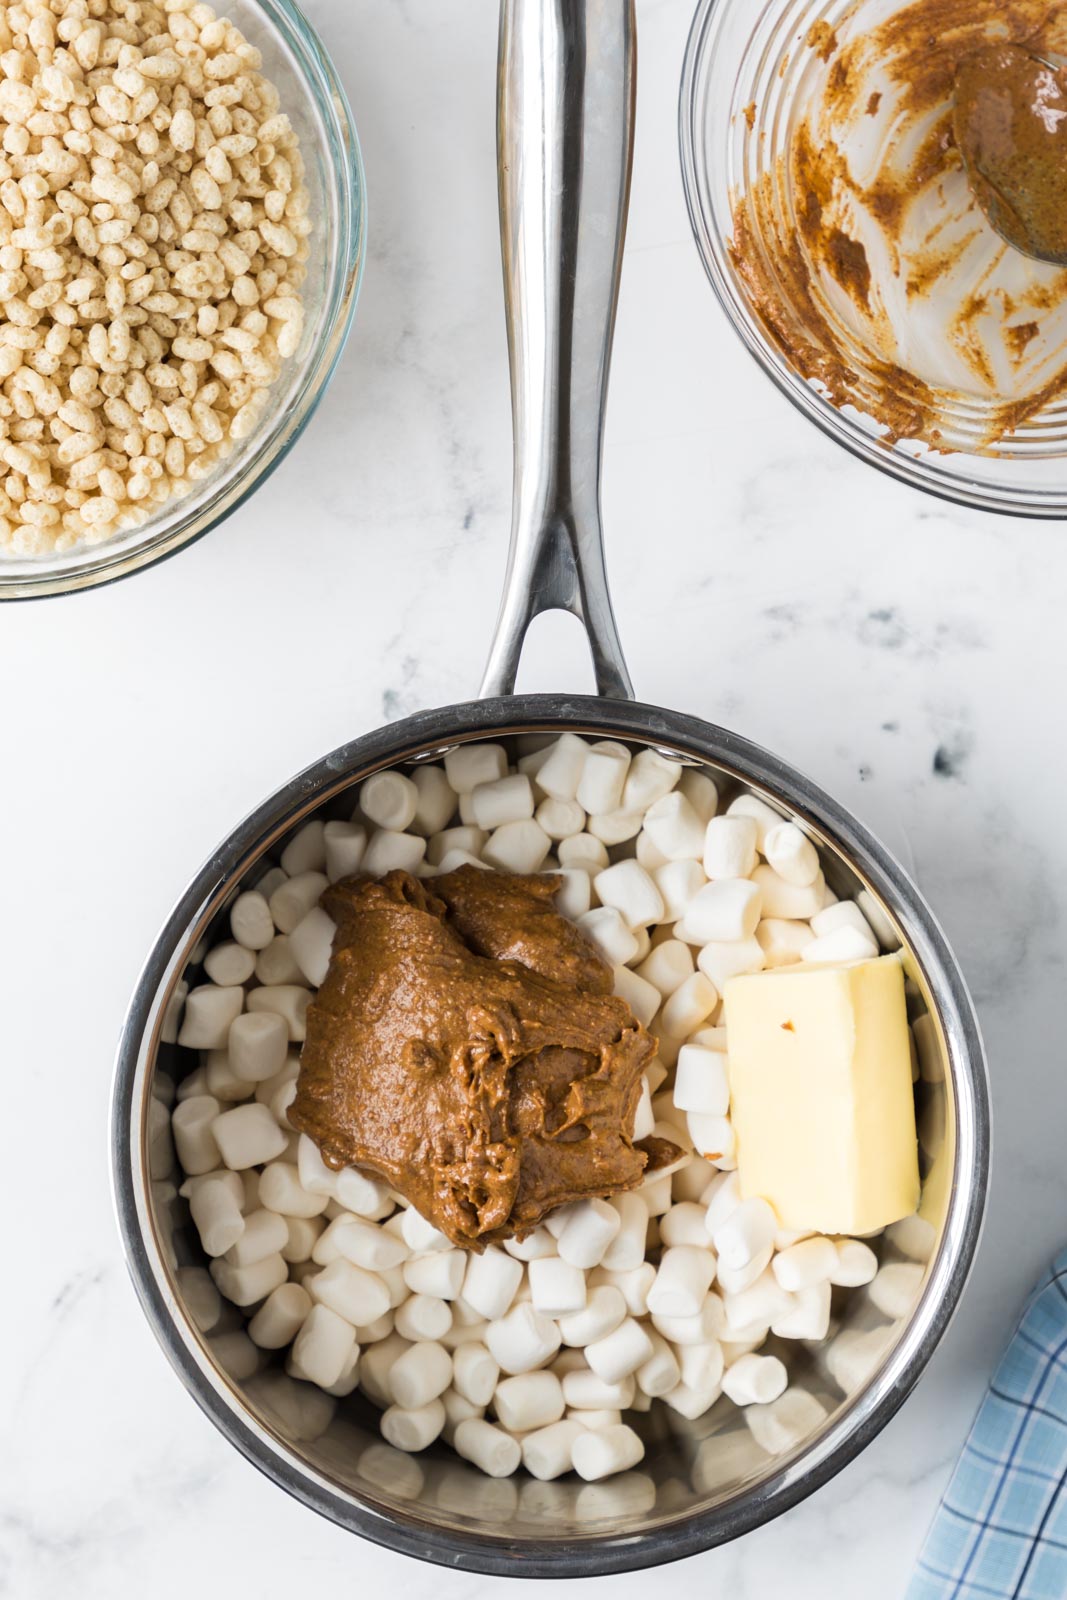
- In a medium sauce pan, add the marshmallows, butter and peanut butter.
- Heat over medium low, stirring constantly until the marshmallows and butter melt and the peanut butter incorporates–about 5 minutes.
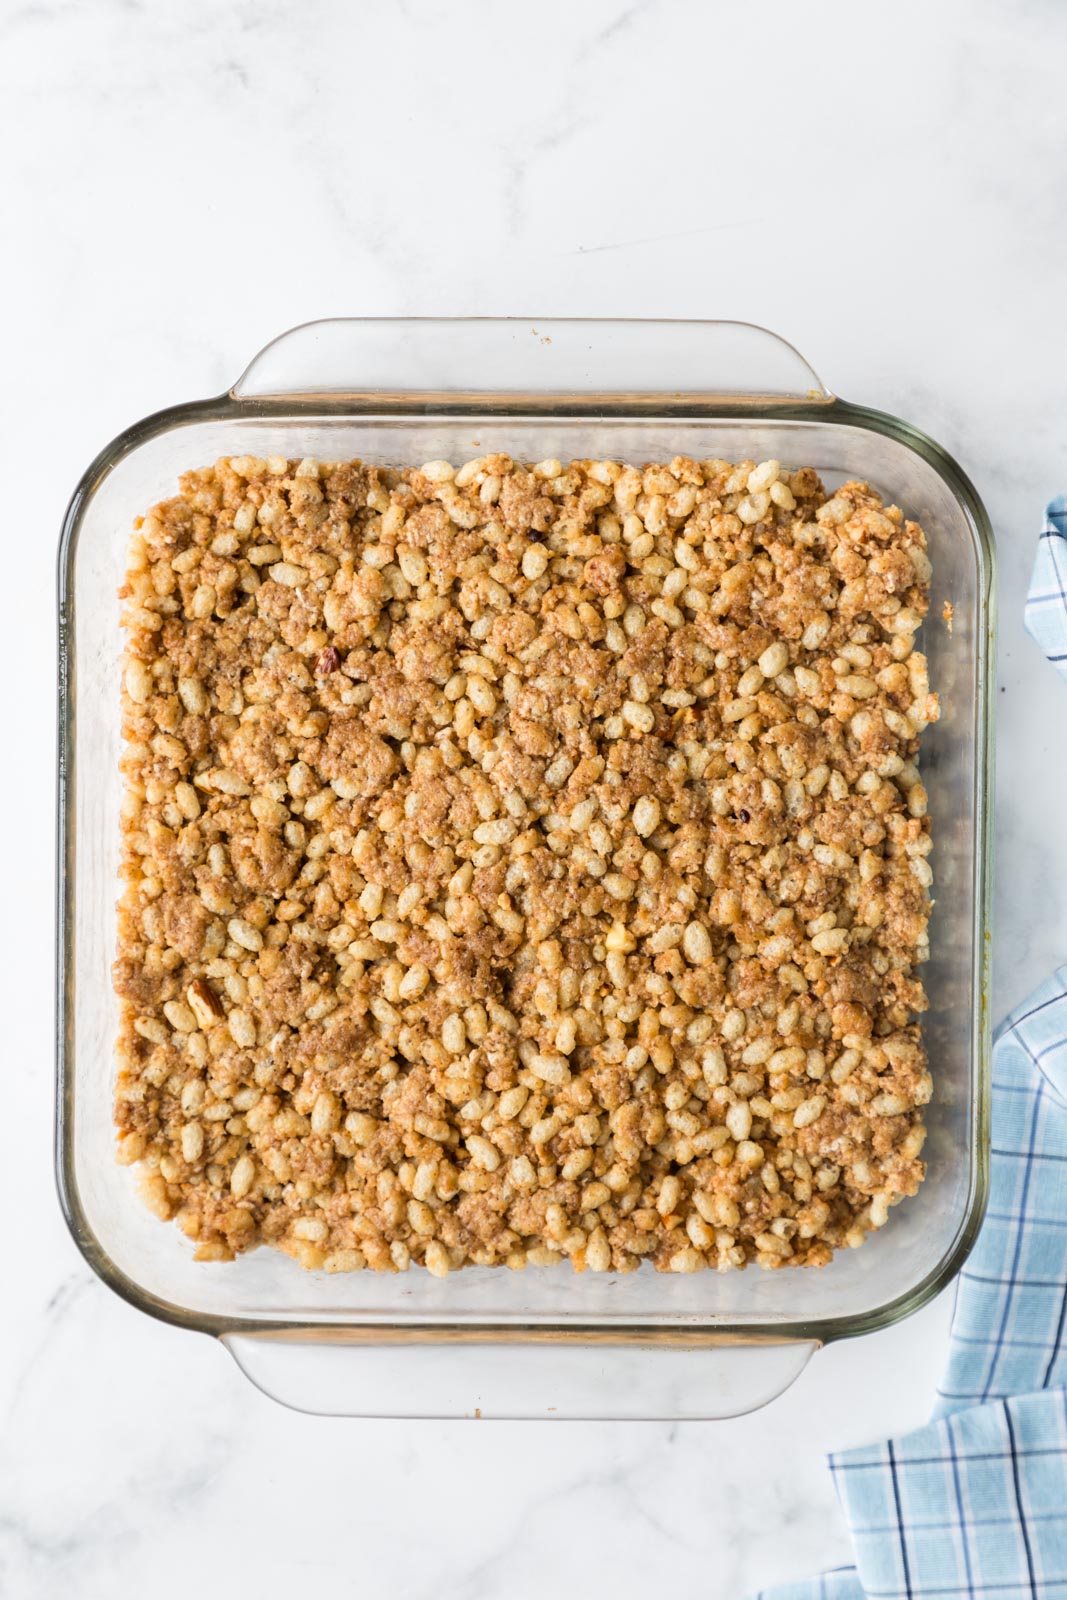
- Add the Rice Krispies and stir gently but quickly. Transfer the mixture to the baking dish and press gently the back of a spatula until even. Let the treats cool and set at least one hour.
- If adding chocolate, it can be poured on before the treats are cool and allowed to set at room temperature.



About the Author
Rachel Ballard, RN, BSN brings more than 20 years of professional nursing expertise to Feast and Farm. With a love for nutrient dense foods that support wellness, she works to distill complex health information and current trends into recipes that fuel the best version of yourself. Read more about Rachel here.