
How to make canned green beans taste better
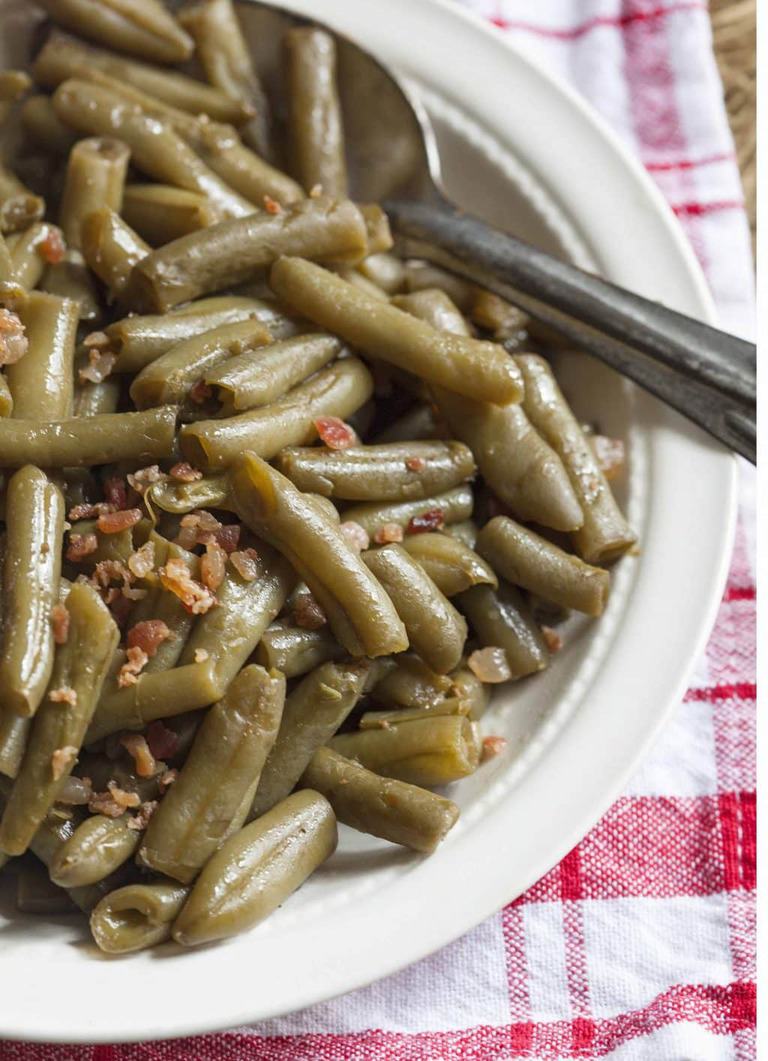
If you love good green beans and crave that home-grown, slow cooked taste on your dinner table, you can actually get it from a canned green bean. Here’s every tip you need to make canned green beans taste better.
Tips for the best canned green beans
- Use a good beef bouillon like Better Than Bouillon. Certain brands of bouillon are very salty. Powdered ones are terrible. Please keep this in mind and start with half as much if you are afraid of over salting.
- Allow the beans to simmer until part of the liquid is cooked off then turn them off and let them sit on the stove at room temperature for a few hours. It’s fine to leave them there all day while you’re gone to work or you can put them in the fridge if that bothers you and do the second step when you get in.
- The final step is to bring them back to a low simmer and cook off the rest of the liquid and serve–that takes about 10 minutes or so.
- You can simmer some bacon or ham hock in with them if your bouillon isn’t too salty.
- Add bacon bits or sauteed onions at the end (optional).
To slow cook: Cook the beans on the stove as directed then transfer to a slow cooker to keep warm.
To make ahead: Cook half way and then cool to room temperature and refrigerate for up to 4 days. Rewarm on the stove or in a slow cooker.
To freeze: These do not freeze.
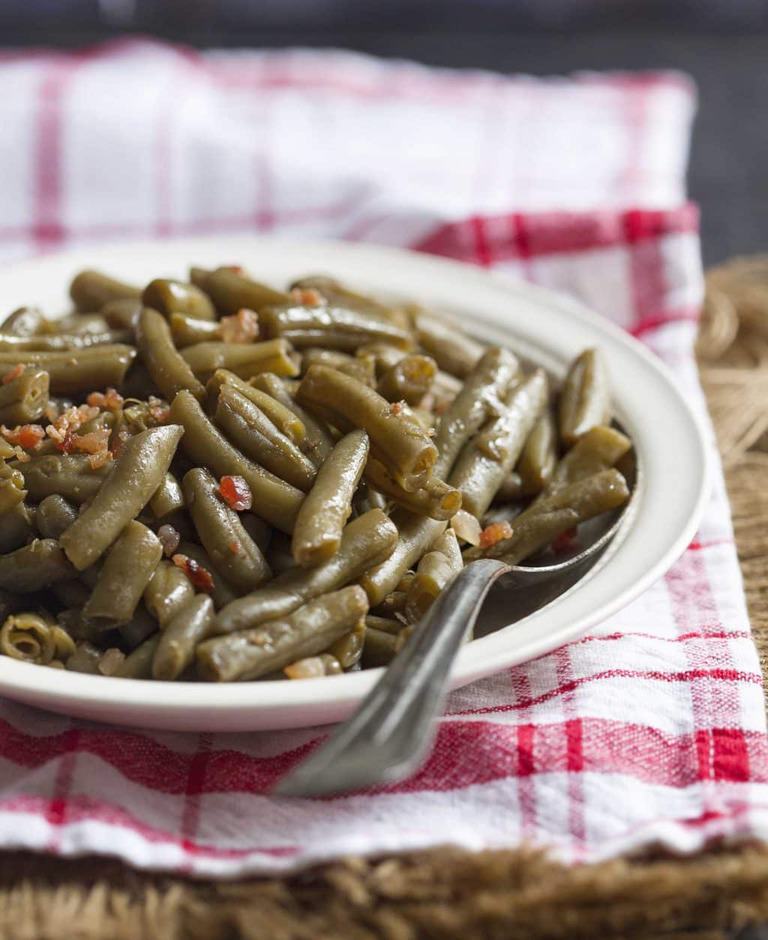
How to make canned green beans taste better
Just because your beans come canned and from a grocery store doesn’t mean they can’t have that classic slow-cooked flavor you crave. Easy steps and no-fuss.
Ingredients
- 2 14.5 ounce cans green beans of your choice canned in water
- 1 teaspoon beef bouillon base We tested with Better than Bouillon Beef base
Instructions
- In a medium sauce pan, empty in the cans of green beans with their water. Add the beef bouillon.
- Bring to a boil over high heat. Reduce heat to medium-high and cook until the water reduces by 3/4. Turn off heat and set beans aside on the stovetop or in the fridge for one to two hours or overnight is fine.
- When ready to eat, bring the beans back to a simmer on the stove top and cook to remove the remaining water. Serve warm.
Nutrition
Calories: 63kcal
Tried this recipe?Tag us on Instagram @feastandfarm and hashtag it #feastandfarm


Baybayyy, this is the recipe I used several times earlier this year when I was hyperfixated on green beans!! These reminded me of the green beans we used to eat after church service every year during our family reunions when I was little in Emporia, VA! Fried chicken, potato salad, green beans, and sweet potato pie!!
It would be so hot in that little church all of us kids would be sweating and sleeping. Best believe as soon as the benediction was given, I darned near broke my neck in my Sunday patent leather shoes trying to get to those green beans!!
Thank you so much
Can I add minced garlic and bacon with the beans?
Sure can Bev!
Your photo shows bacon bits/onions? Should that be part of the ingredients and instructions?
No I stuck those on there as a garnish. They were just bacon bits. 🙂 –Rachel
Love this trick! Green beans taste so good. But I must ask you to clear up some inconsistencies in your recipe. In the narrative, you state to bring to boil, reduce heat and cook until liquid is reduced by 90%. In the recipe, it states 3/4, which would be 75%. Further confusing things is that the narrative also states to leave 1/2 of the liquid, which, of course is 50%. Possibly in that case you meant 1/2″??
Please advise! And thanks again!
Thank you SO MUCH, Rachel!!! Your Green Bean recipe is the BEST!!!
So glad to hear it Susan!