
How to knead dough (Pizza, Bread, Rolls+Video)
Learn how easy it is to knead dough! Use this method for any yeasted bread from pizza dough to rolls and loaf bread–it all works the same way.
You’ve dreaded bread for ages. Scared to death of doing something wrong or you’ve tried before only to end up with dough all over every part of you.
Well fear not because this post is way longer than it needs to be for how simple the process is. You almost can’t mess it up.
But the parts where you can? I’ll show you what to do.
This recipe assumes you have your dough already made but if you need help, learn how to activate yeast and find some great bread recipes to use first.
Table of contents
Why does dough need to be kneaded?
Kneading dough builds the gluten strands in flours that contain it. Gluten makes the “frame” or stretch that holds the carbon dioxide made by yeast in air pockets in your dough.
If you don’t build the gluten up enough your dough won’t have good air bubbles and will be dense or may not rise well.
What flour is best?
Bread flour has the highest gluten content and makes the best bread, period. I really like King Arthur flours including their bread and Special Patent brands for bread.
All purpose works just fine too–it’s just lower in gluten and even though it’s delicious, your rise won’t be quite as high or the dough quite as light.
You cannot knead rice flour, tapioca, bean flours, etc. They have no gluten and will only make you angry if you try.
How long do you knead dough?
The snarky answer is until it’s done. It depends on the type of flour used, how wet or dry the dough is and how aggressively you knead it. Most breads need 8 to 10…even 15 minutes of kneading by hand. Stand mixers usually take a bit less.
Can you over knead dough?
It’s pretty hard to over knead dough by hand. Stand mixers can though–so if you are new to bread I always recommend doing it by hand until you get familiar with how dough should look and feel.
How do you tell if dough is kneaded enough?
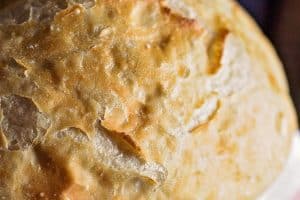
Dough is kneaded enough when it reaches “windowpane”. This is simply stretching some of the dough until you can see light glow through it without it totally breaking. Flours with more gluten will reach windowpane faster than lower gluten ones.
To test for windowpane, knead your dough for several minutes then grasp a small amount of the dough and lift it up. See if you can get it to stretch enough to see at least a glow of light through it. If it breaks immediately, keep kneading.
Recheck your dough every 3 or 4 minutes while kneading.
>>The #1 way you can ruin your dough when kneading<<
If you want to ruin your dough, add too much flour when kneading. It’s a rookie mistake but you should never be adding a cup of flour during kneading. If you do, you’ll end up with dough that is super tough, dense and has a hard thick crust on the outside that peels away from the rest of the dough after baking.
If you knead correctly, you won’t have dough stuck all over your hands.
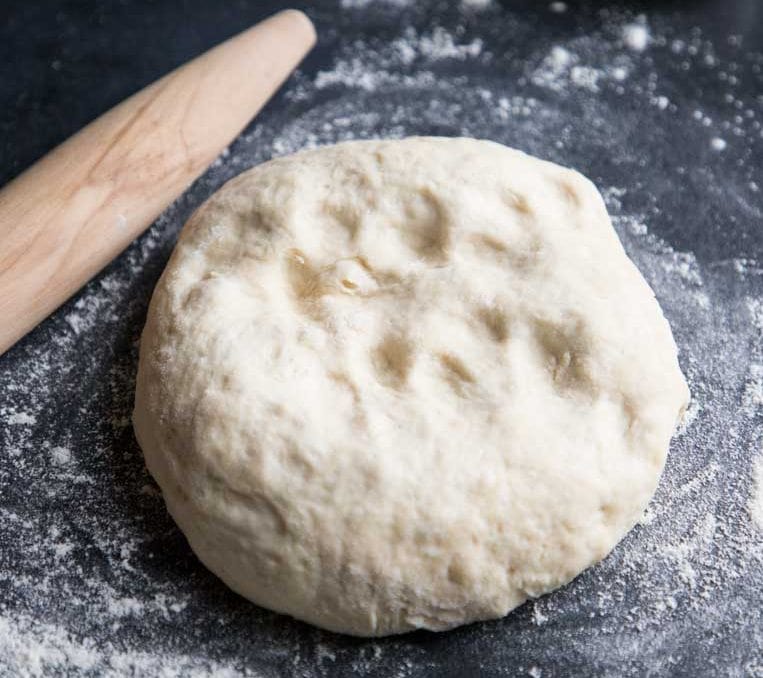
How to knead step by step
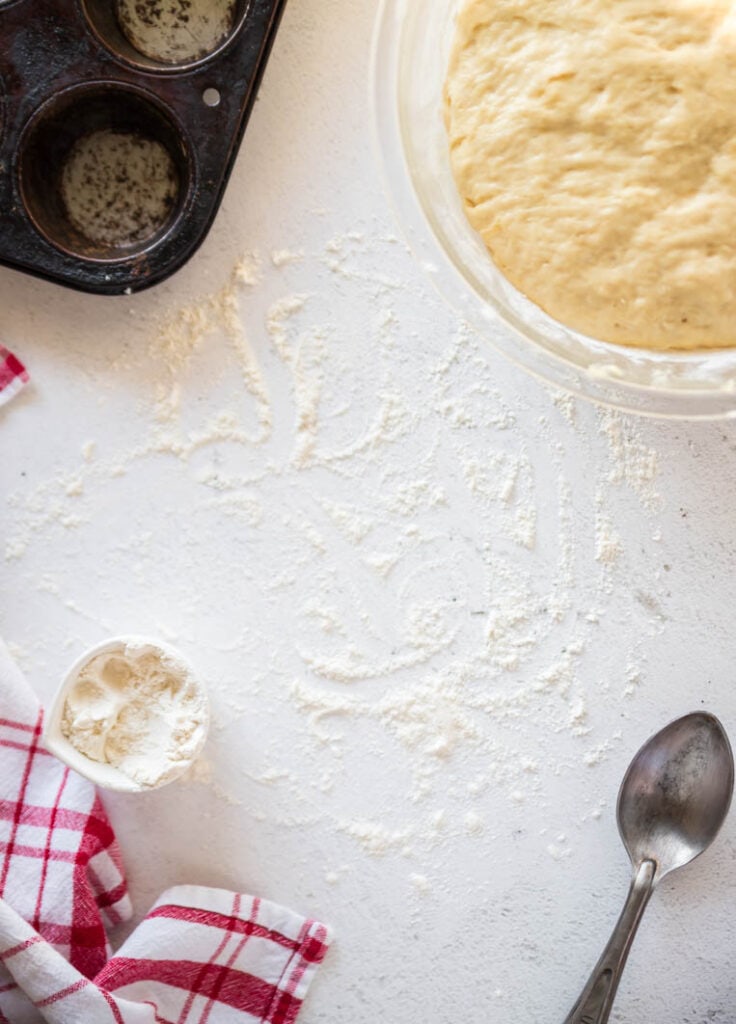
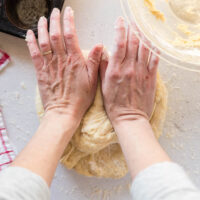
Lightly flour your surface with 1 tablespoon of flour. I used 1/3 cup total for the entire process. 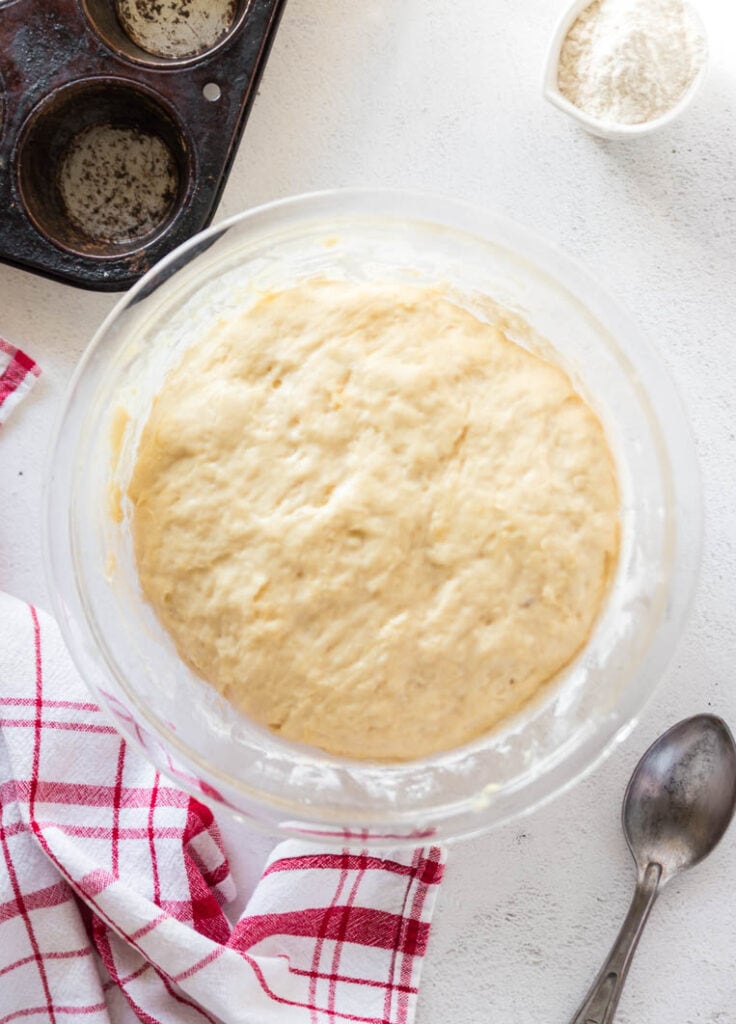
Get your dough that you’ve mixed according to your recipe. 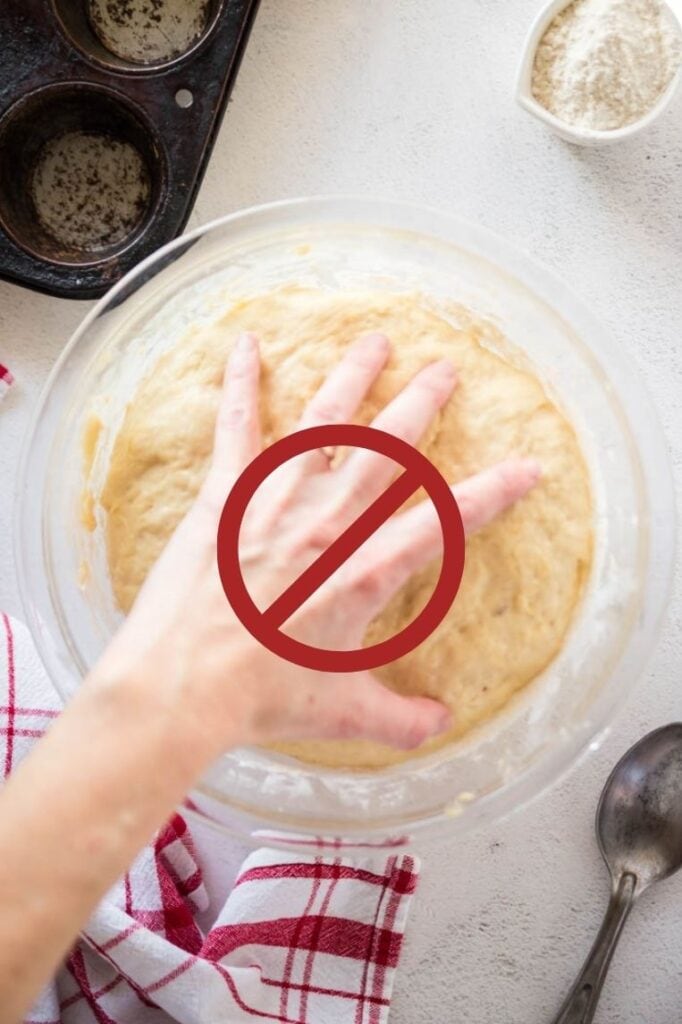
Do not squish your dough between your fingers like a toddler with slime. You’ll have it all over you. 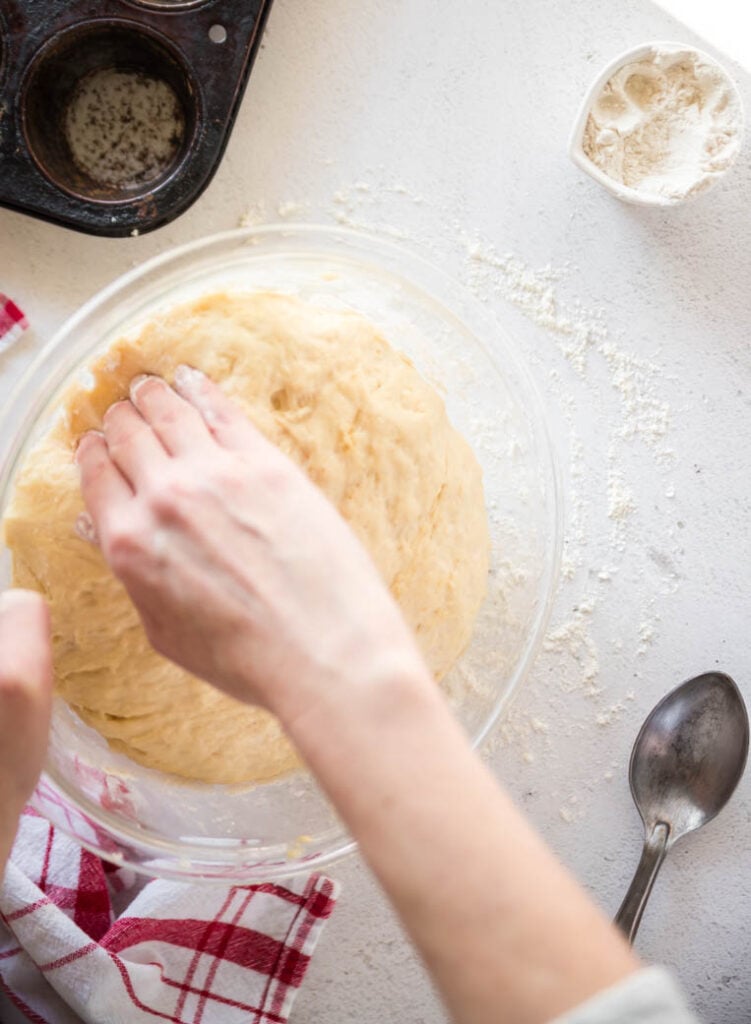
Use a cupped hand with closed fingers to scrape the dough out of the bowl using your fingertips. 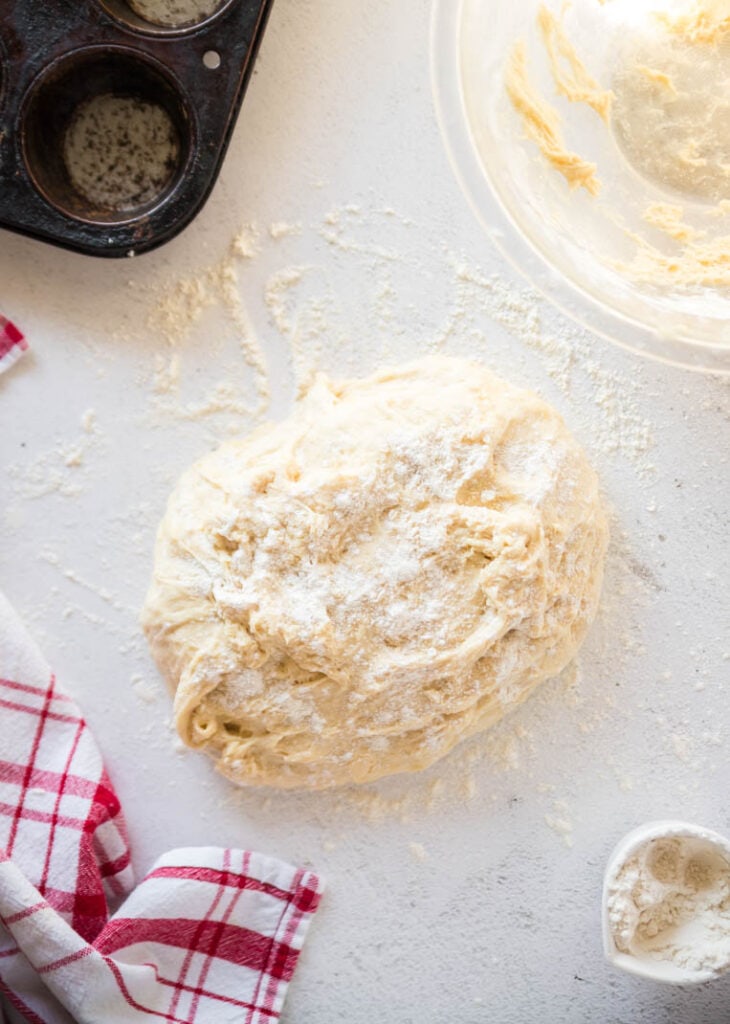
Dust dough with a sprinkling of flour. I used less than a teaspoon here. 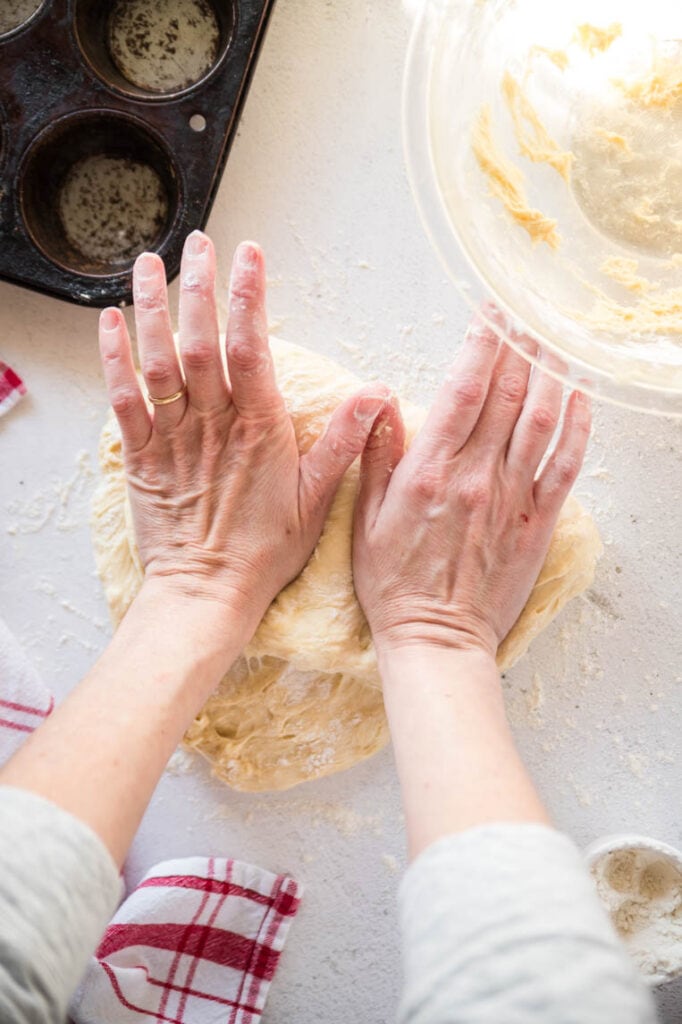
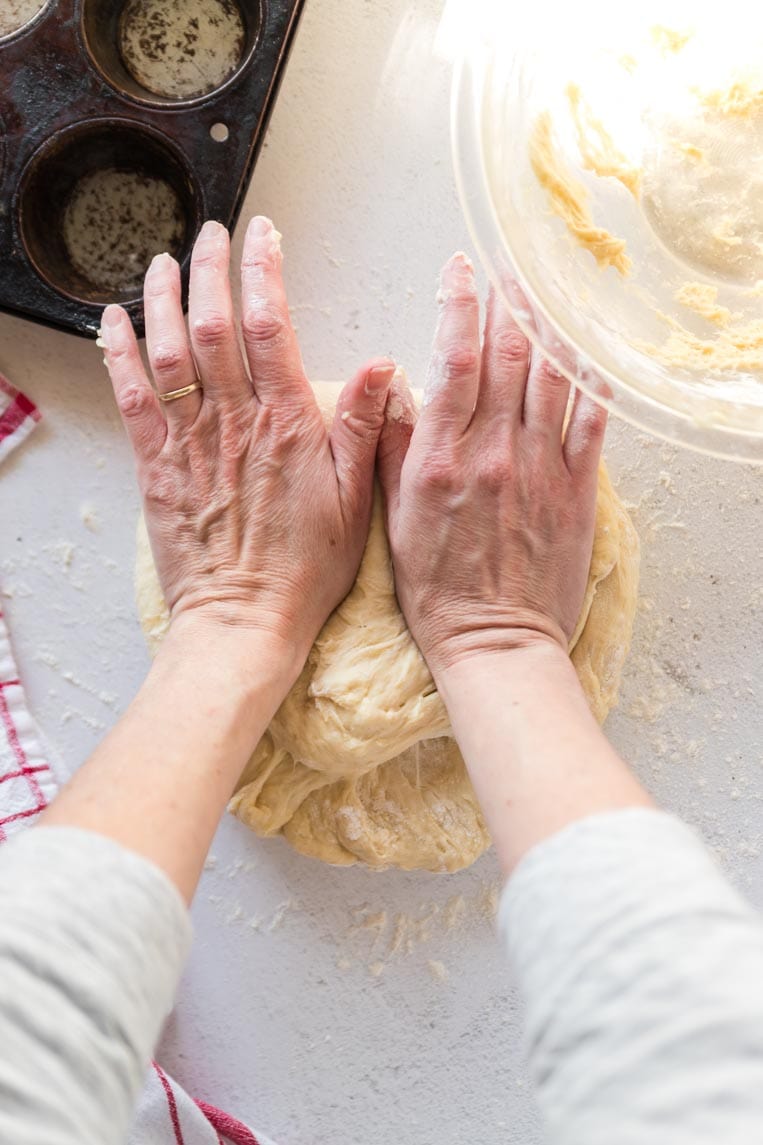
Use the heel of your hands to press away LIGHTLY on the dough, about 1/4 of the way through its thickness. Don’t smash it to the table. 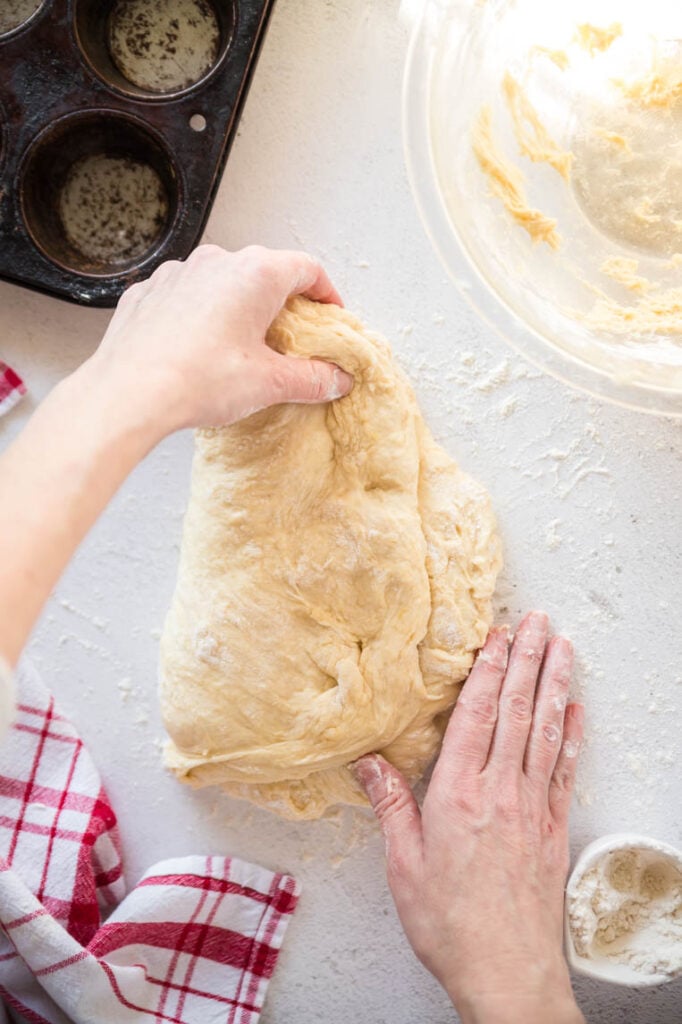
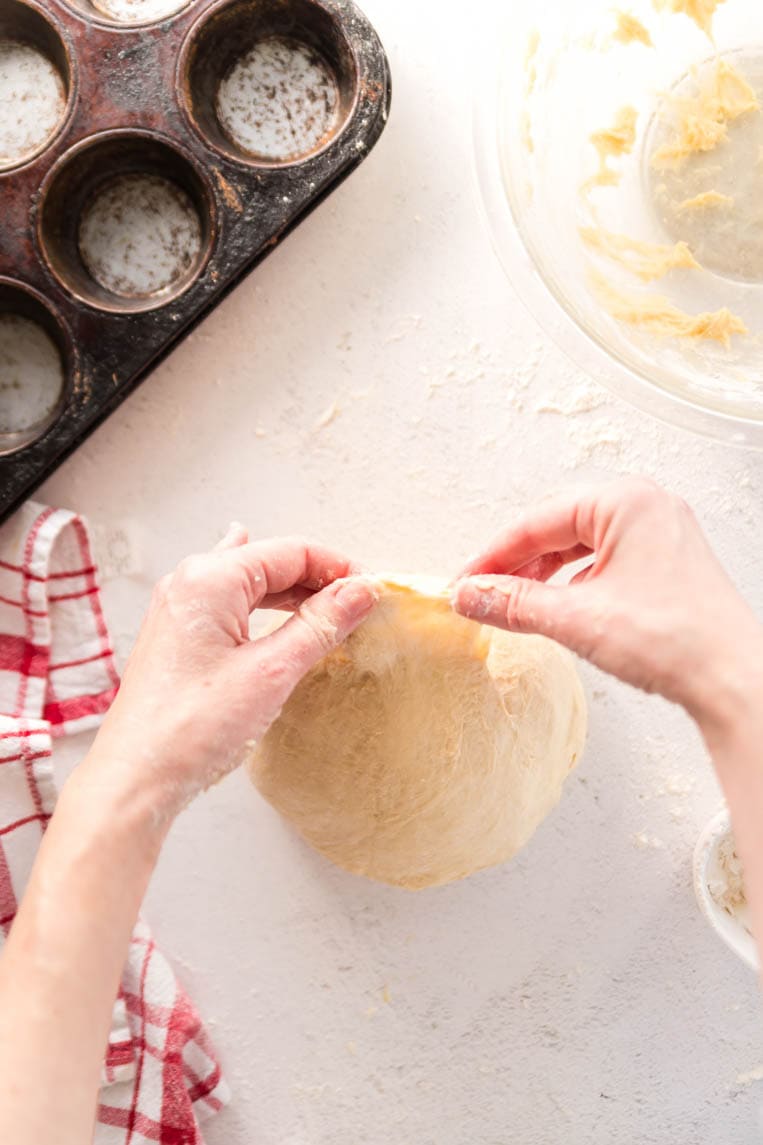
Do a quarter turn, or just rotate it a bit. It’s not a big deal. 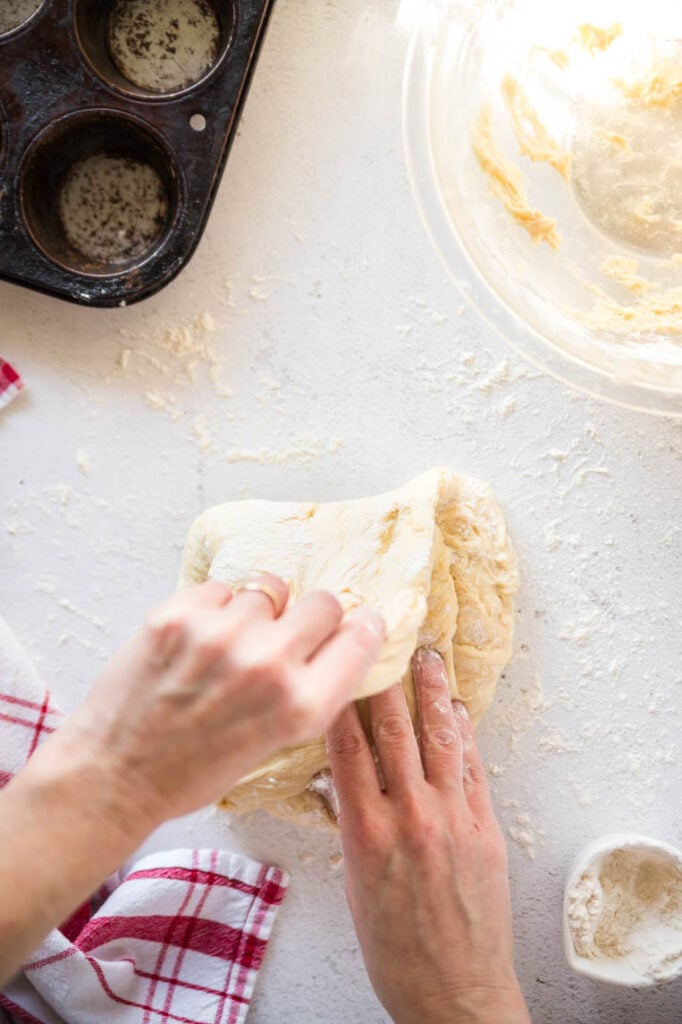
Fold the top of the dough over the bottom. 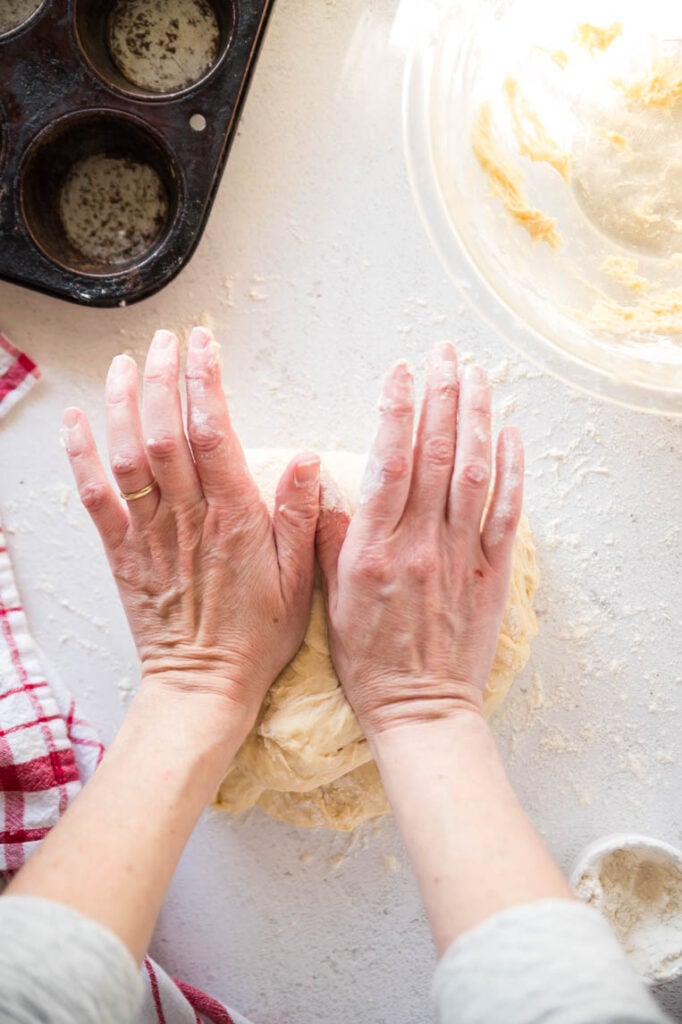
Use your hands to push it away again. 
Don’t smash the dough too hard or it will stick heavily to your hands. Lightly dust the board and your hands with flour as needed but don’t overdo it. 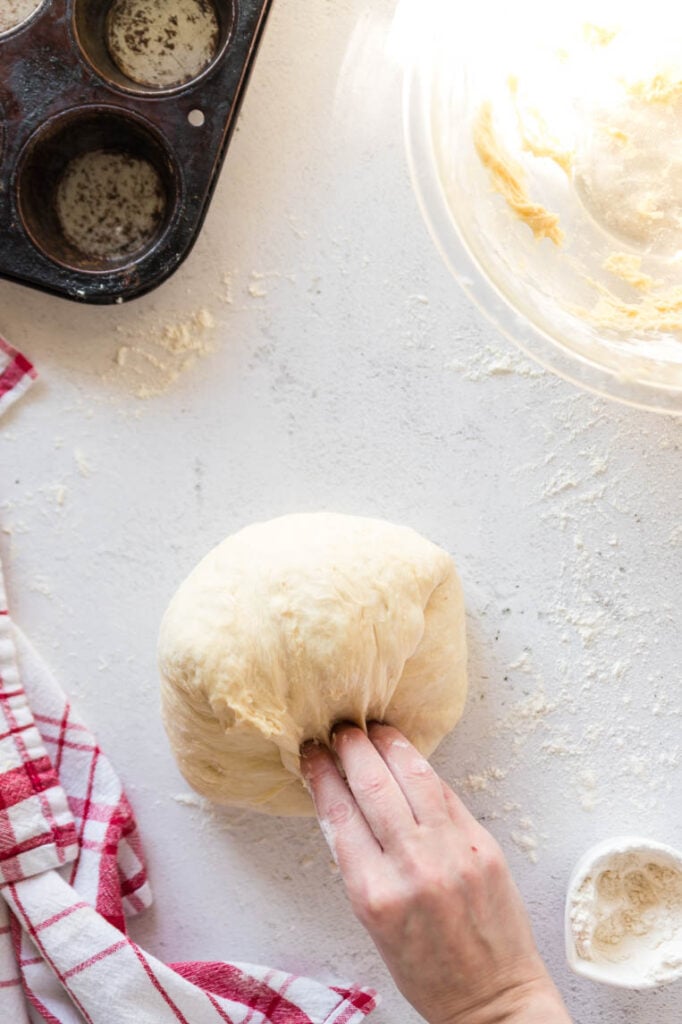
Knead until you reach windowpane, about 10 minutes or so by hand. Your dough will be smoother after kneading.
The Video
Recipes you “knead” to try
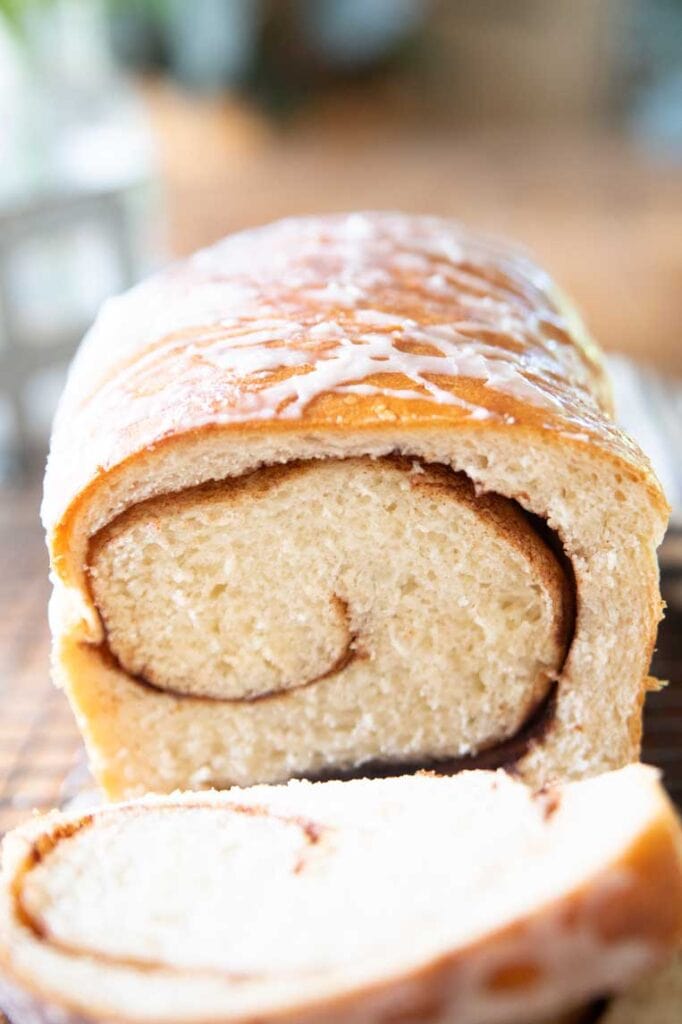
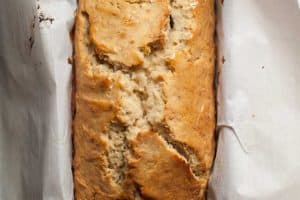
Cinnamon Swirl Bread
How to Knead Dough
Ingredients
- 1 recipe any dough, mixed per the recipe instructions
- 1/3 cup flour whatever you used in your dough, see note 1
Instructions
- Lightly flour your surface with 1 tablespoon of flour. I used 1/3 cup total for the entire process.
- Get your dough that you've mixed according to your recipe.
- Do not squish your dough between your fingers like a toddler with slime. You'll have it all over you.Use a cupped hand with closed fingers to scrape the dough out of the bowl using your fingertips.
- Dust dough with a sprinkle of flour. I used less than a teaspoon to start. Use the heel of your hands to press away LIGHTLY on the dough, about 1/4 of the way through its thickness. Don't smash it to the table.
- Do a quarter turn, or just rotate it a bit. It's not a big deal.
- Fold the top of the dough over the bottom. Use your hands to push it away again. Don't smash the dough too hard or it will stick heavily to your hands. Lightly dust the board and your hands with flour as needed but don't overdo it.
- Knead until you reach window pane, about 10 minutes or so by hand. Your dough will be smoother after kneading.


im making this right now,kitchen is 72 degrees,using regular flour,ran out of bread flour ,so will let you know how long it took to rise ok? thanks for this recipe