
How to activate yeast in 3 easy steps
If you want to bake with confidence, learning how to activate yeast is the first step. For some reason, this terrifies about 99% of the people I know. Not just the activating, but the rising, kneading and baking that usually comes with it. But baking soft cinnamon rolls or a loaf of homemade bread won’t happen without it. This the part you don’t want to miss–let me show you how easy it is!
Maybe you’ve heard or lived the horror stories of trying to bake with yeast. You didn’t make bread. You made hockey pucks.
You didn’t make cinnamon rolls, you made petrified stone for your flower bed. Flat, hard, dry stuff that just didn’t do what you thought it would. What went wrong? It was something with your yeast which works as the leavening agent (the thing that makes bread rise).
There are only two things you can do to yeast: 1) not wake it up or 2) kill it. Both of which will make your bread flatter than a flitter. Because we all have absolutely no idea what a flitter is, but it sounds good.
Where do I get yeast?
You’ll find yeast in the baking aisle near the flour. It’s sold in a jar (way too much for most people to use) or in a three pack strip. Simply cut one or two packets from the strip to use as your recipe states. Each packet is about 2 1/4 teaspoons of the jarred kind.
Is there more than one kind of yeast?
Yep. You’ll probably see “fast acting” (sometimes called Rapid Rise) and regular. I just use regular. You aren’t going to save any time with the rapid rise kind really. There’s also fresh yeast, but it’s harder to find and not worth talking about right now.
Before you activate yeast
Before you properly activate your yeast with my method, do me a favor and check the expiration date on the package. Flip over the strip and make sure it’s still in date. Even if it expires that month, you should be fine. Just don’t use it if it’s out dated. It’s probably useless and there’s no point in risking in.
How to activate yeast: Step 1
This is the part that usually gets people, but it’s easy.
Yeast needs warm water to activate. How warm? Experts say about 110 degrees but who’s checking that?
Here’s how I do it: run some tap water until it’s warm. Not hot. Just warm. Now bump the faucet till you can say “Well, that’s definitely hotter than warm. Not so hot I want to wash dishes in it or anything, but hot enough.”
That’s the temperature you want. Fill your cup with the amount of water called for in the recipe (usually a cup) and sprinkle your packet of yeast over the top of the water. You don’t even need to stir it in. That’s what I did in this picture:
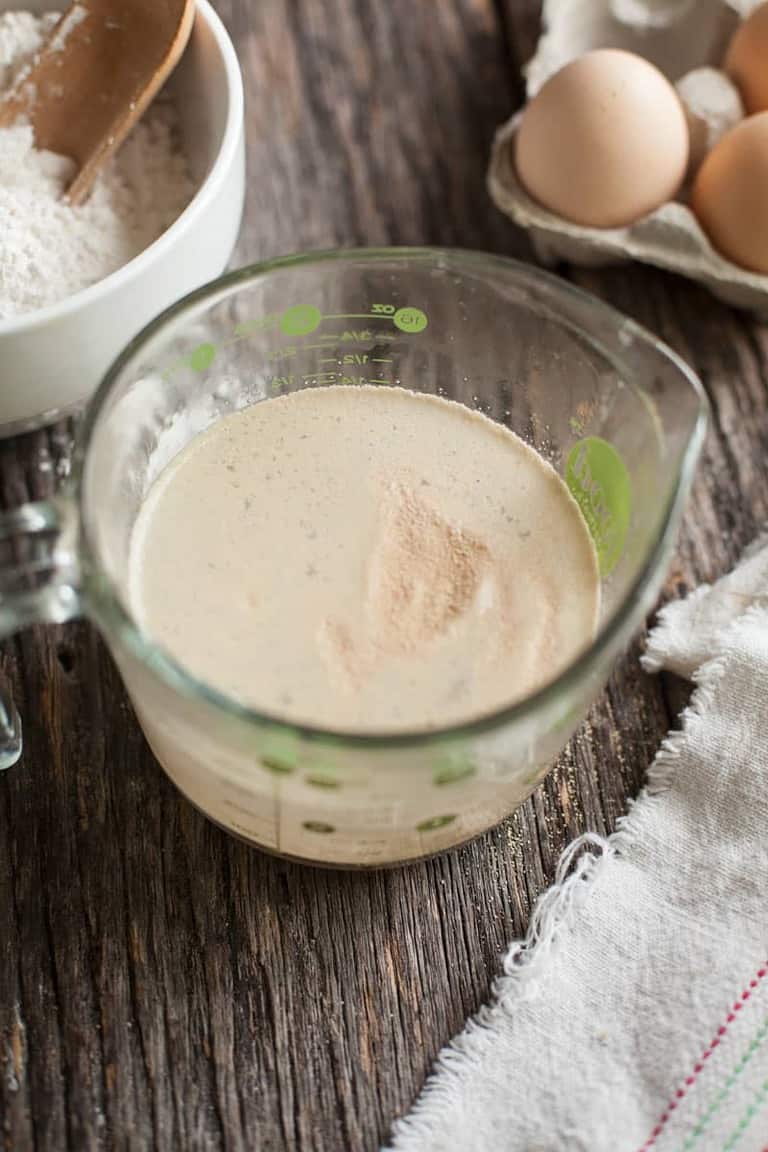
How to activate yeast step 2: Add a little sugar
Once you get the yeast on the water, add about a teaspoon of granulated sugar. Yeast is fed by sugar and this will help it multiply and activate with a little snack in its belly. Basically it speeds up the process.
Drop in the sugar and give it a stir with a spoon. After a couple of minutes it will start to look cloudy and have a little bit of foam on top. Be patient. The time is not yet! It looks like this:
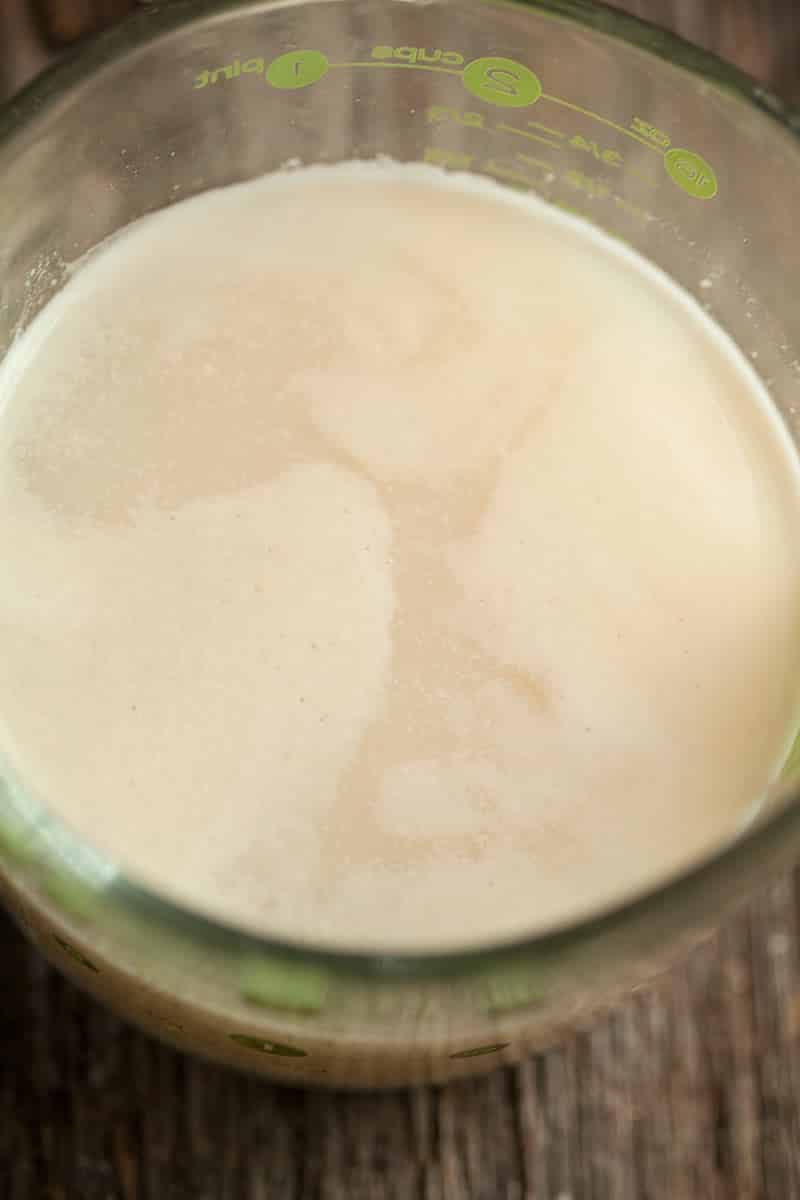
How to activate yeast step 3: Give it time
Depending on how warm your house is and how warm your water is, this step may take longer for some people. TV people say “five minutes” until your yeast starts to foam, but in my house where it’s cool right now, this step can take up to 15 minutes.
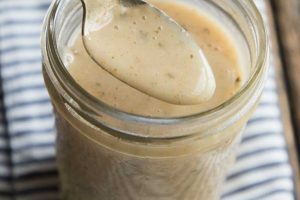
Sometimes I just stand there and watch my yeast like a nut case waiting to see something bubble to the top (and it will). When I see that, I just go ahead and throw it in my dough. But if you want to be totally sure, wait for this kind of foam or activity in the cup:
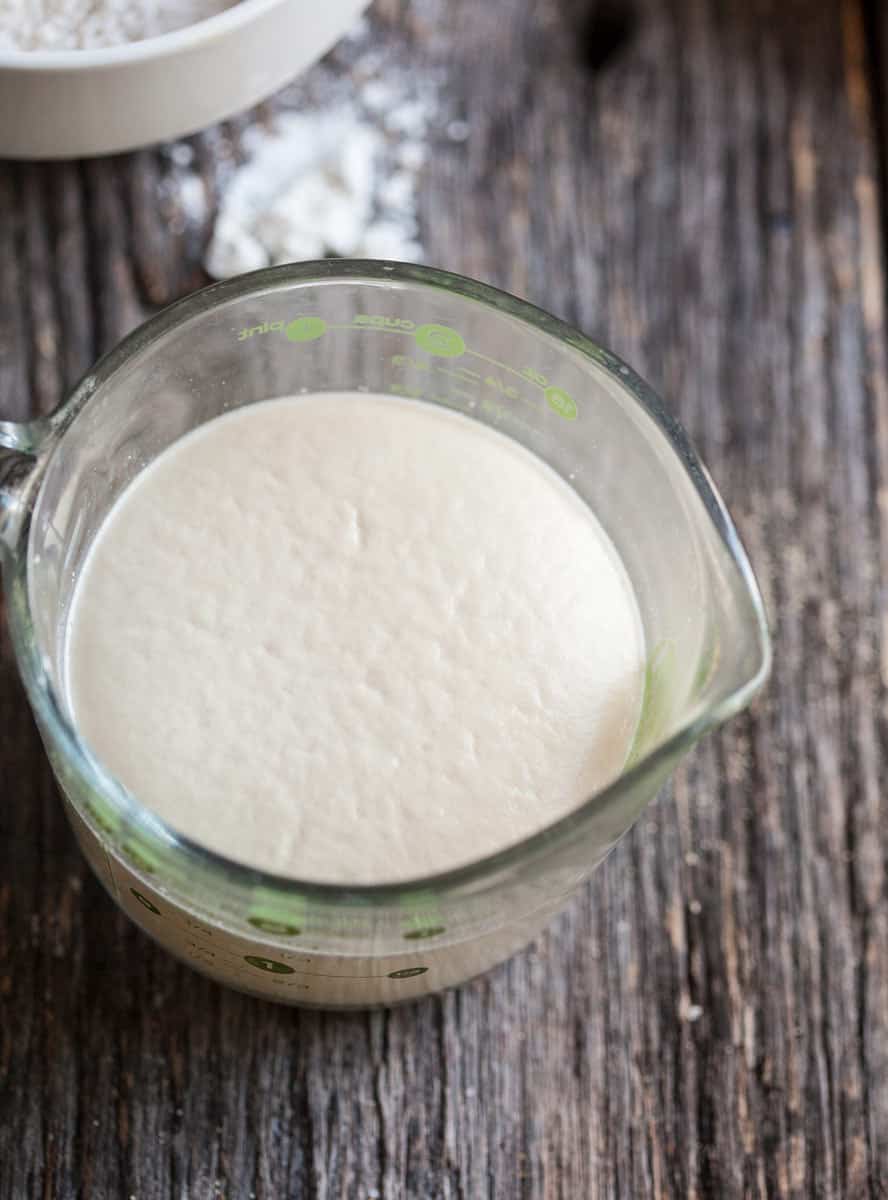
Once you see the foam, you’re ready to use your yeast in any recipe it calls for. If you DON’T see foam and you’ve been patient (given it 15 minutes or so), try again with another packet. If you made your water hot, try reducing that heat a bit and give it another try.
Just don’t go on and put it in your recipe like that. Lord knows nobody wants to waste hours baking something that is dead on arrival.
Still have questions? Watch me here:
Are you ready to bake? I knew it. 🙂
Get started with these easy recipes: Pull Apart Pumpkin Bread, Easy Yeast Rolls, or Soft Cinnamon Rolls.
Still have questions about how to activate yeast or anything on this topic? Comment below and let me know–I’m glad to help!


My yeast just has bubbles, This is my 2nd attempt to make butter rolls the first I think I killed the yeast so this time I used the warm tap water it has sat over ten minutes I’ll let it sit more but it looks like it needs stirring and there’s bubbles…
Help!
Hey Linda, thankfully you don’t have to stir yeast for it activate. By bubbles…you mean just a couple floating on the water? Or something else? Yeast doesn’t bubble…it makes thick foam. Watch this video I made and you’ll see it come up to the surface of the water. If you have something similar, you’re good to go: https://www.youtube.com/watch?v=CDQyp7DbYKg –Rachel
can i use monkfruit in the process of activating? i use this as a sugar substitute, i just bought my yeast at trader joes two days ago and have gone thru 4 packets and wont activate, dont know why, exp on yeast is 2022
Kathy the yeast activation doesn’t have to have a sweetener so just leave out the Monkfruit. As to the activation, it’s probably working and you just aren’t realizing it or you just aren’t giving it enough time. If the water is warm, just put the yeast in and wait. In some cases you may need to wait 10 or 15 minutes and all it will do is make some white foam that comes to the top of the water. It won’t bubble or fizz or do much fancy. I actually watch mine and as I show in the video that goes with this post, you’ll actually see some white thick stuff “roll” up to the surface. That’s all you need to see. Watch this video: https://youtu.be/CDQyp7DbYKg it should help some. –Rachel
Awesome!I just followed your steps on how to activate yeast and it was awesome! The best result I’ve ever had and I’m pretty sure that my chocolate bread will turn out really nice.
And just so you know, I happen to be one of those persons who wouldn’t dare bake a bread because of the yeast and kneading. All that’s in the past now. Thanks 😊
You can do ANYTHING! Very good luck with your baking adventures. –Rachel
Thanks for providing the step-by-step instructions for activating yeast! This is the first article I’ve found where the instructions worked.
I was previously making honey wheat bread that was so hard and unleavened that I practically needed a saw to cut it.
By sprinkling 1 – 2 teaspoons of yeast directly on the water in my measuring cup per your instructions and adding one packet (1 teaspoon) of “sugar in the raw”, stirring a little bit, not vigorously, it yielded a perfectly fine head of foam – about 1 inch thick after 10 minutes. For the water I used a 1/2 cup of filtered water (starting off at room temperature) that was heated for 20 seconds in the microwave I did the “clean finger” test to ensure the right feel for temperature.
I’ve also read that honey can mess up the leavening process so I’m thinking that for the next batch I’ll add honey after the yeast has been mixed in and after the dough has been initially kneaded. I usually heat up the honey a bit so that it is warm and runny before adding it to the dough. Is this the right way to do it?
Thanks again for the great article!
Hey Steven–No, you don’t want to add honey after the initial knead. That would result in an uneven distribution and overworking of your dough. I have no problems with honey interfering with dough rise. After all, conventional yeast is simply a fungus that gives off carbon dioxide and does virtually nothing else in dough. Compared to the living organisms in a sourdough there’s very little to disrupt in yeast. Salt is an inhibitor if they touch directly, and fat in dough makes it heavier causing it to need longer rise times. Unless you are using raw honey with its natural enzymes, there’s no reason the honey shouldn’t be added with the wet ingredients in your recipe. I use it often in bread with no issues. Good luck! –Rachel
Hi Rachel – thanks for your response.
I use Nature Nate’s raw, unfiltered honey…can that be mixed with the yeast, or will the enzymes in Nature Nate’s clobber the yeast?
You raise an interesting point about overworking the dough…how does one know when they’ve overworked the dough with too much kneading? (Perhaps you’ve already covered this in another article).
Thanks again!
I don’t see any reason it won’t work. If you activate the yeast with the honey in the water you will be able to see immediately if it’s going to work or not. I think you’re truly worrying about something that isn’t a problem though–otherwise all the honey wheat bread bakers of the world have pulled some sort of massive trick on us all. When dough is over worked it is dense, stiff and hard to shape. It tears rather than stretches (tearing also occurs with under worked dough, but underworked dough doesn’t feel like you’re trying to knead a rock). I have a dough kneading video and post here on the site and a youtube video all about baking bread you can check out for further information if you need it. –Rachel
I have a very old pastry recipe that calls for cake yeast which I don’t have time to order online or drive any distance to get it. RE substituting active dry, I already know the ratio and I also know how to proof it, but if the recipe calls for refrigerating the pastry dough overnight, do I activate it while I am making the pastry dough?
Help me here a bit LeslieAnne…shouldn’t the yeast be in the pastry dough? Walk me through your recipe and I’ll help you further. –Rachel
My recipe called for stirring the yeast and waiting 5 minutes. Turned out this made the yeast clump up. Perhaps it would have come alive eventually after 30 minutes it still looked inert. Perhaps that clumping made them compete for resources and they never woke up. Don’t know.
Anyway, waiting longer and NOT stirring turned out to be the right call. Thanks for the advice.
Clumpy yeast activates just like any other and has no effect on whether it activates or not. It was likely a water temperature issue the first time around. –Rachel
What if recipe calls for milk 120’to 130 degrees. There is no water
You just activate the yeastin the milk exactly the same way but don’t heat it to 130. That’s too hot for yeast. 115 is the standard. –Rachel
Recipe called for warm milk which did not work so I tried 1/2 c warm water and after about 10 minutes it’s starting to double in the cup. Is it ok to add warm milk to this now as the recipe calls for 1 1/4 c warm milk?
Warm milk will activate yeast. If you warmed it in the microwave it may have had hot spots in it that killed it, or it simply may have been too cold. If you activated it in water, you could add the 1/2 cup water and then 3/4 cup of milk. You need that liquid total to still be 1 1/4 cups. –Rachel
I am making cold dough cookies. Recipe uses 1 2 oz. cake of fresh yeast. And 1/4 cup lukewarm milk. I cannot find fresh yeast down here in the south so I have to use Active Dry Yeast. Can I use the milk instead of the water? And how much milk would I use?
And if I can’t use the milk, how much water would I use?
Jamie you’ll need to use about half as much active dry yeast than the fresh yeast amount. So 1 ounce of active dry. You’ll need a scale to weigh it if you want it to be truly accurate. And yes you can use milk, just use whatever is called for in the recipe you’re making (1/4 cup) and move forward. –Rachel
Is it normal for the yeast to dissolve or am I using water too hot?
Yes, it can dissolve. Sometimes mine is just laying in a clump on the bottom. As long as it foams and activates, it’s fine.