
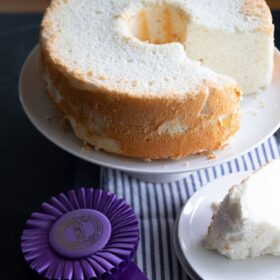
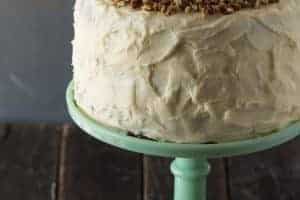
Blue Ribbon Angel Food Cake
Break out the prize for this blue ribbon angel food cake. It’s an amazing shift from the plastic carton store bought version that’s always seemed easier–you’ve always been sure angel food was way too hard to make from scratch. But ta-da! The steps are simple and the final result is light, airy and delicious.
Jump to Recipe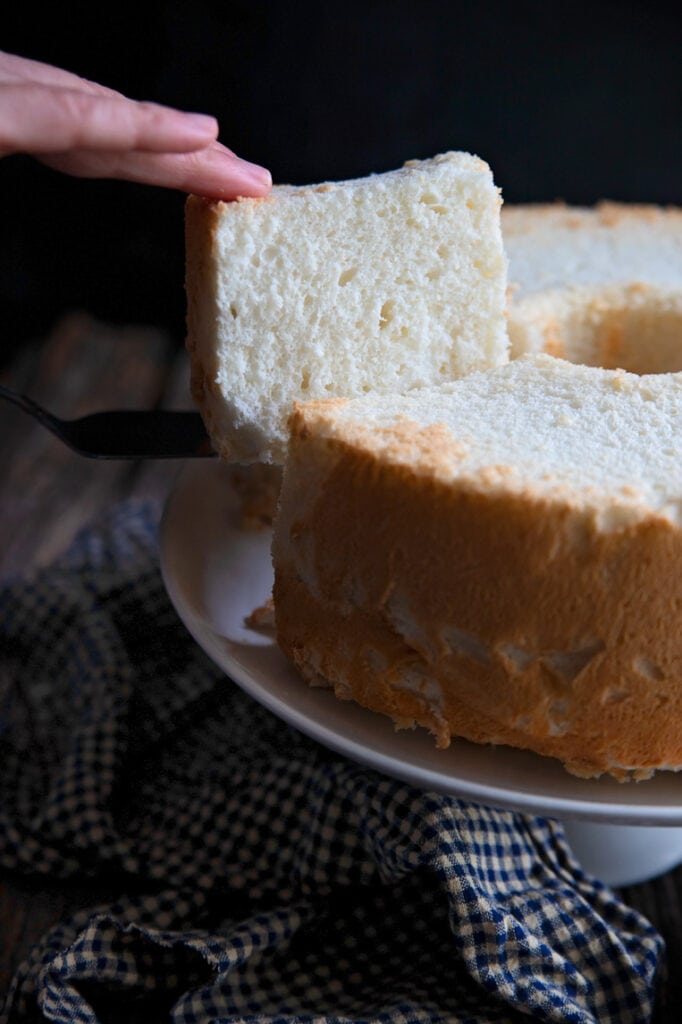
I’m always a supporter of being able to control the ingredients in your food and cooking at home is the best way to be able to do that. And yes I know it seems like a chore when you pass those plastic clam shells of angel food cakes in the deli.
Why would you bother to make your own angel food cake when store bought is so good?
Lots of reasons. Mainly ingredients like sodium lauryl sulfate (the same sudsing agent used in shampoo!), artificial flavor, and sodium propionate as a preservative. I can’t buy any of those in the grocery store as ingredients for my food and they are not welcome in my kitchen.
Not to mention that this cake took basically no time to make–maybe 20 minutes total to mix and about 35 to bake–and as long as you know how to fold the batter together you don’t have to be scared of it falling or collapsing.
This ain’t souffle making people.
Is angel food cake healthy?
No healthier than any other cake really. I am not a believer in the idea that eggs are evil or that natural sources of fat are bad. Pastured egg yolks are great for the body and not something that we avoid in our house. In this case you have a cake with flour and sugar in it–both of which I’d be far more concerned about than the eggs or cholesterol you’re skipping.
Cake step by step
Step 1: Start by sifting your cake flour four times. Yes, four. I do this over parchment paper and just keep dumping it back in the sifter. You do need cake flour for this recipe. If you don’t want to buy a box, just replace 2 tablespoons of the flour with cornstarch. Read the recipe notes for further details.
Step 2: Use a clean bowl (make sure there’s no grease or residue in it) and a hand mixer or stand mixer and beat the egg whites along with the salt, cream of tartar, and extracts until soft peaks form. If you don’t know how to separate eggs, watch this video.
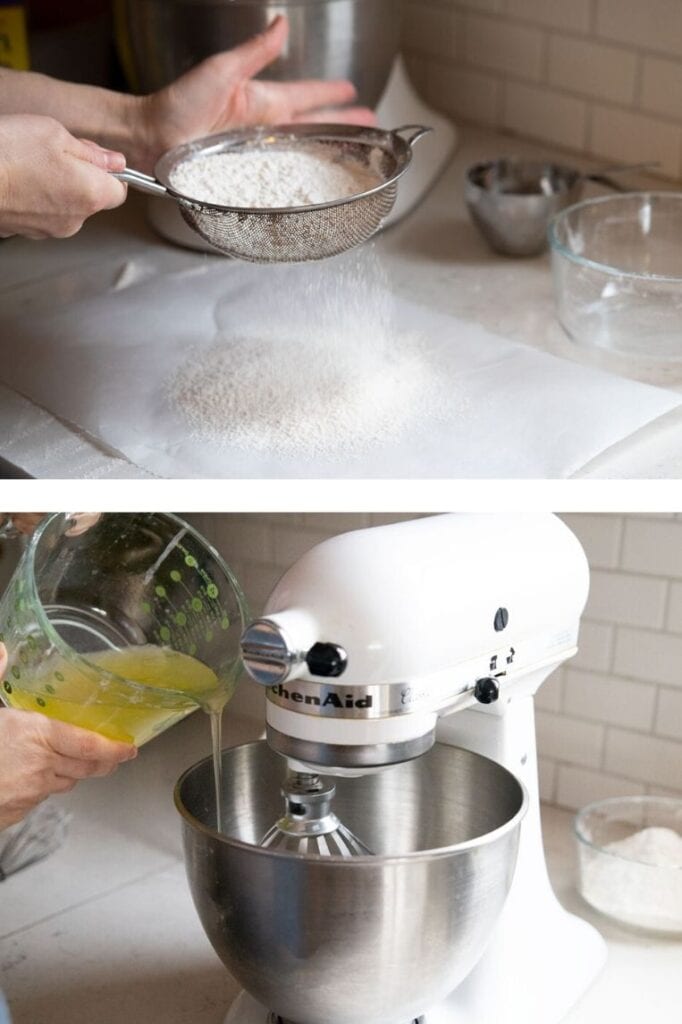
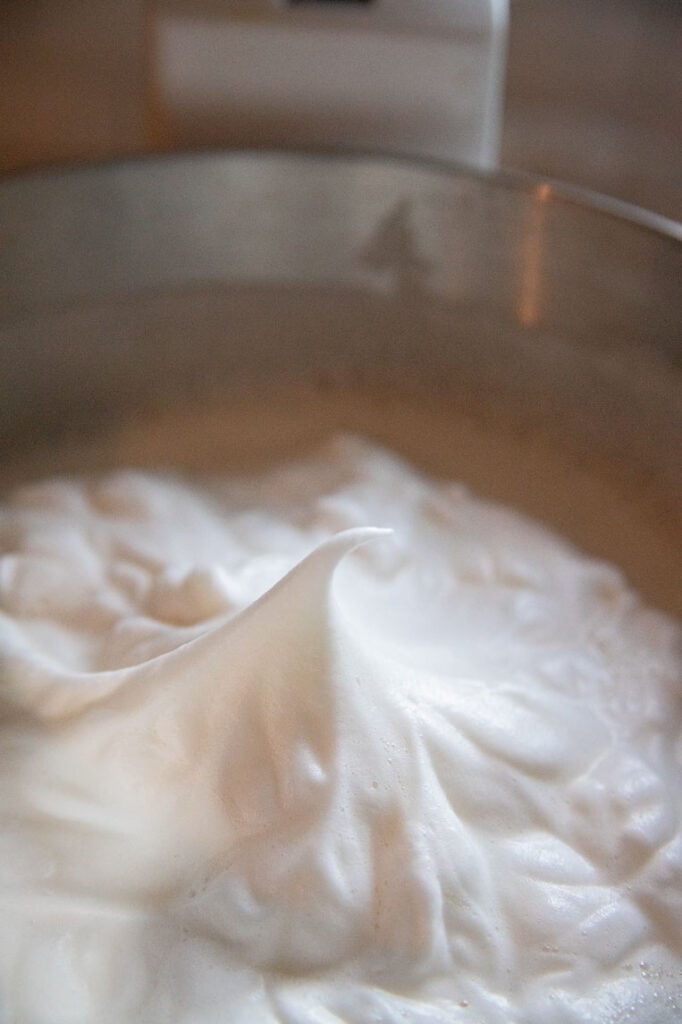
Step 3: Beat the egg whites for about 5 minutes until the top tips over gently. With the beaters running, gently add the sugar 1/3 cup at a time. There’s no real need to beat a long time between each addition. Just get it in there.
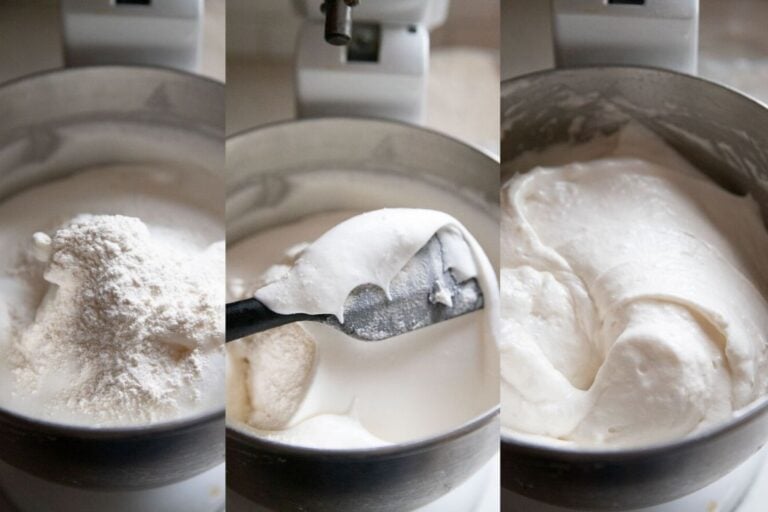
Step 4: Carefully add the flour. Okay young Jedi master. If you don’t know how to fold stop now and watch this video. If you stir this you’ll knock all the air out of your cake. Use a spatula–not a whisk or a fork or some such nonsense. Be gentle and fold the mixture until no pockets of flour remain. This will probably take you 3 or 4 minutes to do. Be patient and try not to knock all the air out of your hard work.
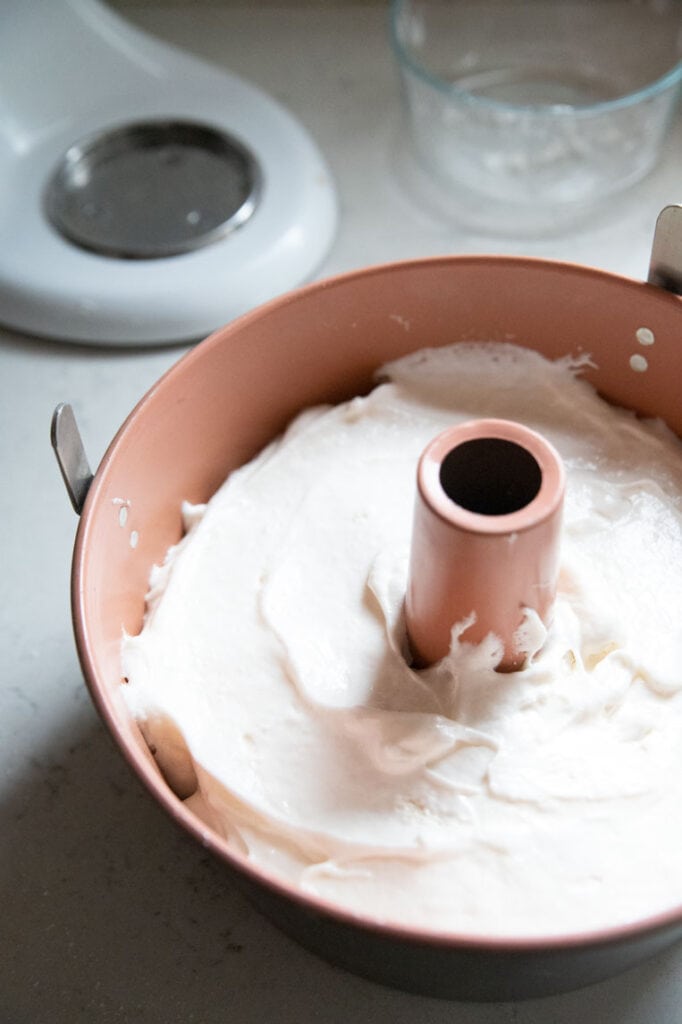
Step 5: Transfer to your angel food cake pan. Remember YOU DON’T GREASE ANGEL FOOD CAKE PANS. If you did, the cake wouldn’t be able to rise. Resist the temptation. Hold your bowl of egg whites really close to the pan as you scrape it in gently. If you hold the bowl up high and scrape it in you’ll knock out more air.
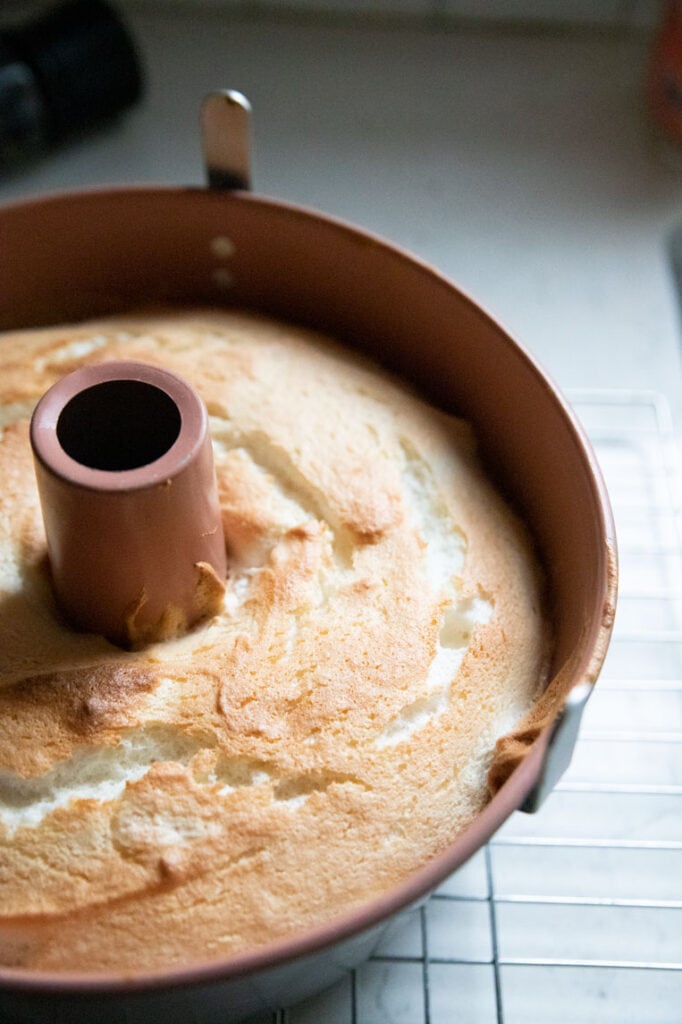
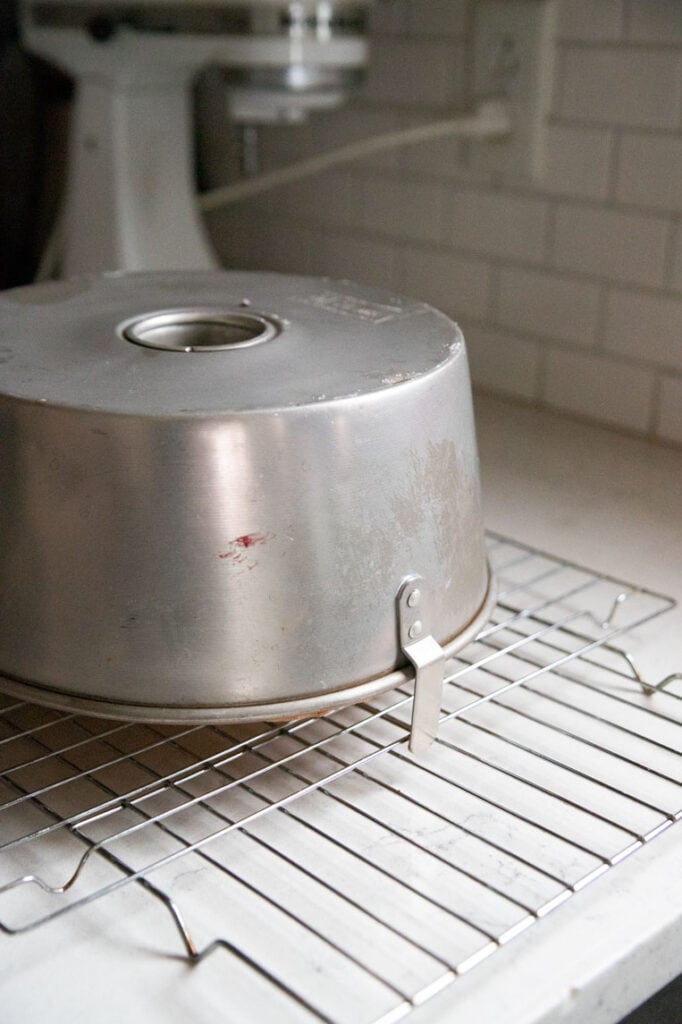
Step 6: Bake and turn. Bake 35 minutes or until a toothpick comes out clean. Remove from the oven and turn upside down to cool for one hour on those cute little feet on your pan. Use a sharp knife to loosen it after the hour is up and transfer to plate or cake stand. Store at room temperature for up to 3 days.
Can angel food cake be made in a different pan?
You can use a bundt pan if you’d like. They are round like an angel food cake pan but don’t have feet and aren’t usually as deep. You can turn the pan over on a can or glass bottle to cool.
Some people make theirs in a loaf pan. I haven’t tried that method but you are welcome to give it a go.
Can this cake be made gluten free?
Yes! I use King Arthur’s Gluten Free 1:1 baking mix and while I haven’t tested this particular recipe with it, I know it will work just fine. You would want to adjust it per the instructions for cake flour first.
Other cakes you’ll want to check out
For tons of details on becoming an awesome cake maker, get the full scoop with Everything You Need To Know for Southern Cakes.
Blue Ribbon Angel Food Cake
Equipment
- Angel food cake pan
- Sifter
Ingredients
- 12 egg whites
- 1 1/2 cups cake flour
- 1 1/4 teaspoons cream of tartar
- 1/4 teaspoon salt
- 1 teaspoon vanilla extract
- 1/4 teaspoon almond extract
- 1 1/3 cups sugar
Instructions
- Preheat oven to 375.
- Sift the cake flour four times and set aside. See note 1 for how to make cake flour if you want to make your own.
- In a clean bowl or stand mixer add the egg whites, cream of tartar, salt and extracts and beat until soft peaks form. (A peak that falls over), about 5 minutes
- With the beaters running, add the sugar 1/3 cup at a time until just blended. Add the extracts.
- Gently add the flour to the egg whites and use the folding technique to mix the flour just until no pockets of dry flour remain. To fold, cut down through the center, come up the side, flip your spatula and cut down the center again. DO NOT STIR.
- Transfer the mixture to the angel food cake pan that is not greased. If you grease it your angel food cake will not rise properly.
- Bake 35 minutes or until a toothpick comes out clean. Turn the pan upside down and cool one hour then loosen with a sharp knife and turn out to cool completely.

what size should the pan be?
You’d need a standard size angel food cake pan.
Hi Rachel, just came across this on your fascinating website! If I cut the sugar down to a cup, would that affect the end results of this recipe? Thanks!
Hi Beth, you know, sponge cakes like this are very delicate. They are more science than cooking and there’s a specific reason each ingredient is used as it is. So my answer is: I haven’t tried it. It may not rise correctly and it might dry out but you are welcome to give it a go. –Rachel
Hi Is it 11/3 cup of sugar. Or 1/3 cup of sugar?
Hy Daniela, it’s one and 1/3 cups. 🙂 –Rachel
have you ever tried to make a mini cake? I was given 6″ angel food cake pan.
Oh that would be so fun! I’d make a half batch of this recipe and reduce the baking time. –Rachel
When do the extracts go in?
They go in that spot where I left ’em out Bruce! LOL. I fixed it. 🙂 Sorry about that. –Rachel
Thanks Rachel. I decided to cut the cake into layers and do a blackberry jam to put in between with a chocolate mousse. Didn’t want to risk a soggy cake.
I think that was very smart!
Any tips for adding fruit such as blueberries or strawberries into the batter so there is fruit in the actual cake itself?
Hey Justine, so the trick with a cake like this is that if you add fruit to the batter it’s likely to do two things: 1) sink like a brick to the bottom or 2)weep juice into the cake making it soggy in pockets around the fruit. Now you’re welcome to try but I think you’ll be unhappy with the results. If it were me, I’d toss my fruit with the flour after it has been sifted to help prevent sinking and fold it in really gently before baking. You might have more luck making those berries in to a sauce and swirling in streaks of it after adding it to your cake pan. Good luck! –Rachel