Southern Fried Chicken Legs
Southern fried chicken legs are crispy and seasoned just right. Made without inflammatory oils, make your version with the right flour for your health goals (or keep it classic) but never sacrifice flavor.
Jump to Recipe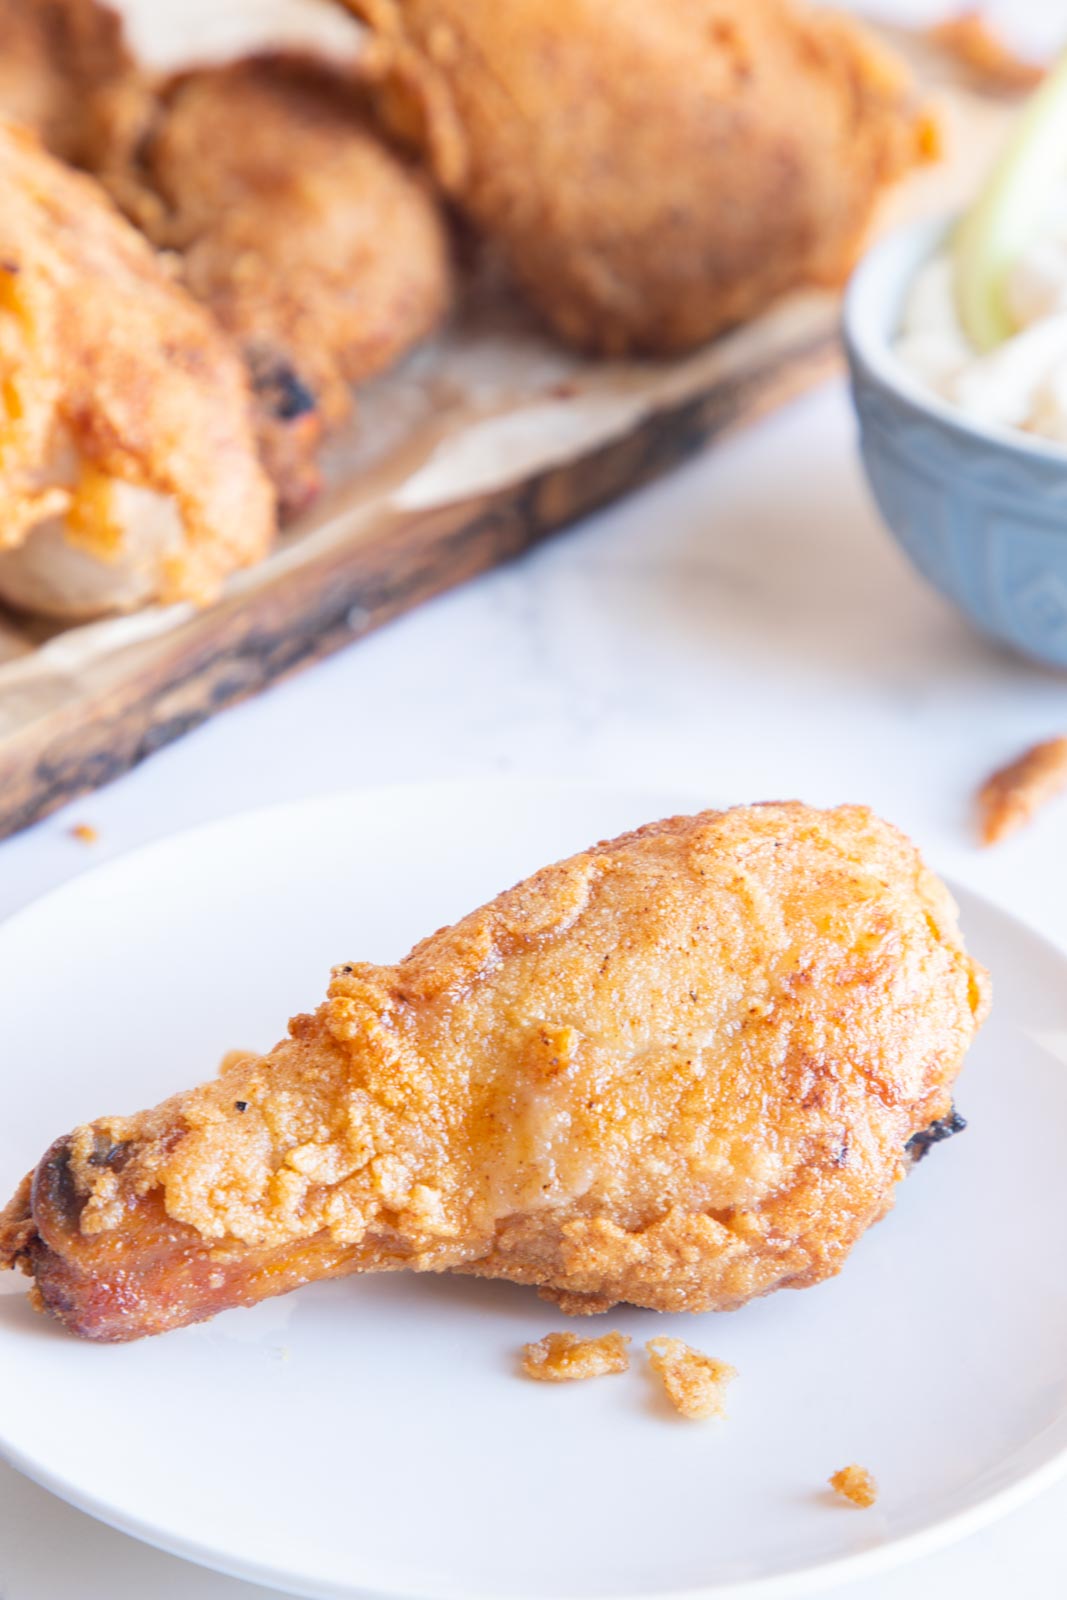
Chicken legs are so much more affordable than some other cuts, and they make the perfect smaller portion lunch or dinner. If you are ready to tackle it, you can cut up a whole chicken yourself or just pick up a few packs from the store.
If you’ve never fried before, take courage.You’ll get better as you practice but rest assured if you keep your oil temperature up high enough and have patience you’ll do a great job!
What’s the secret to the best fried chicken legs?
As with any recipe, there are a few tips and tricks that will take your southern pan fried chicken from good to great. Here are some of mine.
- Keep the frying temperature right. We want to cook these chicken legs slow enough that the skin renders its fat and isn’t rubbery underneath, but not so low that the breading sweats and falls off. Your frying fat should be about 365 degrees to give time for the meat to cook through to the bone without burning the outside.
- Season your flour. The flavor of your flour and buttermilk marinade are everything. Don’t be afraid to follow the measurements for salt in the recipe, and boost in more spices if you’re feeling froggy.
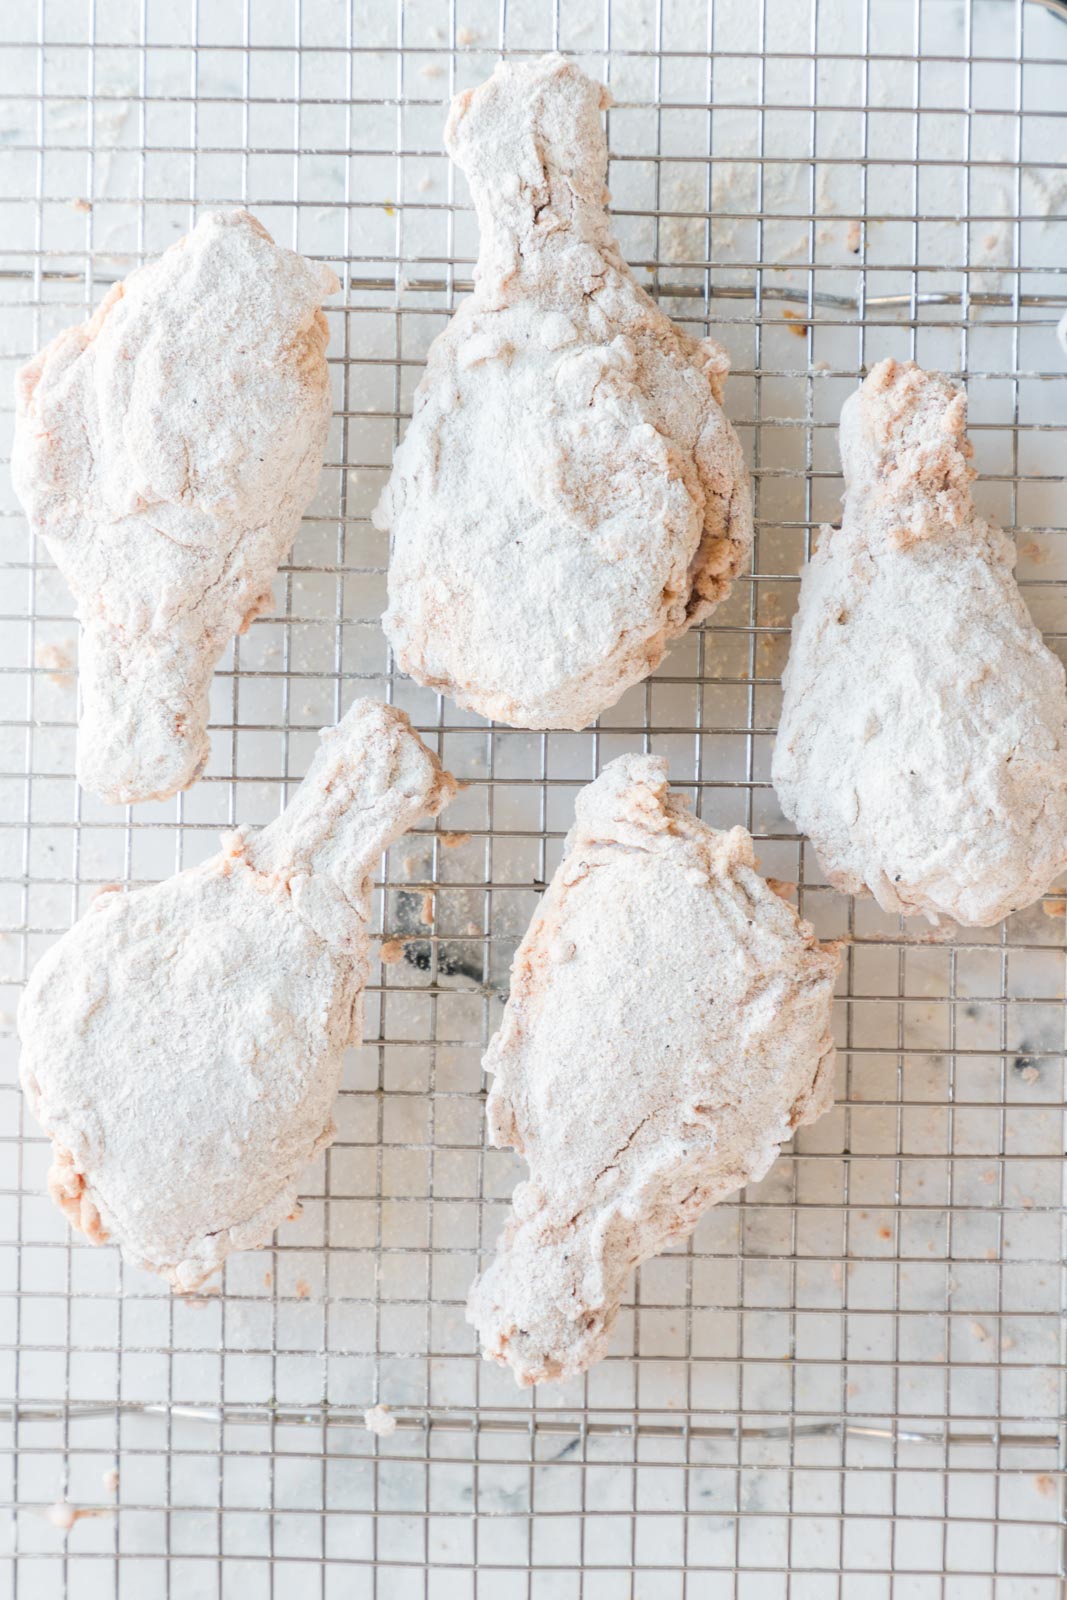
- Let the breading sit. After breading the chicken, allow it to sit for a few minutes. The breading will bind to the chicken, making it less likely to fall off in the frying process and more crispy in the end.
Spices you can add to the flour
It is crucial to season the flour here. It will impart added flavor to the chicken. Always start with salt and pepper. You’ll need more salt in the flour than you think you will!
If you are looking to get a little more creative, feel free to add garlic powder, onion powder, or even some of the awesome copycat KFC spice found in this recipe.
What if I don’t have buttermilk?
I’d recommend not skipping the buttermilk and not using some sad substitute of lemon juice and milk. It’s just not the same.
You could marinate in plain yogurt or even sour cream though that are thinned with a bit of milk or water.
How to prepare chicken legs for frying: The breading steps
Step 1: Add the chicken legs to a bowl and cover with buttermilk, hot sauce and salt. Let the mixture sit as long as you can. At least one hour but overnight in the fridge is even better.
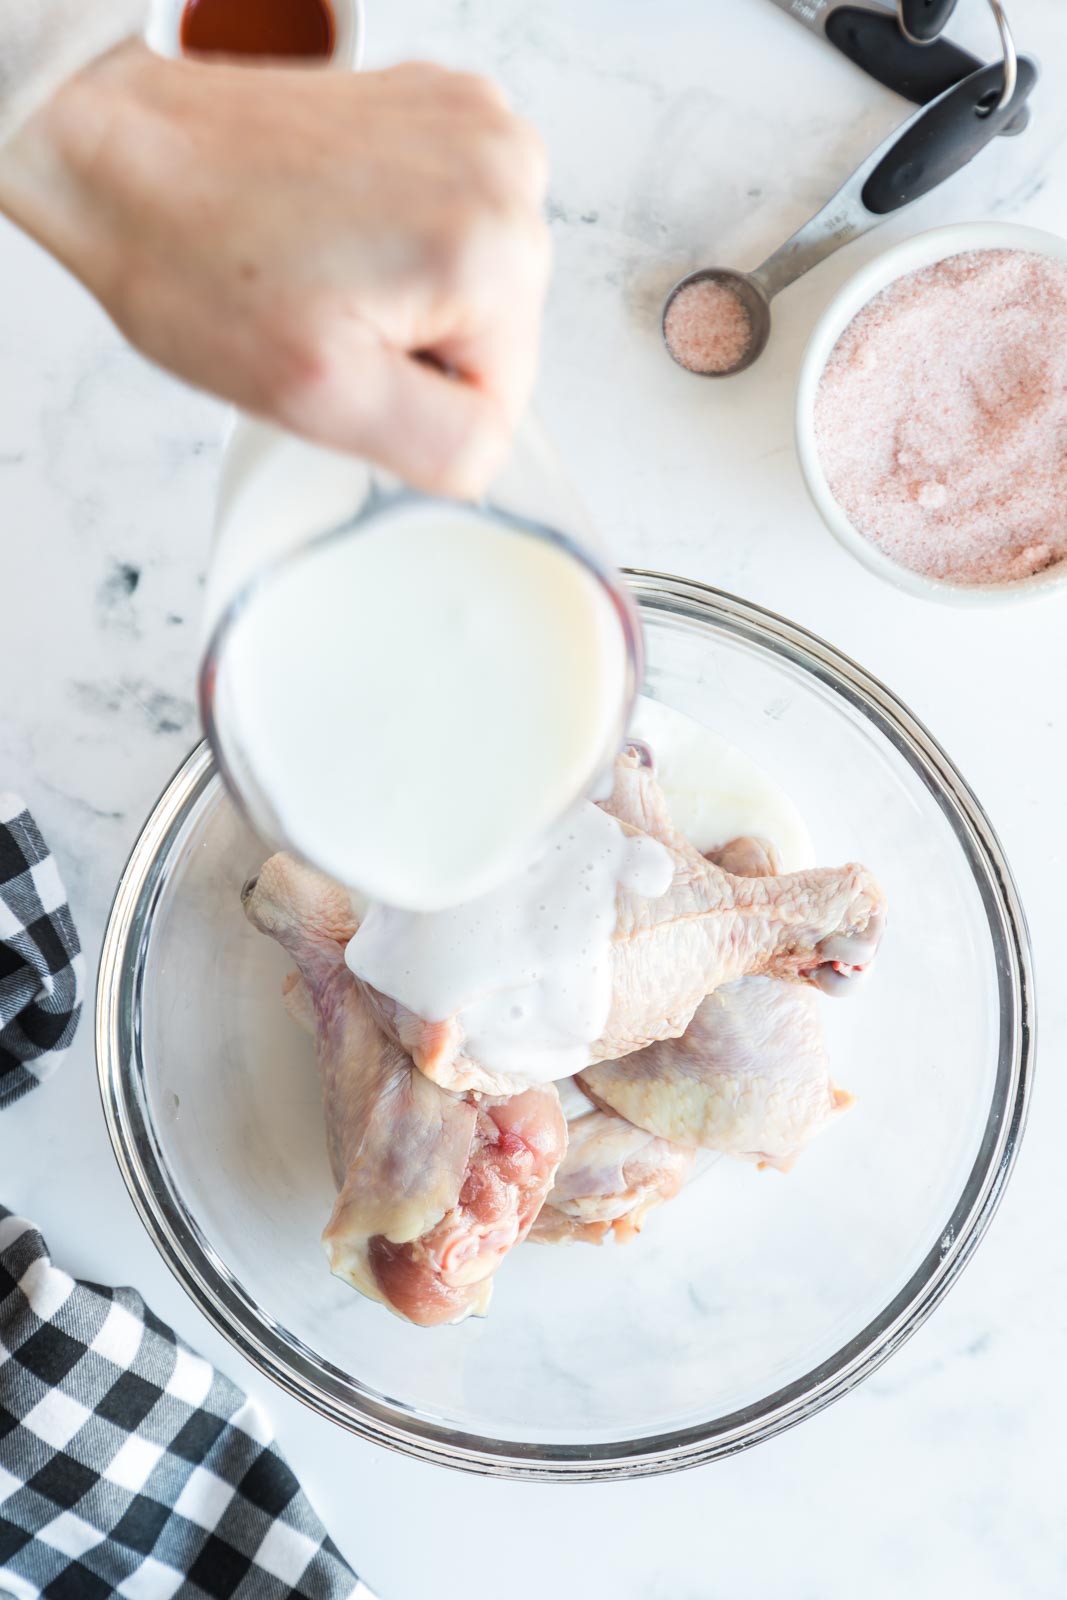
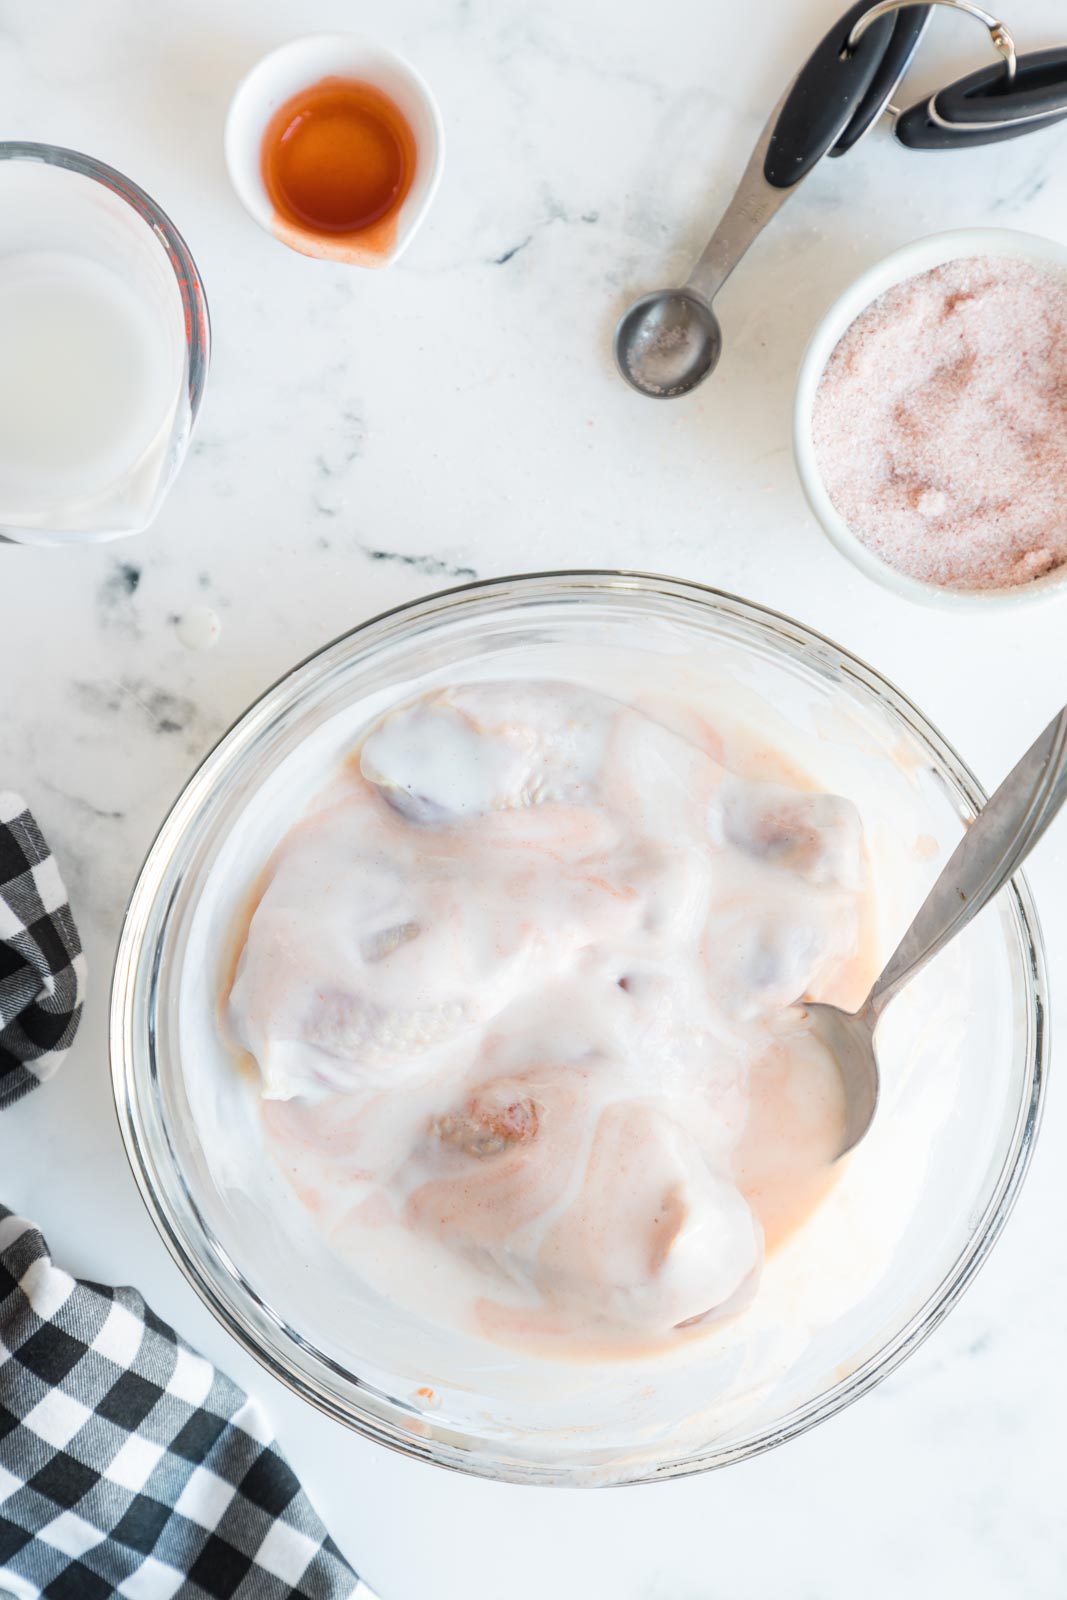
Step 2: After marinating chicken legs, prepare your flour with spices and start warming your frying fat.
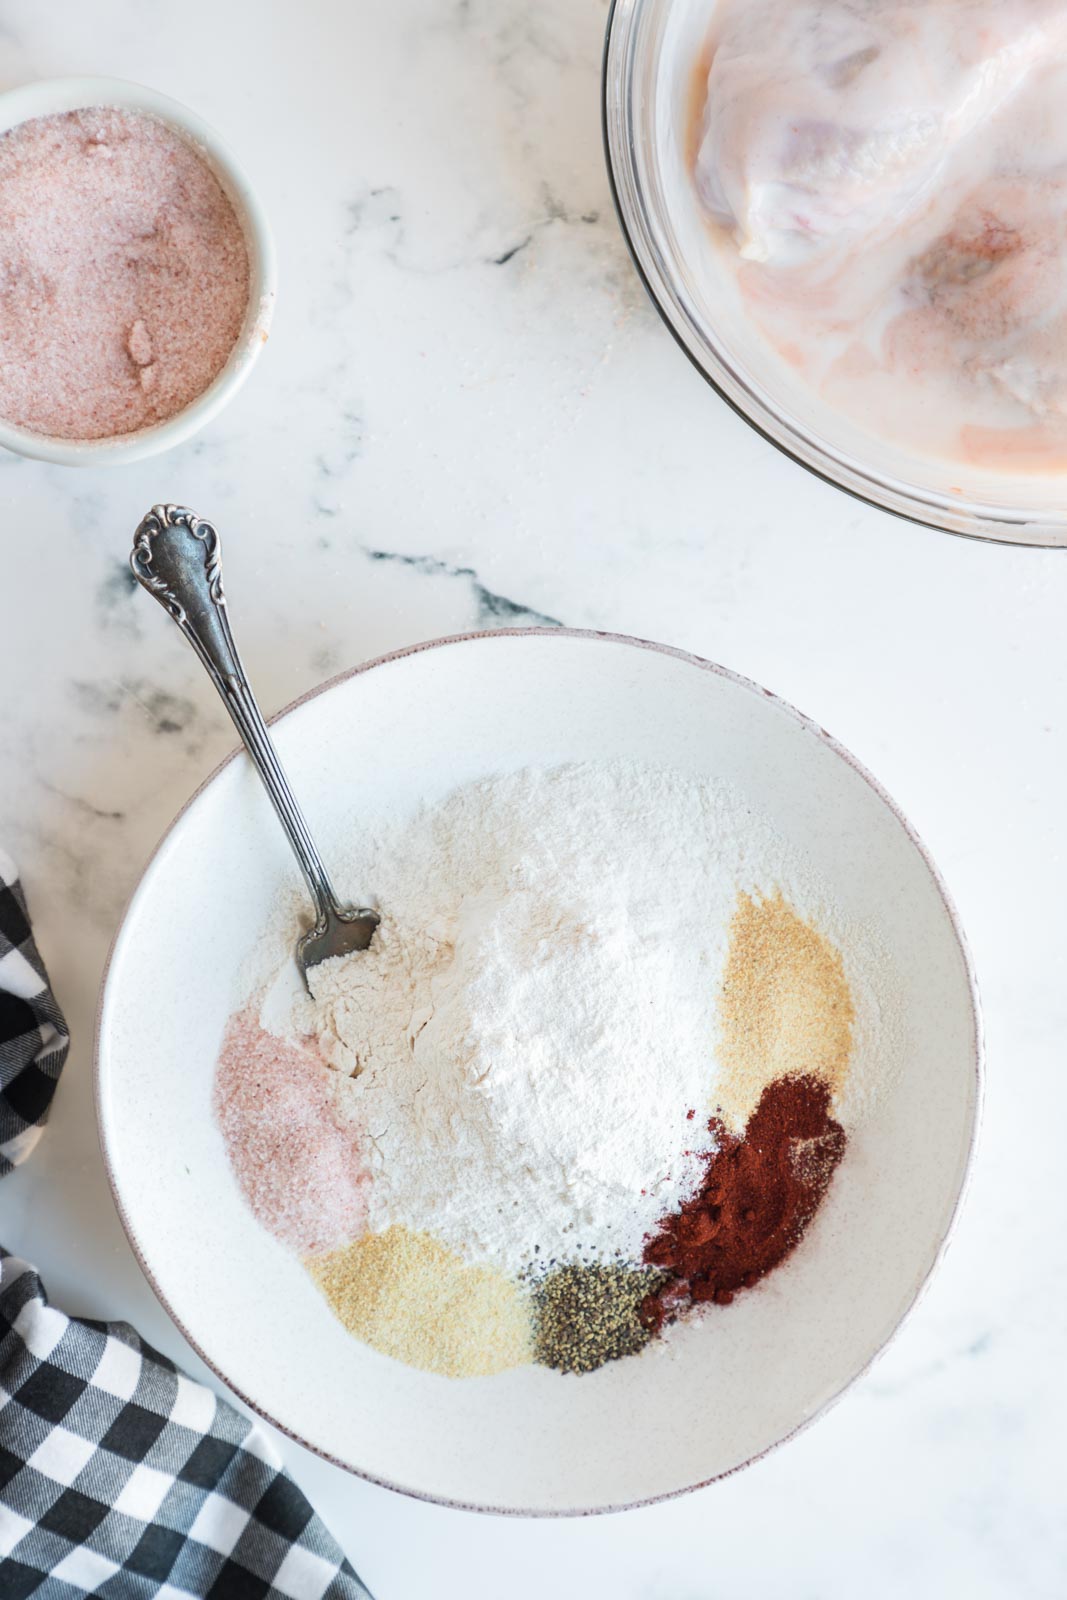
Step 3: Place chicken legs in seasoned flour and use your hands or tongs to press the flour into the chicken very well on all sides.
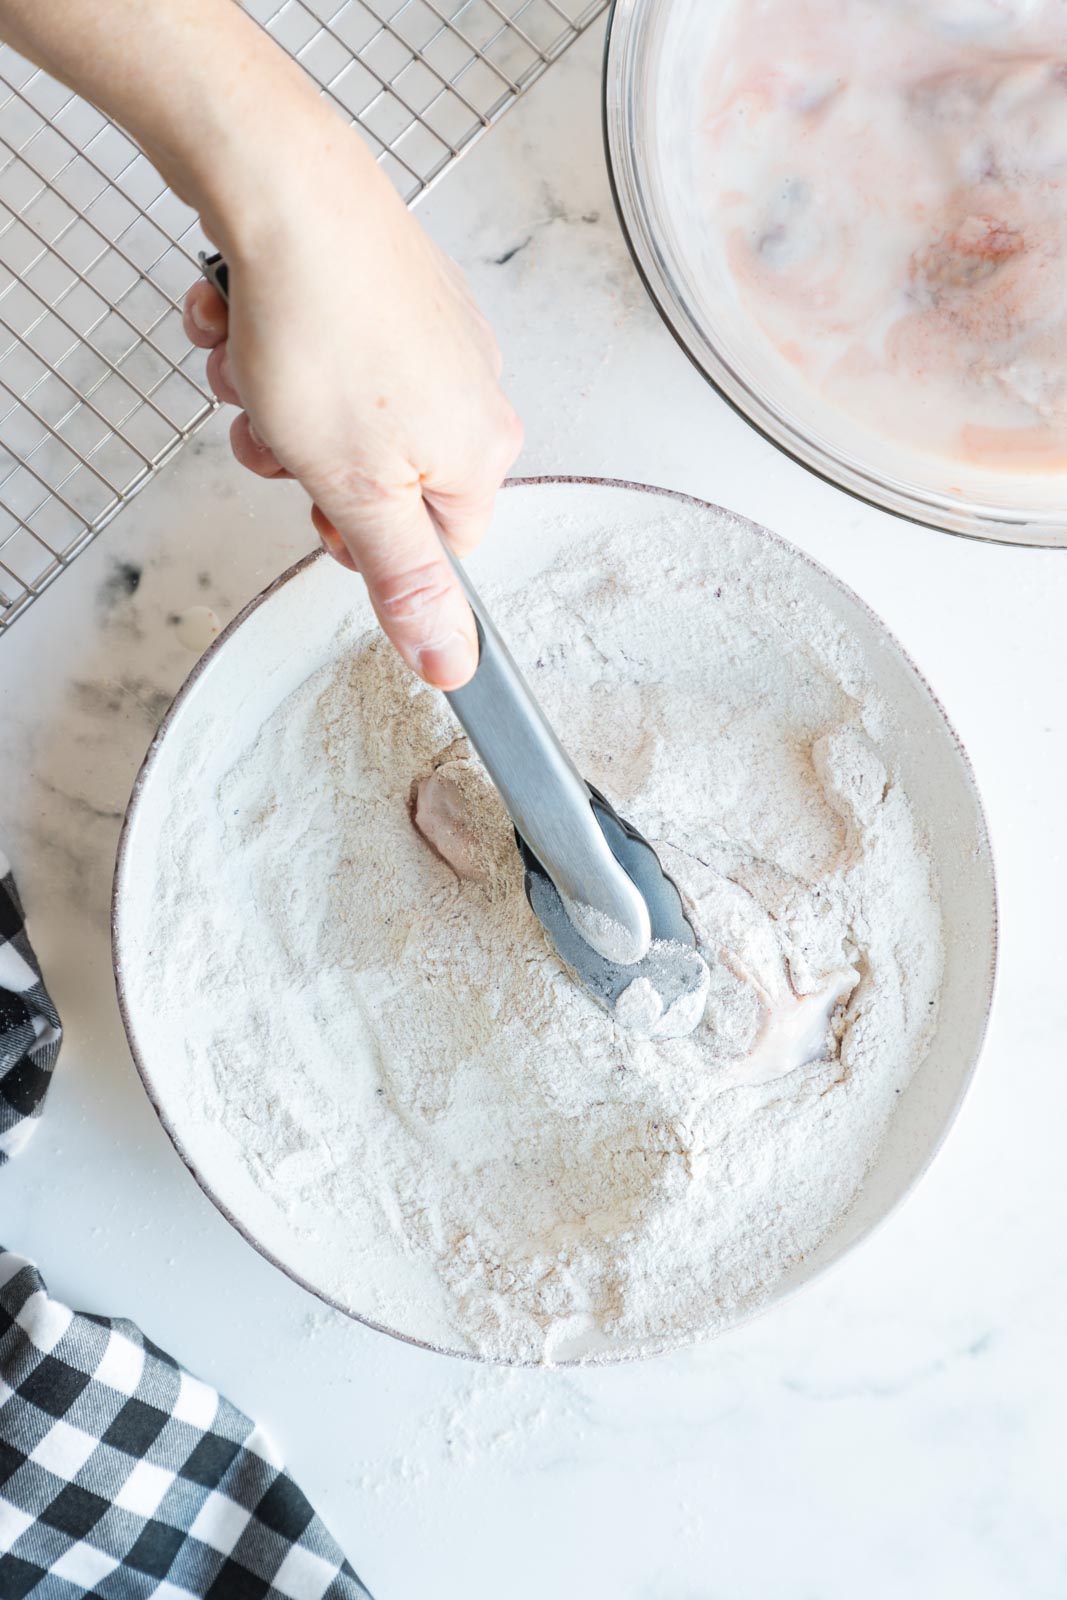
Step 4: Let the chicken legs rest 5 to 6 minutes before frying to let the breading set.
Why do you boil chicken legs before frying?
Never boil chicken legs before frying.
Cooking the chicken in water would cause the meat to hold water and lead to over cooked, dry chicken even if you managed to get it fried.
The moment you try to bread the boiled chicken, the steam emitted from the hot poultry will cause the breading to fall right off.
How long does it take to fry chicken legs?
This recipe calls for a bone-in cut of chicken, which will take a bit longer to cook than a boneless piece of equal size.
This means it will have to sit in the frying oil for a bit longer (roughly 15 minutes total). I suggest turning the heat down slightly, aiming at 365 degrees F, as opposed to the typical 375, to prevent burning.
What oil is best for frying
Too often people reach for vegetable/canola oil for frying. These oils are inflammatory, highly processed and something we avoid.
Reach instead for refined coconut oil (don’t worry…if it’s refined it won’t lend a coconut flavor) or high-quality lard from Thrive Market.
What makes chicken legs crispy?
The right frying temperature is the most crucial element when it comes to achieving crispy chicken legs.
The trick is to heat the oil to a temperature that will allow the chicken to stay in the pan long enough for the meat to render its fat from the skin and cook all the way through without the breading burning. Keeping your oil at 365 degrees will help with this.
If you aren’t sure when you’re fat is ready, drop a bit of breading or leftover flour into the skillet. If it sizzles, you’re good to go.
If you over crowd the pan the temperature will drop, causing the chicken to sweat and the breading to fall off.
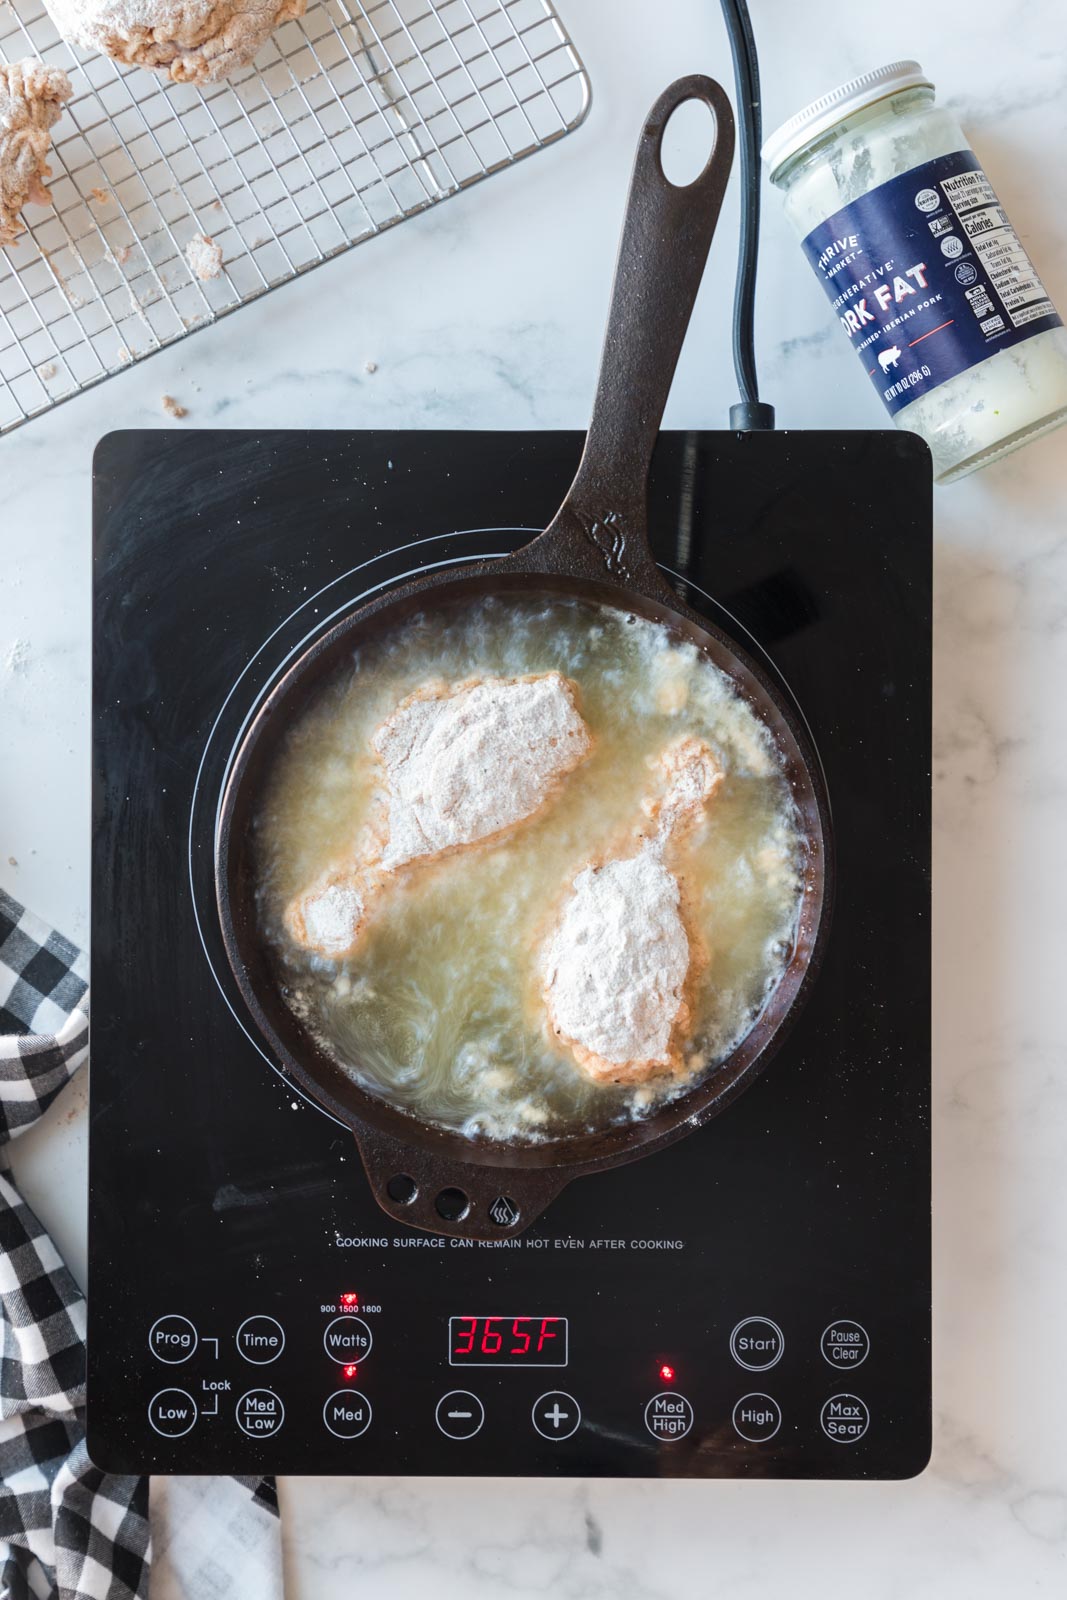
Fry your chicken legs without crowding them in the skillet. Give them an inch of space between and just cook two or three at a time as your skillet allows.
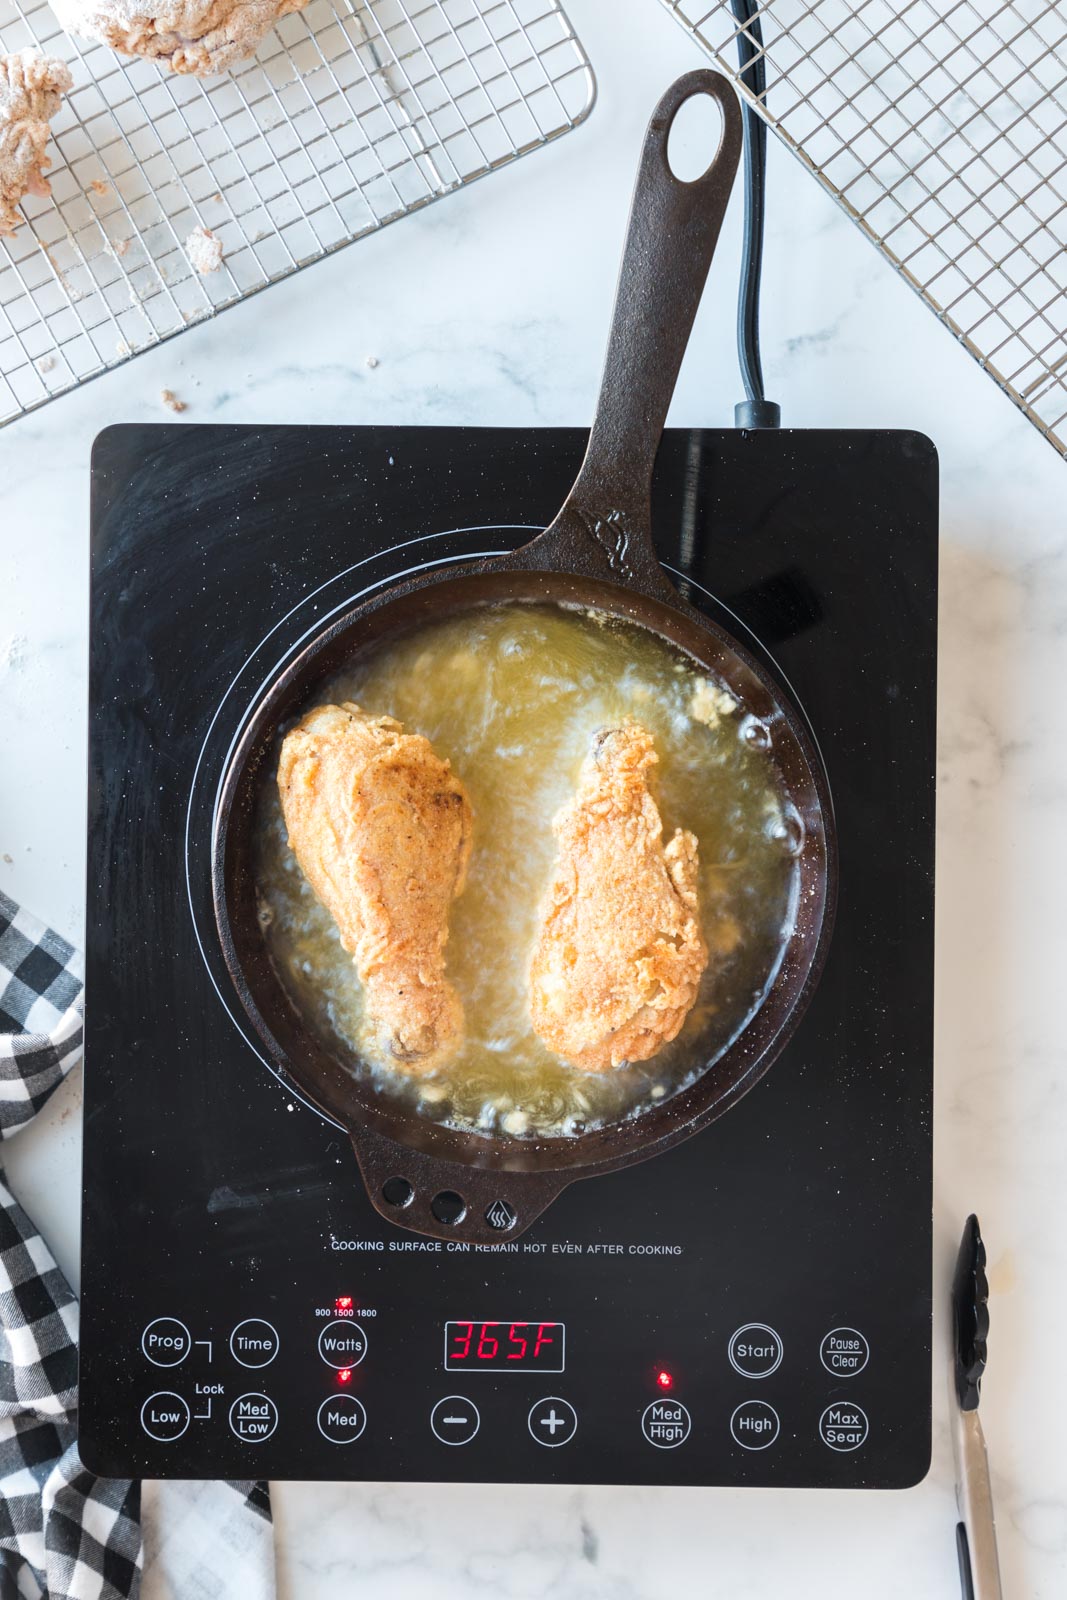
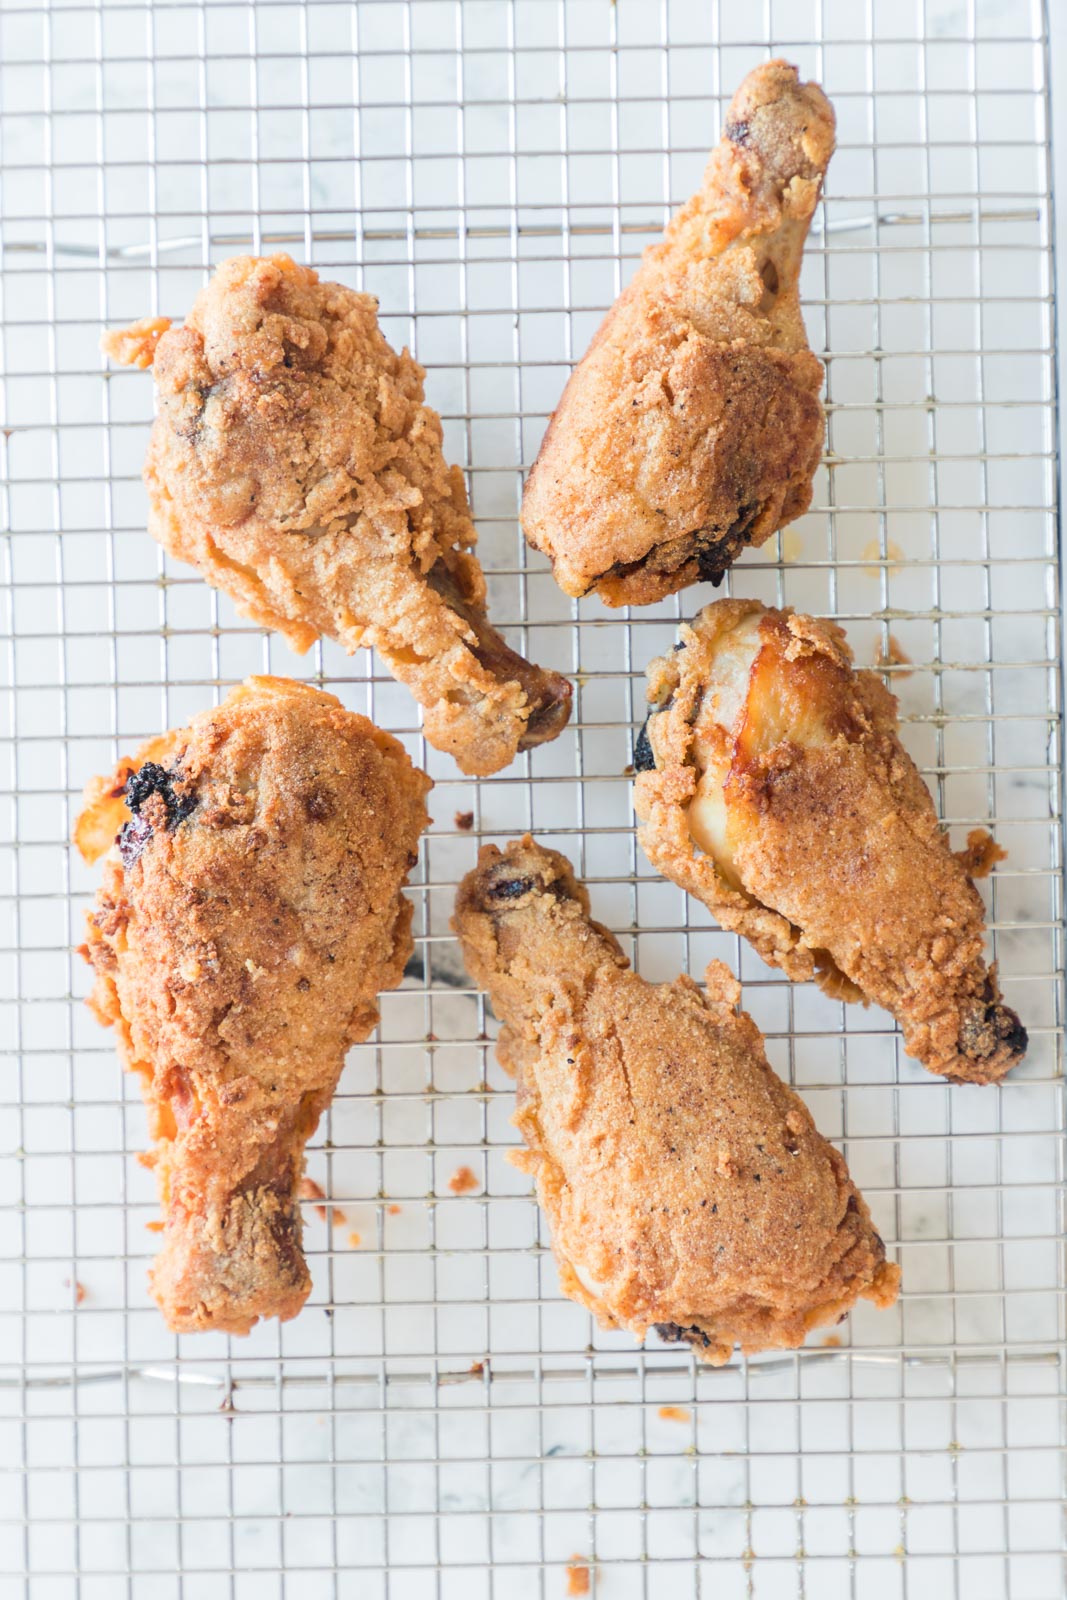
Let your southern fried chicken legs rest on a cooling rack 10 to 15 minutes to allow the breading to crisp further and the juices to redistribute into the meat.
To make fried chicken legs gluten free
This recipe is easily adaptable to those of you who are gluten or grain free like I am. Simply substitute the wheat flour for your favorite 1:1 gluten free flour.
If you are living a grain-free lifestyle, cassava flour is my favorite.
How do you know chicken legs are cooked through
You can do this the old-fashioned way by cutting into the largest piece of chicken in the batch close to the bone. Juices should run clear. If they do not or if you see pink, it needs a little more time.
Want to be more scientific? Poke a meat thermometer into the thickest part of the largest piece. It should read 165 degrees F.
Let your legs rest
It might be tempting to dig right into these delicious pan fried chicken legs, but have a little patience and allow them to rest.
This will give the juices a chance to settle into the meat and allow the breading time to firm up.
Spread the fried pieces on a baking sheet. Stacking steaming pieces of chicken on top of one another will lead to soggy breading, so leave plenty of space between the legs.
Allow them to rest for 10-15 minutes before serving.
How to reheat chicken legs
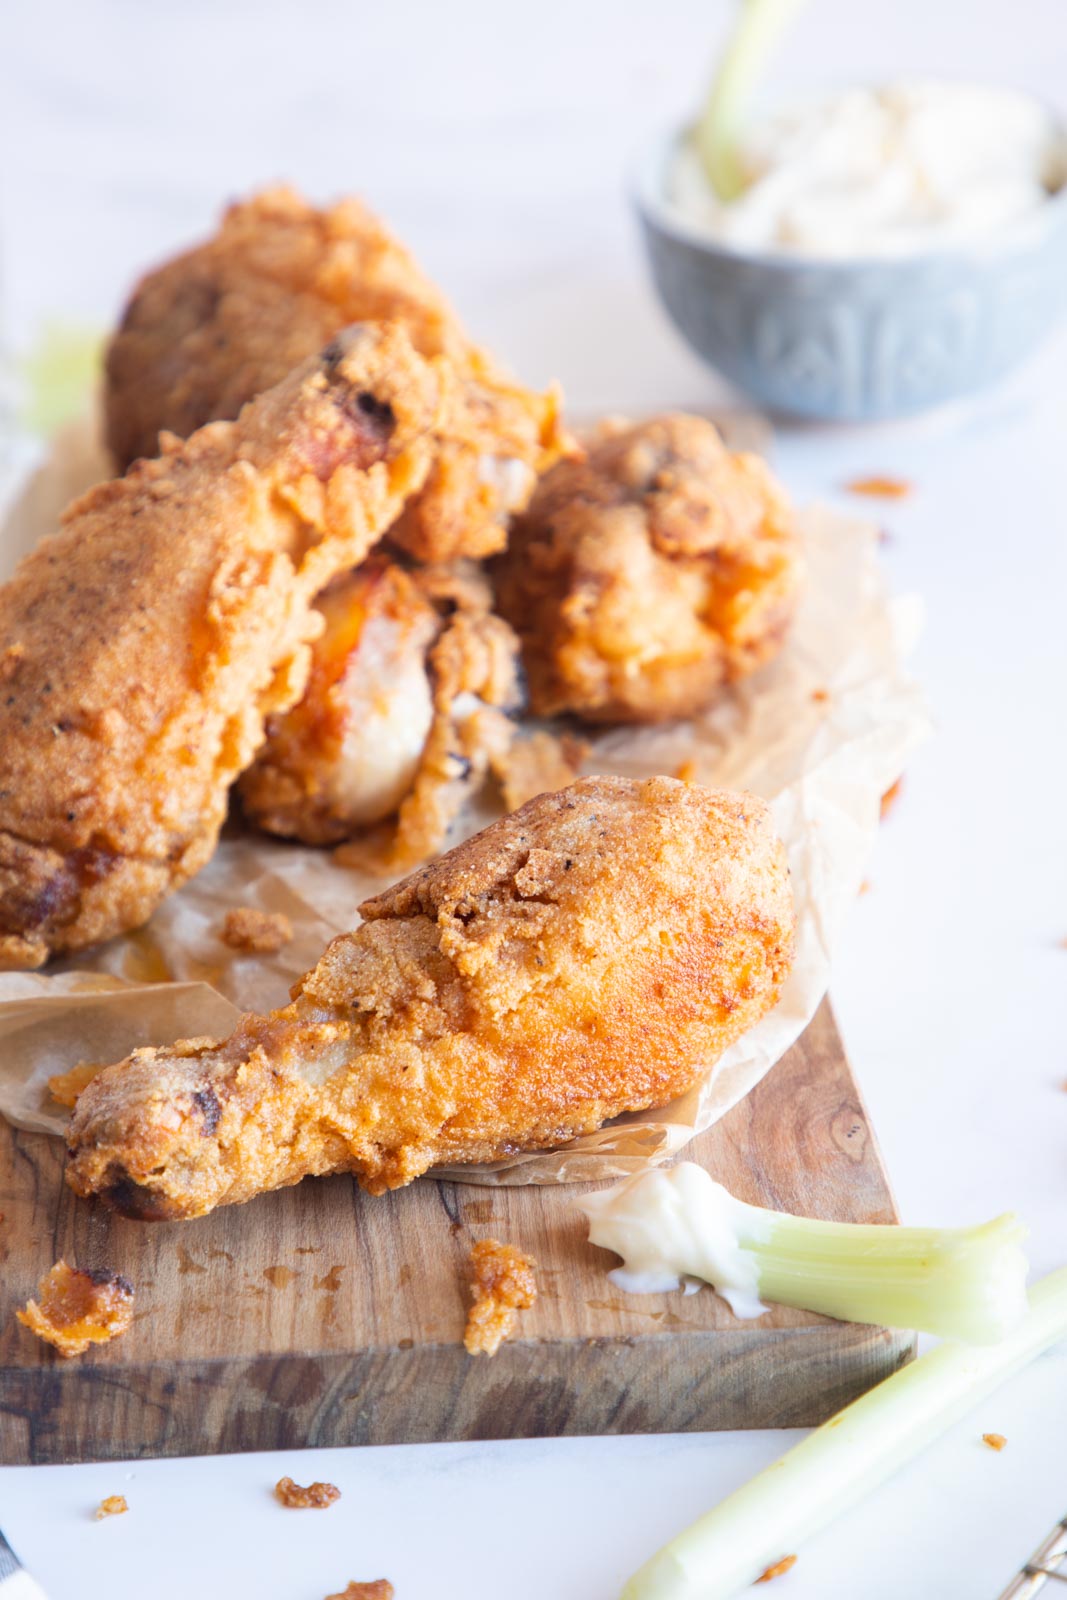
If you would like to reheat it, I suggest using the oven. Arrange the chicken on a baking rack over a cookie sheet and pop it in the oven at 325 degrees F until heated through.
Try to avoid the microwave. You will end up with soggy breading.
What to serve with chicken legs
There is no shame in grabbing a piece of this delicious chicken and eating it on its own, but it plays very well with side dishes as well. Try serving with any (or many) of the following.
- Mac and cheese. Try baked mac, stewed tomato mac and cheese , or gluten free mac and cheese.
- Cooked greens like these Southern Collard Greens.
- Buttermilk biscuits
- Baked beans. Make your own or try the dressed up canned baked beans that fool everyone into thinking they are homemade.
Southern Fried Chicken Legs
Equipment
- 1 8 inch heavy bottomed skillet
Ingredients
For the buttermilk marinade
For the breading
- 1 1/4 cups flour all purpose, gluten free or cassava (See Note 1)
- 1 1/2 teaspoons sea salt (See Note 2)
- 1/2 teaspoon black pepper
- 1 teaspoon paprika
- 1 teaspoon garlic powder
- 1 teaspoon onion powder
For frying
- 3 cups refined coconut oil good lard is also great (See Note 3)
Instructions
- Add the chicken legs to a medium bowl. Pour over the buttermilk and add the salt and hot sauce. Stir to coat. Marinate for at least one hour in the fridge or up to 24 hours if you have time.
- When you're ready to fry, add the flour of your choice to a shallow bowl and add the salt, pepper, paprika, garlic powder and onion powder and stir to combine.
- Transfer the chicken legs one at a time into the flour and press the flour on really well to coat. Transfer the legs to one side to let the breading "set" and firm for about five minutes before frying.
- While the chicken rests, add the fat of your choice to your skillet and heat over medium high to 365 degrees. The fat should be 2 inches deep in your skillet.
- When the oil is hot enough, add the chicken without crowding the pan. Keep an inch of space on all sides.
- Fry on the first side until golden; about 8 minutes then flip and cook on the second side 8 to 9 minutes more or until a meat thermometer registers 165.
- Transfer the chicken to a cooling rack to rest for 10 to 15 minutes before enjoying.




About the Author
Rachel Ballard, RN, BSN brings more than 20 years of professional nursing expertise to Feast and Farm. With a love for nutrient dense foods that support wellness, she works to distill complex health information and current trends into recipes that fuel the best version of yourself. Read more about Rachel here.