
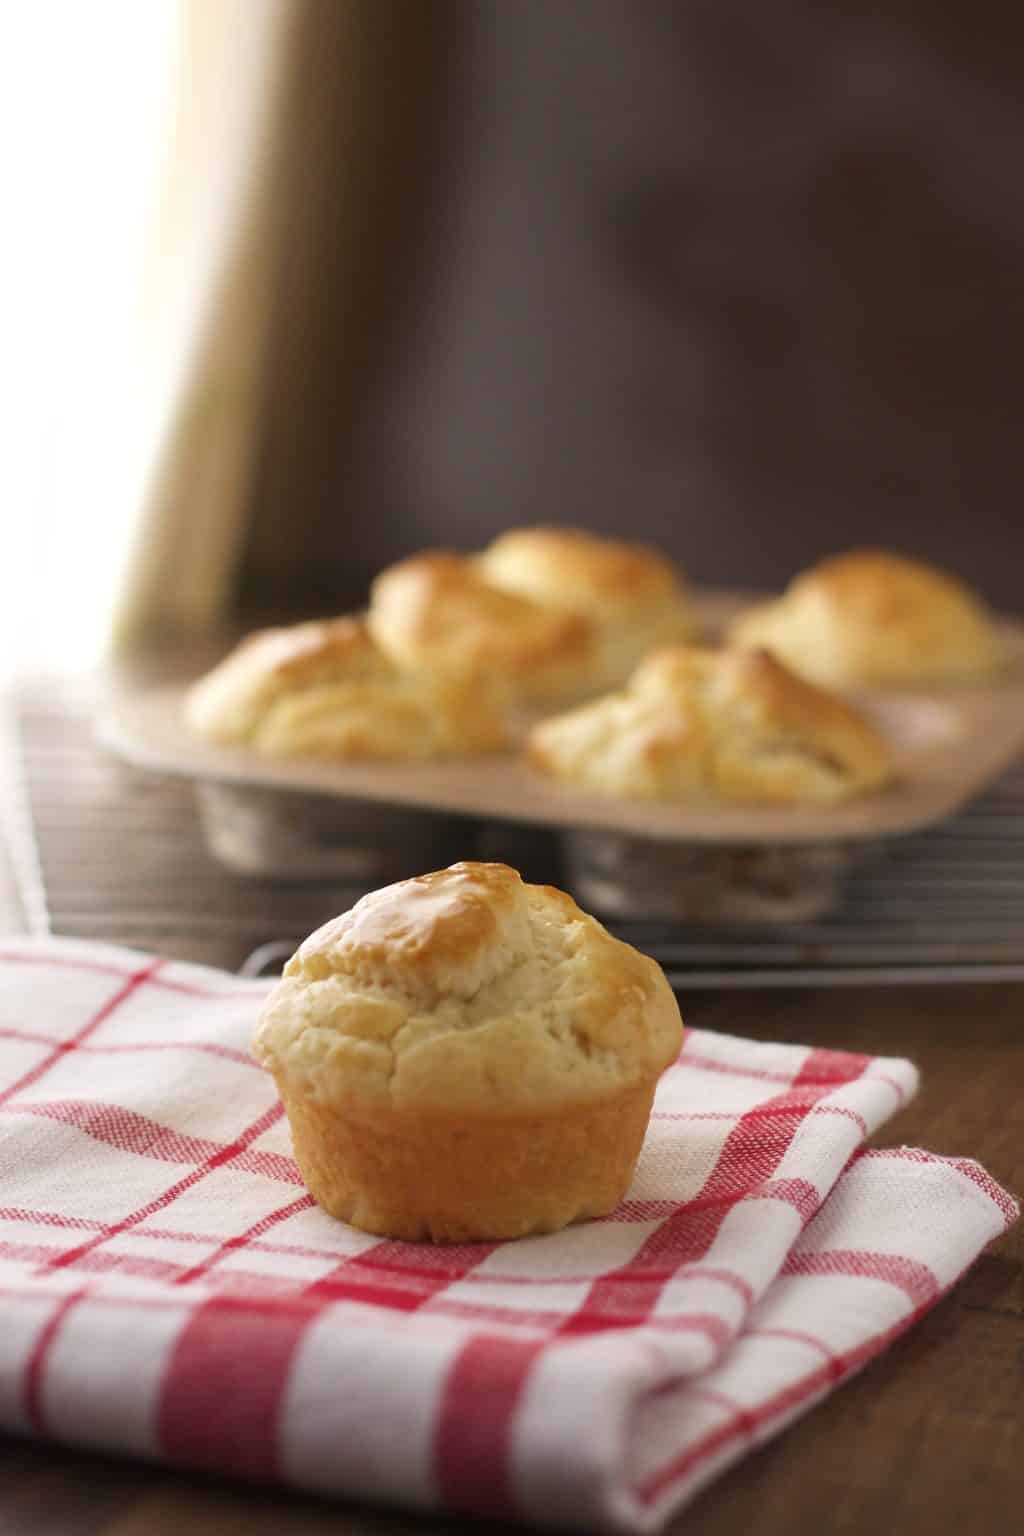
No Yeast Dinner Rolls
No yeast dinner rolls are the perfect solution when you need bread, but you don’t have time to make real dinner rolls. Skip the brown-and-serves and make a batch of these quick bread style rolls. You’ll love how easy they are to throw together.
Jump to Recipe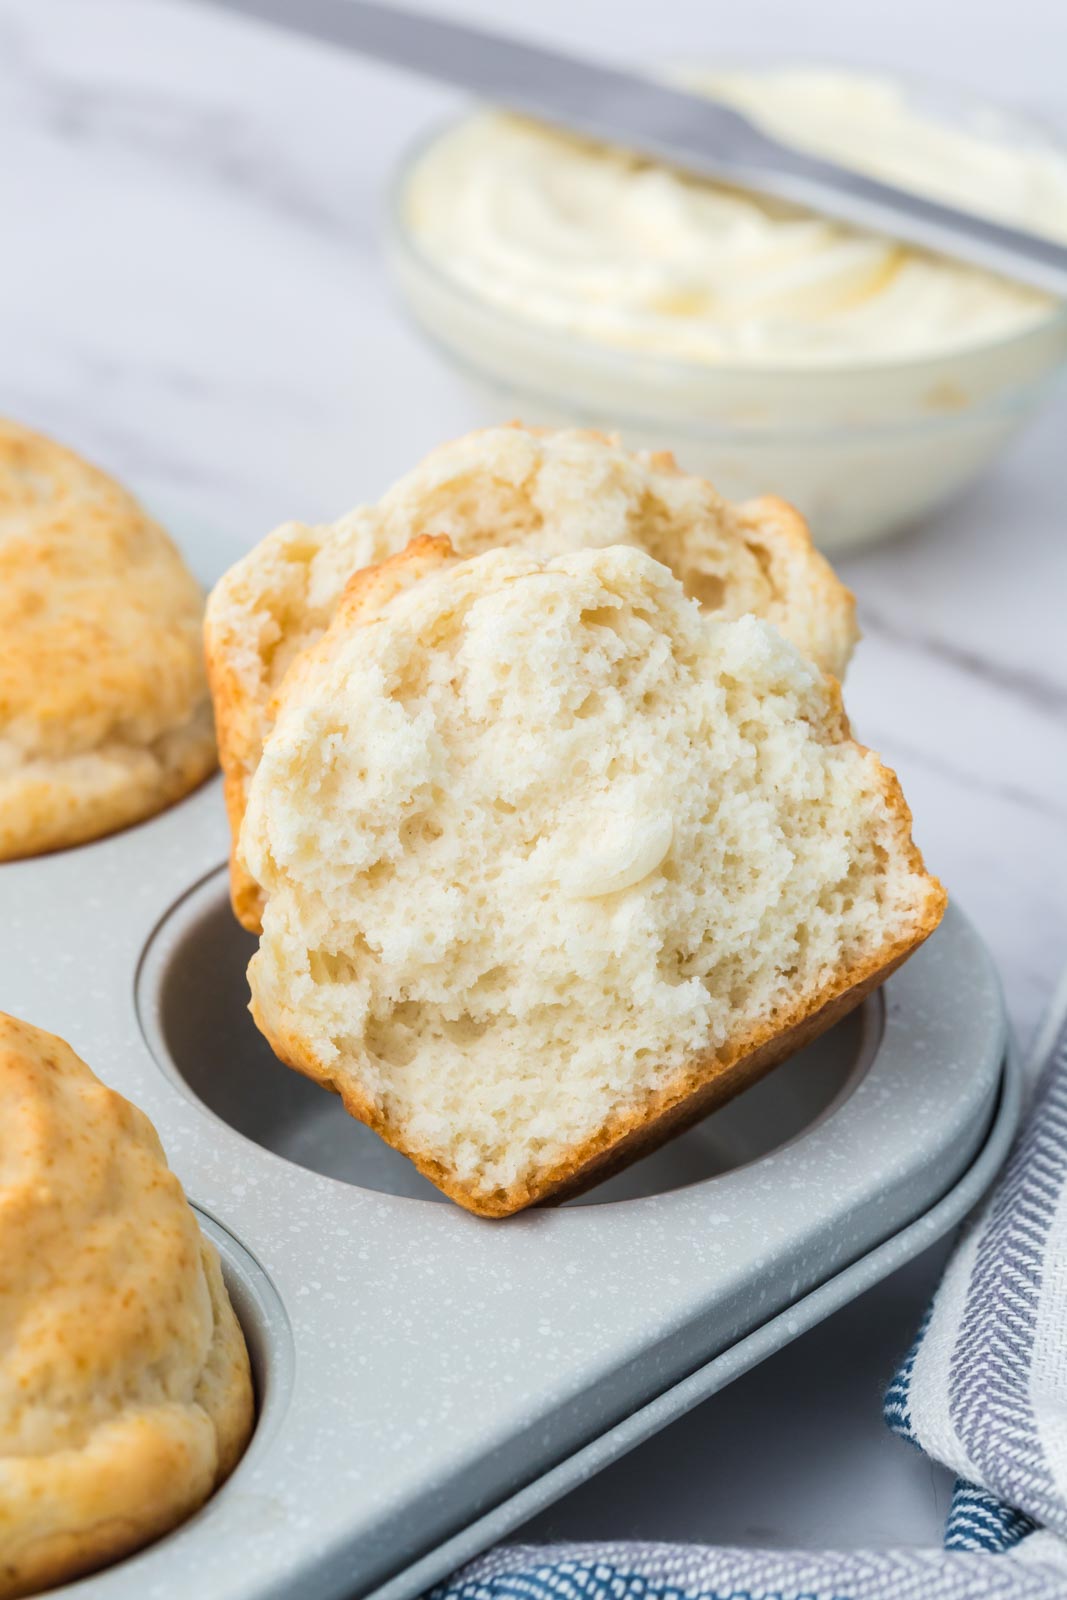
Sometimes you start dinner 30 minutes behind schedule. Sometimes, your husband is standing on your heels looking in all the pots and won’t go away and all you want to do is smack him.
You need dinner done before you lose your sanity, and you need it done now. These little rolls will help.
These rolls follow more of a quick bread style, and use so few ingredients, you’re bound to have most if not all of them on hand right now.
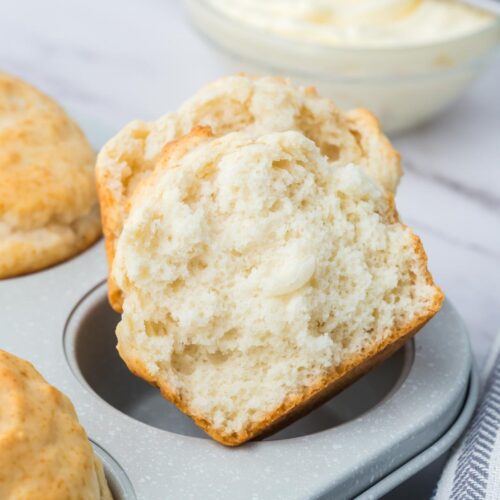
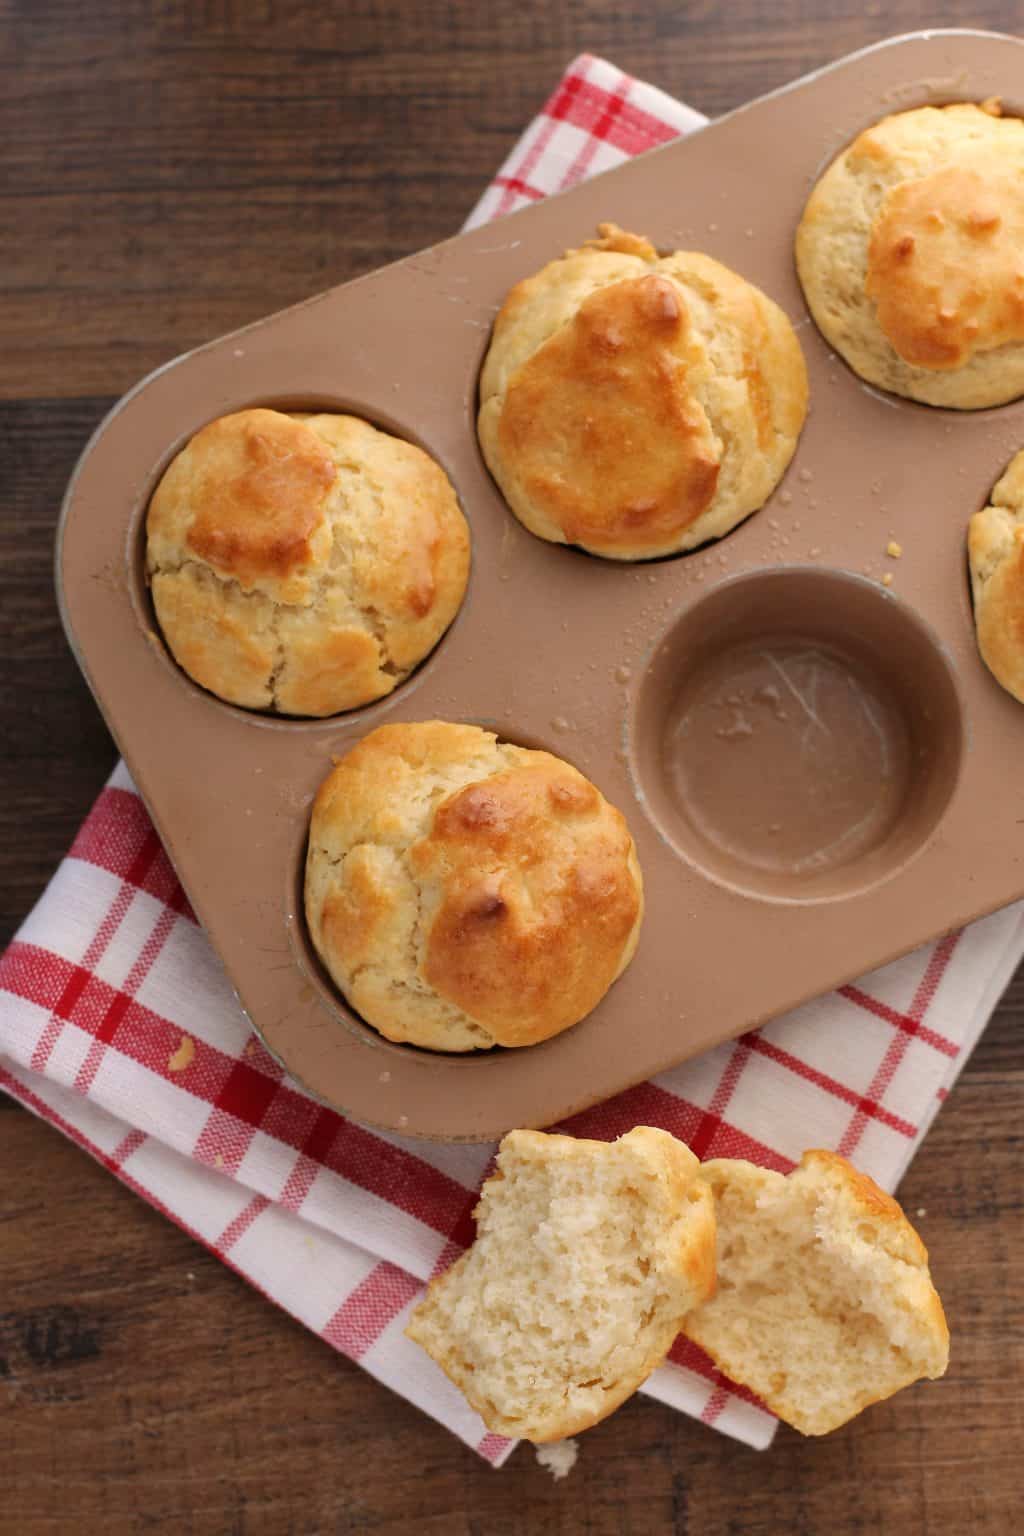
There’s no yeast to kill, no kneading to do–just mix and drop spoonfuls into greased muffin tins (I like this one to get just the right size). Bake ’em up, spread them with butter or jam and you’ve got a fast, easy option.
Why mayonnaise makes these rolls amazing
Mayo in bread dough? Yep! It’s a wonderful binder and, as such, does a great job of bringing all of the ingredients together into moist rolls with a nice, tender crumb.
Mayonnaise also adds a subtle tang to these rolls, making them wonderful accompaniments to rich, savory dishes.
Chemically speaking, in order for baking powder to activate effectively, it needs to come in contact with some acid.
Mayonnaise is quite acidic and activates the baking powder beautifully, allowing it to work effectively as a leavening agent.
How to Make Self Rising Flour at Home
If you can’t find self-rising flour, make it at home from all-purpose flour, baking powder, and salt.
Sift together 1 cup of all-purpose flour, 1 1/2 teaspoons of baking powder, and 1/4 teaspoon of salt.
Is your baking powder fresh? Are you sure?
If you want your rolls to rise properly, it is important to start out with fresh baking powder that is less than 6 months old.
Have a look at the expiration date and think back on whether or not the baking powder has been stored in a cool, dry place. If the expiration date hasn’t passed and the baking powder has been properly stored, you’re in the clear.
Still unsure? You can test it by mixing 1 teaspoon of baking powder with 1/3 cup of hot water. If the mixture bubbles vigorously, your baking powder good to go.
Tip: Make sure they rise
Rolls that don’t rise usually fail because the baking powder in your self rising flour is old. Even if you just bought the bag, it could have sat on the store shelf for a while and lost its mojo. You can always add a bit of fresh from your pantry to your self rising flour if you are unsure how long it’s been sitting around.
A Step-by-Step Guide to Making Dinner Rolls without Yeast
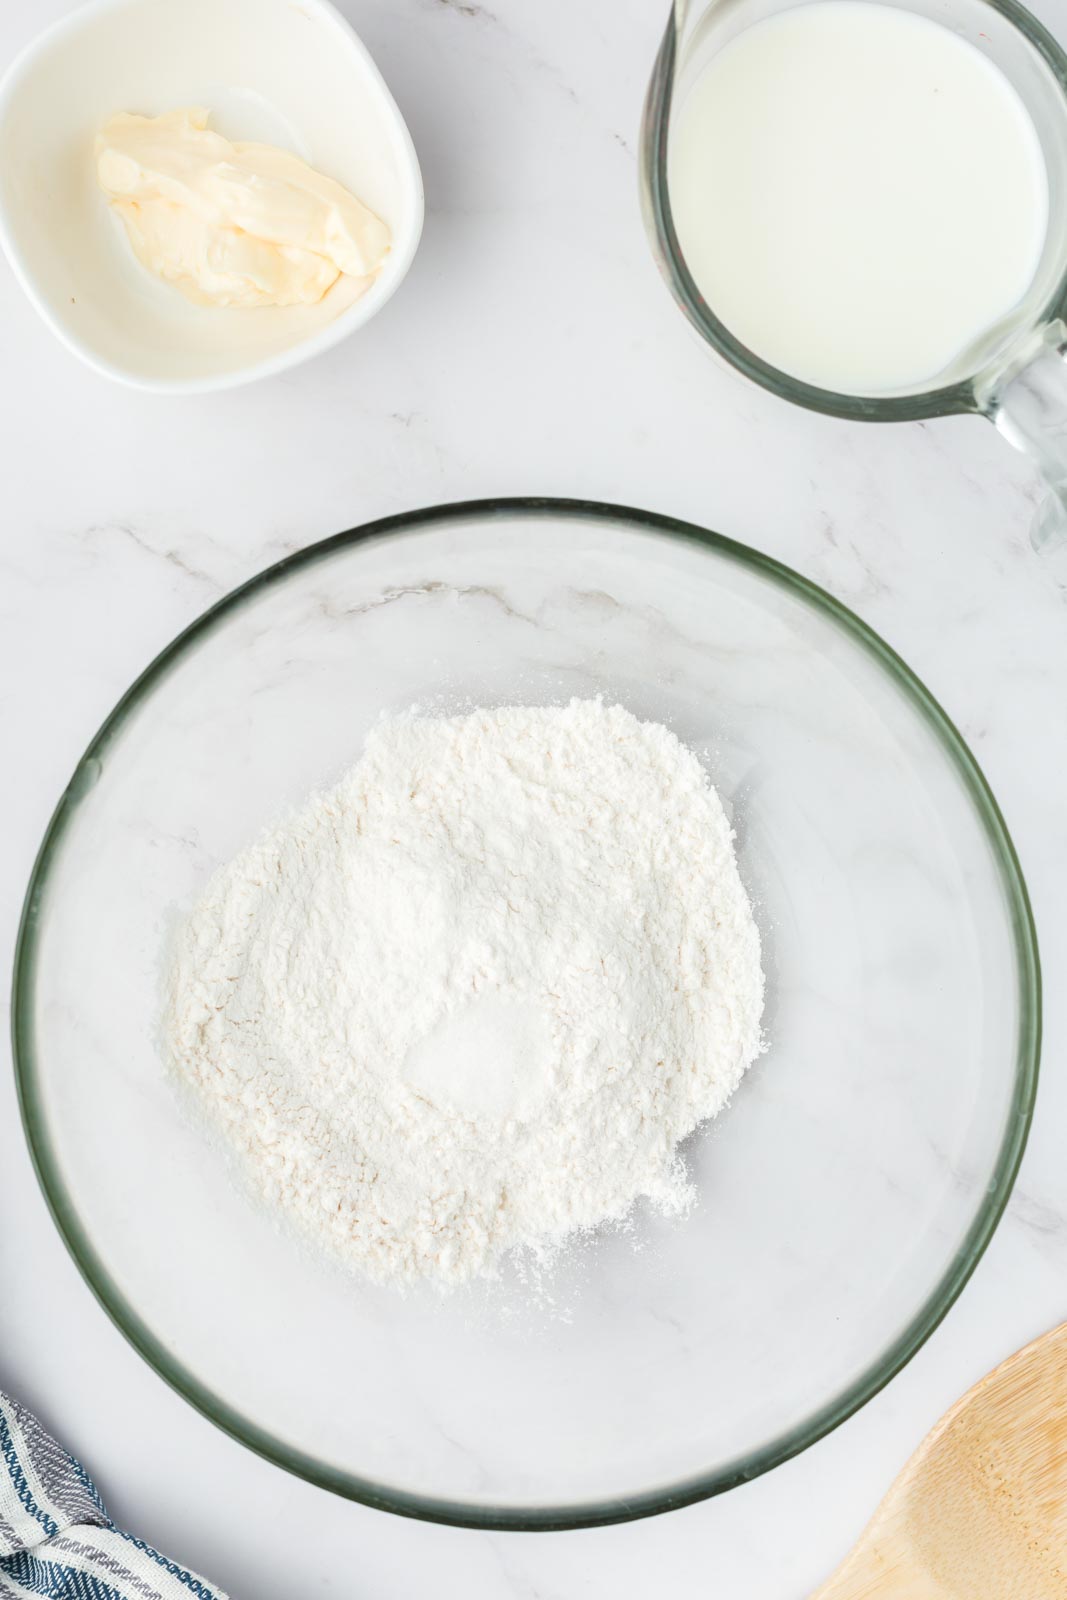
Combine self-rising flour and sugar in a medium bowl.
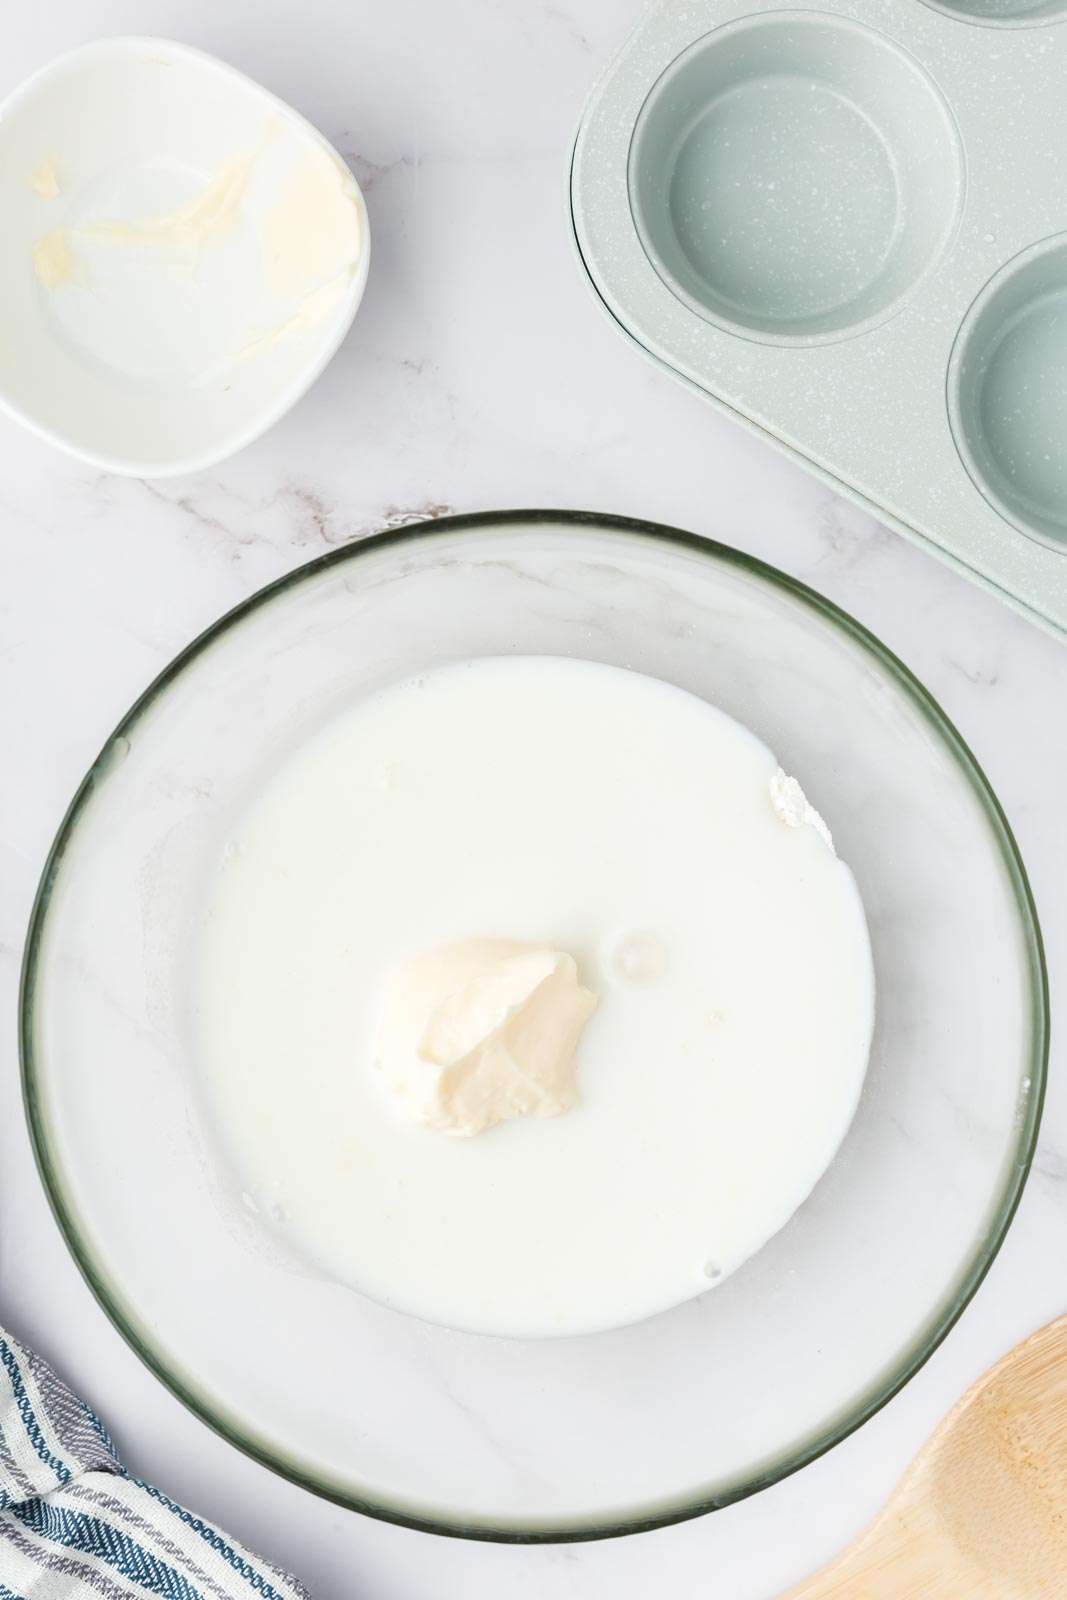
Mix the milk and mayonnaise in a second smaller bowl.
Add the milk/mayo mixture to the flour and sugar and stir until just blended.
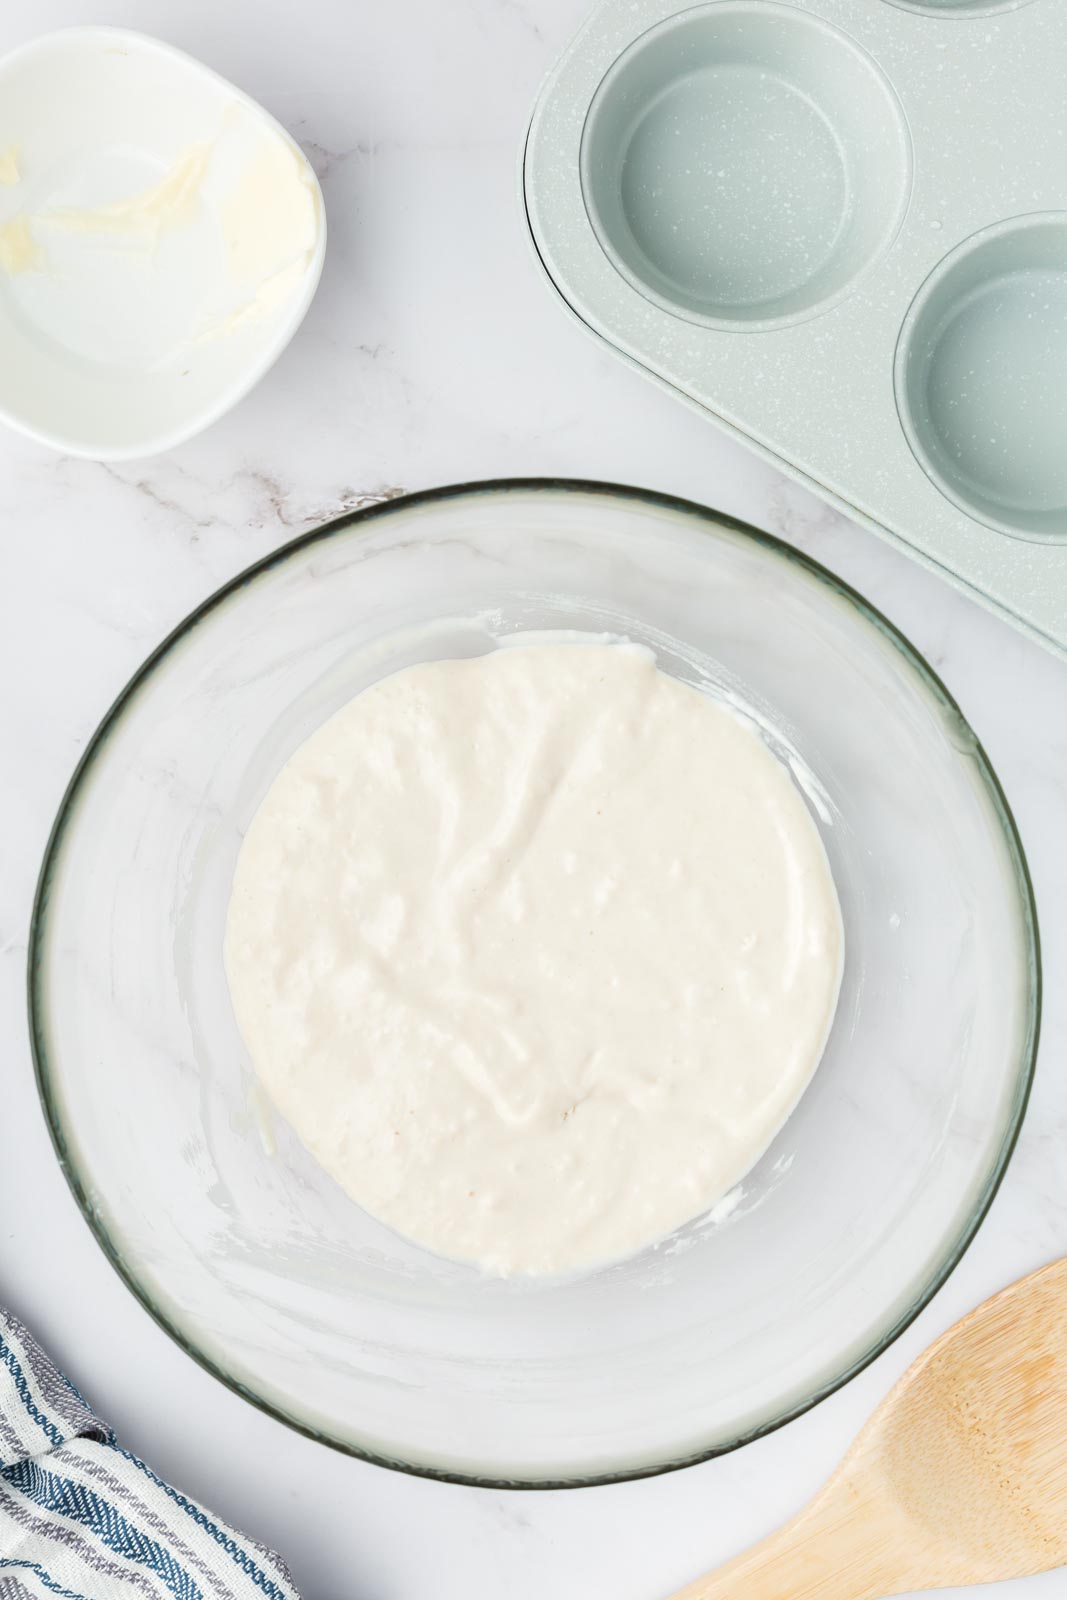
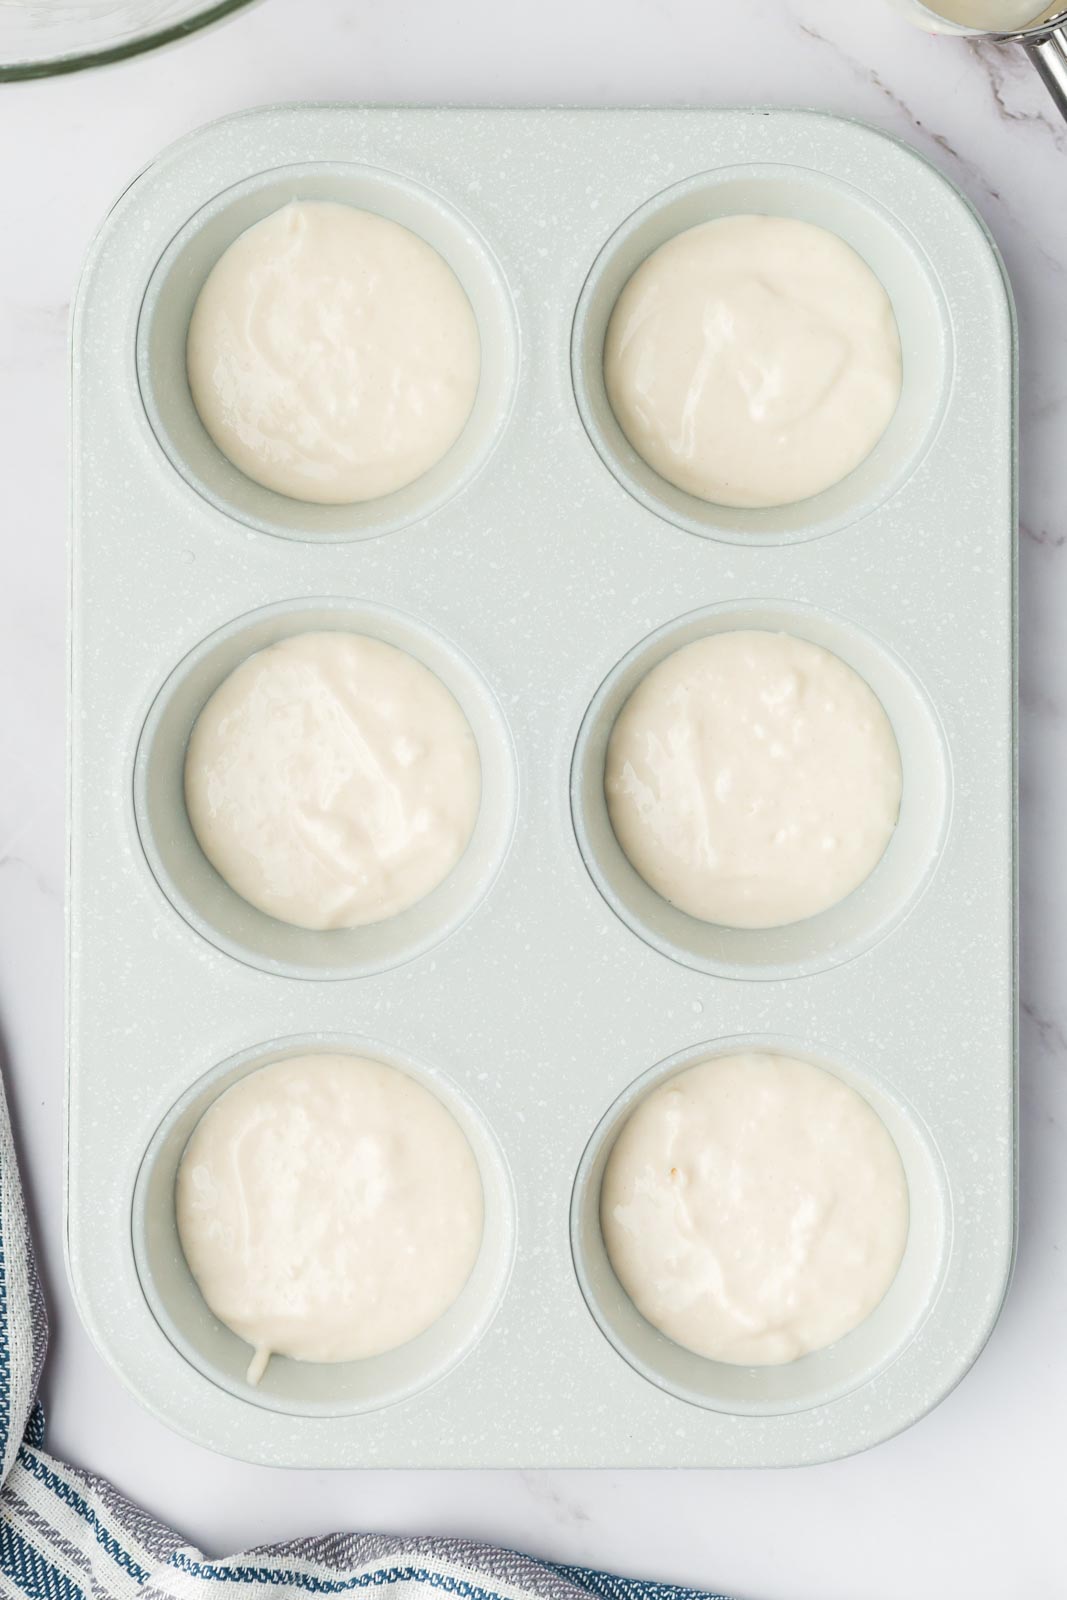
Drop by spoonfuls into a greased muffin tin and bake.
Tips for success
Here come a few pearls of wisdom that will help you achieve the best no-yeast dinner rolls you’ve ever had.
- Don’t overmix. Overmixing can cause the glutens in the flour to overdevelop, ending you with tough, overly dense rolls.
- Handle gently. When working with the dough, use a light hand. Be careful not to press any air bubbles out of the dough as this can keep it from rising properly.
- Preheat all the way. Be sure that the oven is preheated all the way before baking. I like using an oven thermometer for good measure.
- Position matters. Position the rolls on the middle rack of the oven. They will bake more evenly, helping you avoid burnt bottoms or tops.
How to store and freeze leftover rolls
Make a double batch of these dinner rolls and store them for later. Allow them to cool completely before sealing them in an airtight container. You can keep them at room temperature for up to 3 days. Do not refrigerate them. They will dry out.
If you would like to freeze the dinner rolls, wrap each tightly in plastic wrap before sealing the wrapped rolls together in a freezer bag and popping them in the freezer. Freeze for up to 3 months. Allow the rolls to thaw at room temperature before unwrapping and reheating them in the oven at 350 degrees F for 5-10 minutes.
3 ways to add flavor variations to your bread
I love these dinner rolls as they are. They go with pretty much anything. That being said, you can easily add a pop of flavor to tailor them to your meal.
- Cheese. Add shredded cheddar or parmesan cheese to the dough. ⅓ cup will do.
- Herbs. I love adding rosemary or thyme to these rolls, especially during the holidays. Just mix your favorite into the dough and bake as usual.
- Make it sweet. Fold in a handful of raisins and a teaspoon of cinnamon for a sweet twist on the classic.
- Try a flavored butter. Brush garlic or honey butter over the top of the rolls the moment they come out of the oven.
What to serve with no yeast dinner rolls
You can’t have dinner rolls without dinner so here are a few of my favorite entrees to serve these warm, fluffy rolls with.
- Pot roast. I love dipping these rolls in the juices from my Dutch oven pot roast.
- Spaghetti and meatballs. Sop up the last of the sauce from my spaghetti and meatballs recipe with these dinner rolls.
- With breakfast. I usually serve my homemade breakfast sausages with biscuits but these rolls make a great substitution.
No Yeast Dinner Rolls
Ingredients
- 1 cup self rising flour see note below
- 1/2 cup milk
- 1 teaspoon sugar cane sugar or honey also works here
- 2 tablespoons mayonnaise
Instructions
- Mix the flour and sugar together in a medium bowl.
- Add the mayonnaise and milk and stir to combine.
- Spray a 6-cup muffin tin with cooking spray or brush with oil of your choice. Spoon batter into the tin, filling 3/4 full.
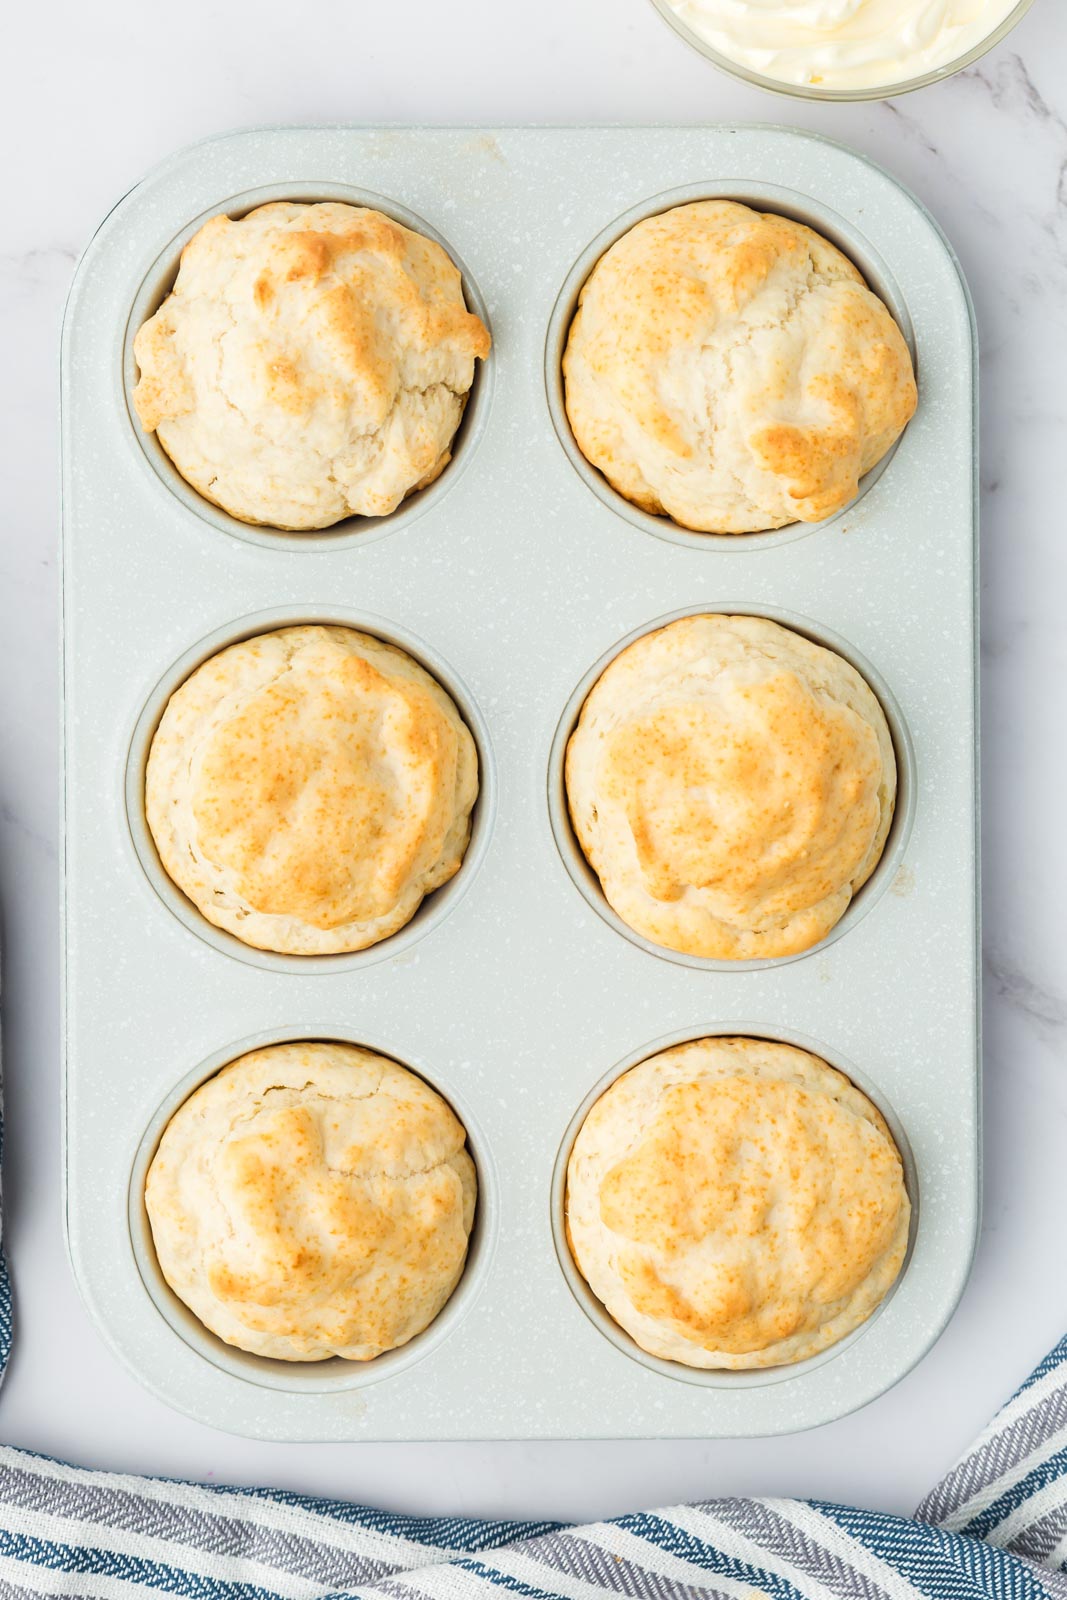
- Bake at 350 degrees until golden brown on top–about 12 to 15 minutes.
- You can double the recipe to make a dozen.
Notes
Nutrition


Thank you.. I used to make these at least once a week when I worked full time and fed family every night. I lost my stained , worn out, recipe. We called them mayonnaise biscuits. At 64, single, & empty nested. They will be just right for me to have for about 3 meals. I had searched and searched for a “mayonnaise biscuit” recipe to no avail. Just happened to read yours, because I’ve been great with yeast
Hey Betty! I am so glad that you found them and that you can eat mayonnaise biscuits for three meals a week. 🙂 I’m actually getting ready to write a post on using yeast that might just help you out with your challenges there too. Either way, I’m glad you happened upon me! Rachel
These took way longer than the recipe said. They were very bland even though I brushed them with butter and garlic and oregano. I think they need salt or butter added into the dough. I don’t think I will make these again.
Well Sarah, I’m sorry they didn’t work for you. I can say that I’ve made these many times and never found them to be all that bland, but we all have different taste buds. As for the long bake time, every oven temperature varies. Just because it says it’s baking at 350 for example, doesn’t mean it is. Ovens can vary by up to 50 degrees or more one way or the other so that could have happened here, and caused them to need longer in the oven.
And that’s the glory of cooking–you can try a recipe again and adjust them. I’d hate to see you just throw up your hands and never try again, but do as you will. Sorry to see that one star ranking and I hope you’ll try again sometime and maybe get that flavor level up where you like it. –Rachel
They didn’t work for me either. Maybe my self-rising flour was too old but these didn’t rise at all. Came out as tablespoon globs of cooked dough. And there is. I way these make 8-10.
Hey there, Sorry they didn’t work out for you! I can honestly tell you that the picture you see of them is what they look like–no tricks. And yes, your flour probably IS old. Leaveners do lose their ability to rise over time. If you get the gumption to try again, you should. And how did you get that this recipe makes 8 to 10 rolls? The recipe states 6 servings–that’s 6 rolls, and that’s all my recipe ever makes.
recipe does state 8=10 rolls
I fixed that Shirl. Sorry about that. It really does make six and I’d overlooked that old statement at the bottom. 🙂
As a child, I loved going to my grandmother’s and eating her “rolls” they were so good. Unfortunately, never got her recipe. My husband loves yeast rolls but can’t stomach the yeast. I’ve tried several other recipes for him but none tasted very good to him. Came across yours today and made for supper. Both husband and I agree, they were great (even for a very picky 2 yr old)! Will definitely be making again! Oh, by the way, they taste just like Granny’s ?
Well congratulations to you! I think that anytime you can find a recipe that makes everyone happy then you’ve done something wonderful. I’m just a tiny part of that process and you are the star here! And I’m so glad they taste like your Granny’s. Maybe she used my little cheater version too? Thank you for letting me know! –Rachel
Quick and easy alternative to a yeast roll!
Can I make these ahead of time?
Hey Diane, if by “ahead of time” you mean baking them and dropping them in a ziplock bag for later, then yes you sure can. You’ll want to warm them again in the oven for a few minutes or put them in the microwave when you’re ready to eat. I think they get a little dense when they are cold. I hope that helps. –Rachel
These were delicious! I had no bread for dinner so I decided to try this recipe based on the reviews. I only had all purpose flour so I appreciate your reply Rachel to Lina Di Marco’s question/comment about using all purpose flour. These turned out great and were so quick and easy to make. I will make this recipe a lot in the future. Thank you!
I am so glad for you Linda! And points to you for reading the comments–which around here is more like a Frequently Asked Questions section than anything else. Thank you for taking the time to come back and let me know you enjoyed them! –Rachel
I just made these tonight and they are fantastic! I did not change one thing about the recipe. However I did spray the tops with butter flavored Pam so they would brown a bit. Everyone loved them definitely will be in permanent rotation!!
Good for you Belinda! I’m so glad they worked for you. Several people have left comments here with changes they’ve made (like adding cheese or herbs) you may want to read through them to see if you get any new ideas! Enjoy! –Rachel
I have been baking these biscuits for years. They are great. We love to have biscuits and gravy made with these, or just butter and jelly on them. I have never measured my Mayo, I just add a few big spoon fulls of mayo to the flour and milk and oh my goodness awesome biscuits..
I made my leftover turkey into soup and forgot to buy rolls or bread for dinner. Tried these and they were absolutely delicious! Only comment I will make is that they did not brown on the top for me even though I cooked them a bit longer than the recipe in 350 degree oven. Any ideas about that? I would like to make them again.
My first thought Mary is that every oven varies. Just because you set your temperature to 350 doesn’t mean it’s actually at 350 degrees. Ovens can range between 50 and 75 degrees hotter or colder than what you think you’re baking at, so I’d say just bake them until they get as brown as you’d like them. It wasn’t anything you did wrong in the recipe–and I’m really glad you liked them! –Rachel
Probably brush an egg-wash on top and it’ll get a nice golden brown.
Thank you for this recipe!! I needed something to make without yeast for our chowder and this saved me from the wrath of the men in the house!!! 🙂
Well Shilioh anything that saves you from a house full of men is a win in my book. I’m glad you’re still alive 😉