How to start seeds in milk jug greenhouses
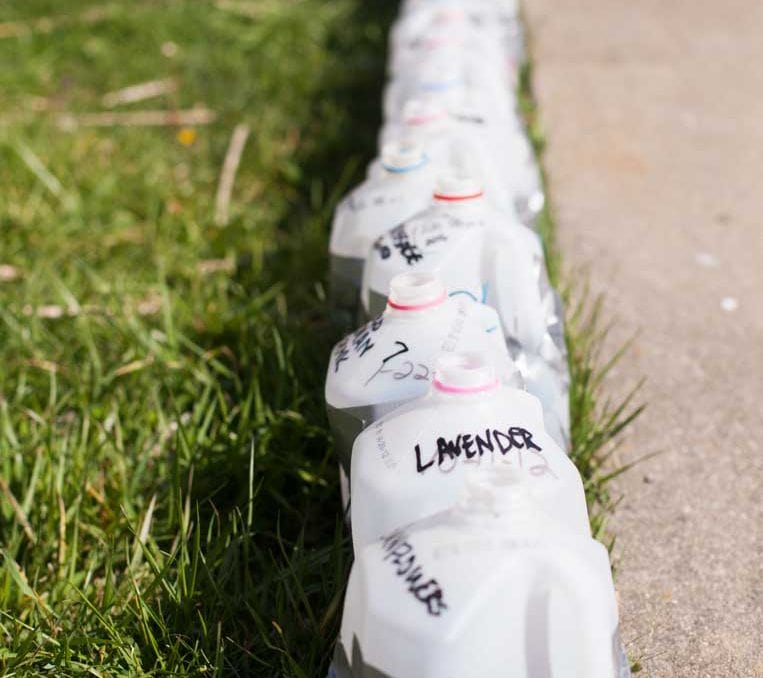
When it comes to starting vegetable or flower seeds, I’ve tried just about every method out there–and most of them have ended in frustration or taken hours of hand holding just to get them to the garden. But when I learned how to start seeds in milk jug greenhouses, I grew the strongest, healthiest plants ever. You can do it too! Here’s how!
This post contains affiliate links
Milk jug greenhouses produce hearty, healthy plants that are ready to transplant long before any indoor grown plants. Because they have been exposed to temperature shifts for the duration of the growing season, these plants suffer almost zero transplant shock and often grow larger and produce more fruit than plants sown with other methods.
What you’ll need for your milk jug greenhouses
The supply list for these isn’t long, but you do need to pay very close attention to buying quality supplies. I accidentally bought enough supplies to last me through almost three gardening seasons last year so I’m all set.
Remember: if you want strong plants, you can’t skimp on quality. Here’s what you’ll need:
- Milk jugs: get the ones that are semi-transparent and not the solid white ones. You need some light to come through. 2 liter soda bottles also work pretty well with this method if you have those. Calculate up how many plants you want to sow, and plan (depending on the plant type) to put between 3 and 5 seeds per jug.
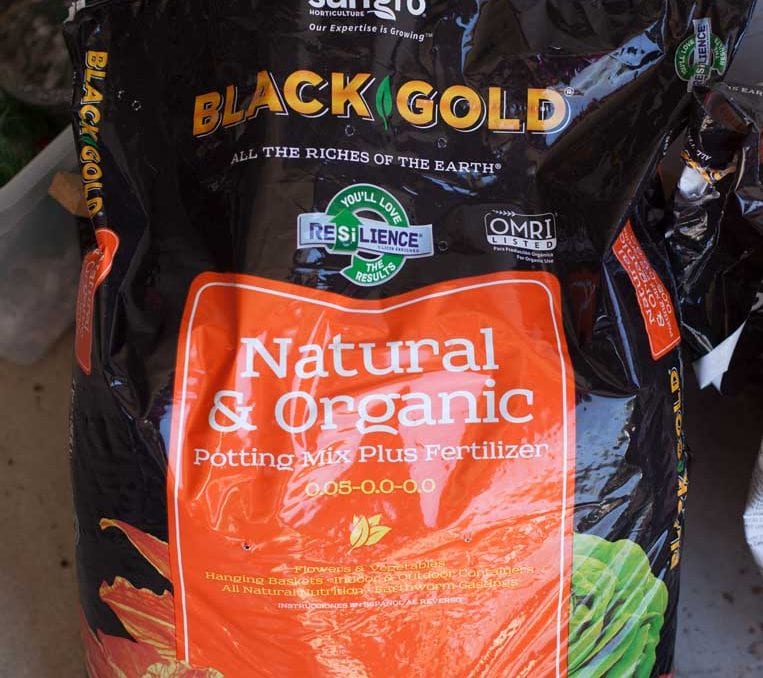
- Awesome quality potting soil. Note: DO NOT USE SEED STARTING MIXES. Seed starting mixes are way too light and don’t have the nutrients necessary to sustain your plants in their greenhouses for an extended period of time. You will not be transplanting these plants until you put them in your garden, so they need high quality potting soil. I use Black Gold. It’s not cheap, but it pays off in the end when your plants are super strong and healthy.
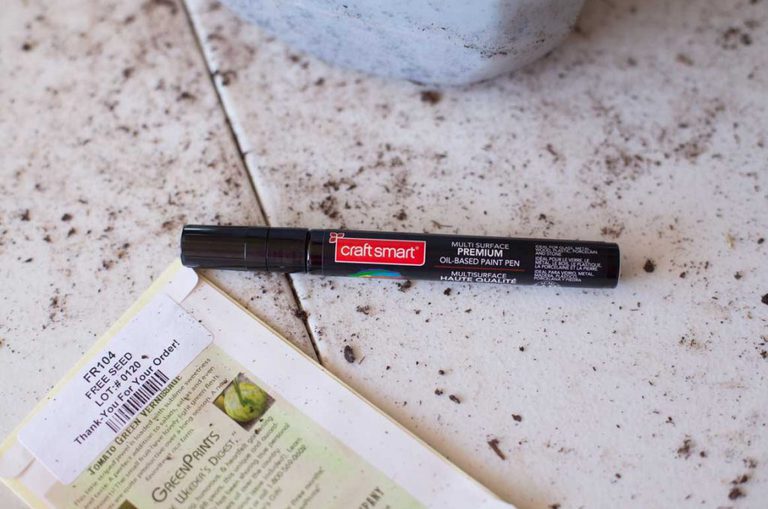
- A paint pen Some gardeners have had trouble with their labels wearing off their jugs while they sit outside. I used CraftSmart oil based pens and my labels never budged. You can also place labels inside your jugs if you’d like extra reassurance that you’ll know what’s what.
- Duct tape to seal the jugs closed.
- Vegetable or flower seeds of your choice. I’m a huge fan of Baker Creek Heirloom seeds, but I also buy them at Walmart and my garden center if I’m after something specific.
How to start milk jug greenhouses step by step:
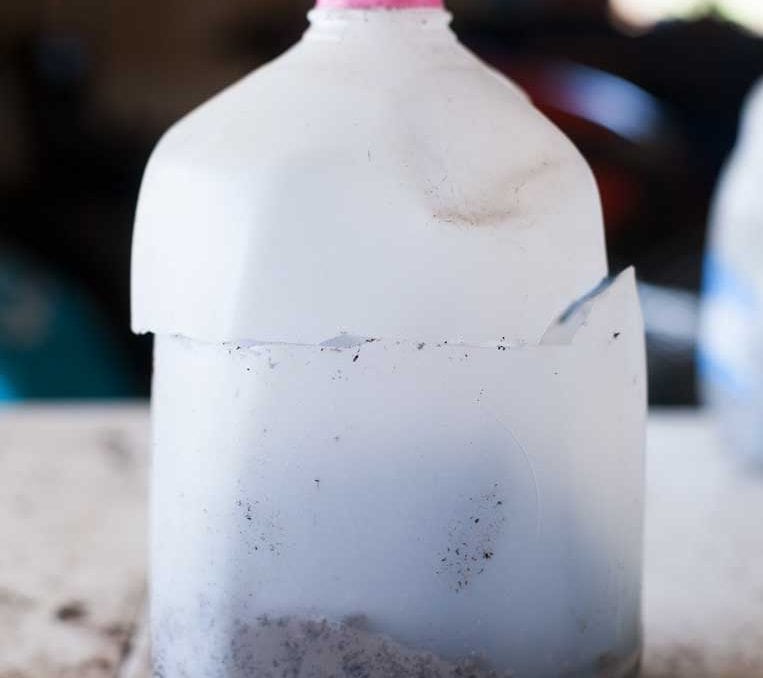
Step 1: Cut your jugs in half and toss out the lids. NEVER put the lids on your jugs once they are sown–so just toss those out right now. Using a serrated knife, cut your jugs in half, leaving the handle attached like a hinge. Poke 4 1-inch holes in the bottom for drainage. I like to cut my jugs a couple of days before I want to sow seeds so I don’t feel so overwhelmed with the process.
Step 2: Moisten the soil really well. I started by putting about half of a bag of potting mix in a wheelbarrow. I added water by the gallon until it was heavy with water, but not swimming in a pool of it. Keep stirring it in and leet it absorb. When it’s thoroughly wet, add about 6 inches of it to the container. Remember your plants will need plenty of room for their roots to grow and expand so this much soil is necessary.
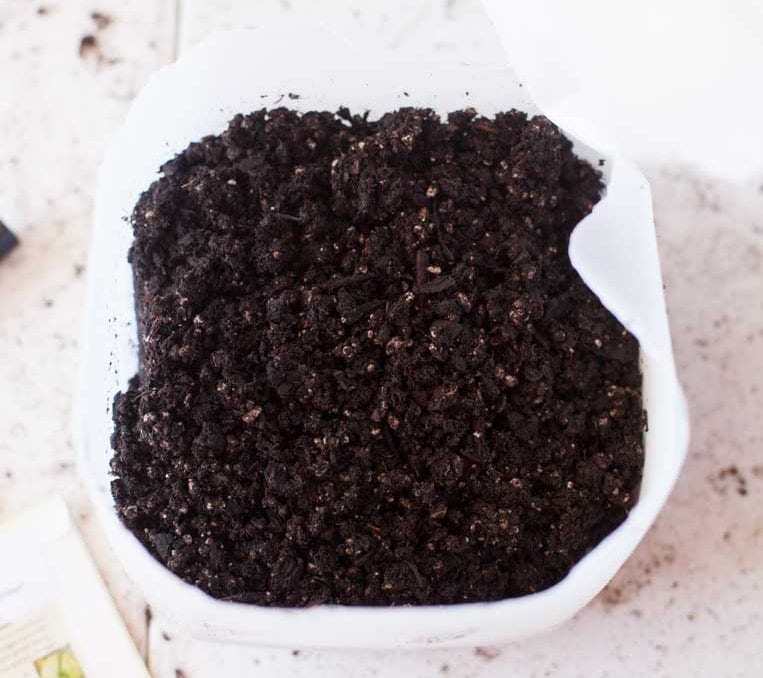
Step 3: Add seeds. How many seeds you add to your jugs will vary depending on what you’re raising. I tend to do 5 per jug usually. One on each “corner” and one in the center. NOTE: BE CAREFUL NOT TO PUT THE SEEDS TOO DEEP IN THE SOIL OR THEY WON’T SPROUT. I barely cover mine. 1/4″ of soil is plenty. If you shove them an inch deep, you’re never going to see them again and you’ll be mega disappointed. Add your inside labels now if you are using them.
Step 4: Close your container and seal all air gaps with duct tape. Make sure you get every spot of air sealed or your greenhouse effect won’t work. I have found that only traditional flat gray name brand Duck Tape is the only kind that seals properly. Make sure you don’t have lots of soil stuck on the outside of the jug that would prevent sealing.
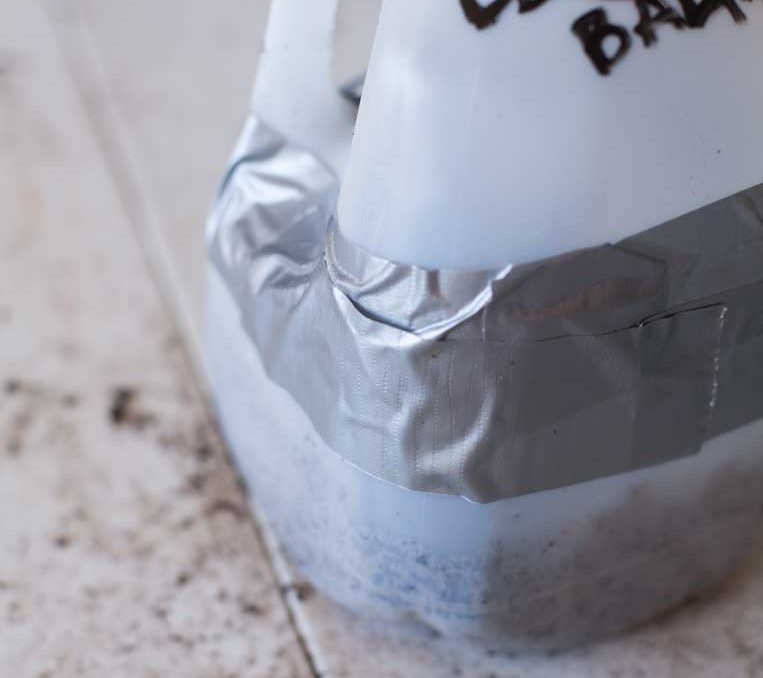
Step 5: Label the jug. Use your paint pen to write on the jug. You can write just the plant name or the date you sowed them if you choose. Whatever keeps you organized. I like to use the seed starting guide inside my Farmer’s Friend Planner for this. It keeps me super organized and lets me track how well my seeds do from year to year.
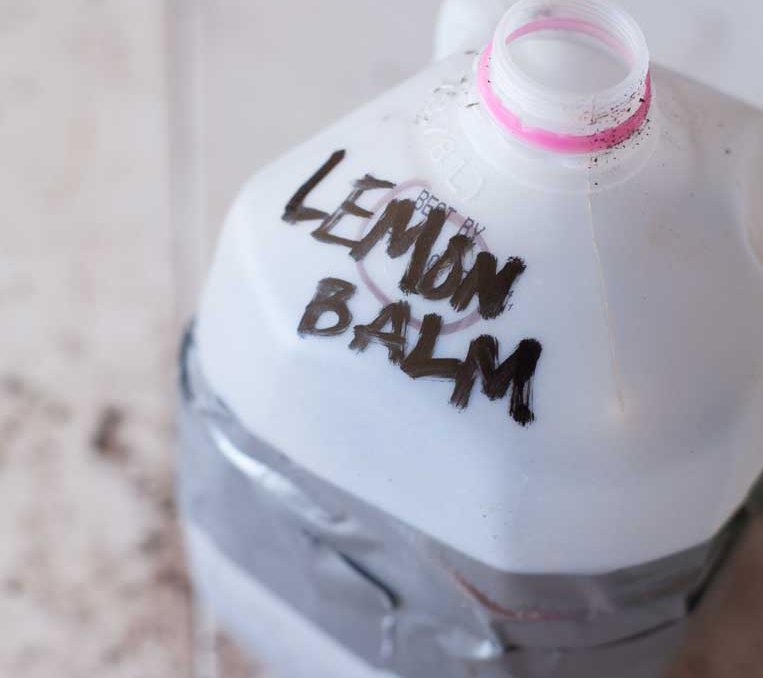
Step 6: Set them outside in a full sun location. We’ll talk more about how to care for your jugs in a minute, but for now, carry them all out into the sun and admire your work. It’s a beautiful thing. If you have a lot of wind where you live, prop your jugs on both sides with something supportive like bricks or stones so they don’t blow over. **If your jugs blow over before they sprout, they probably won’t come up at all and you’ll need to start over.
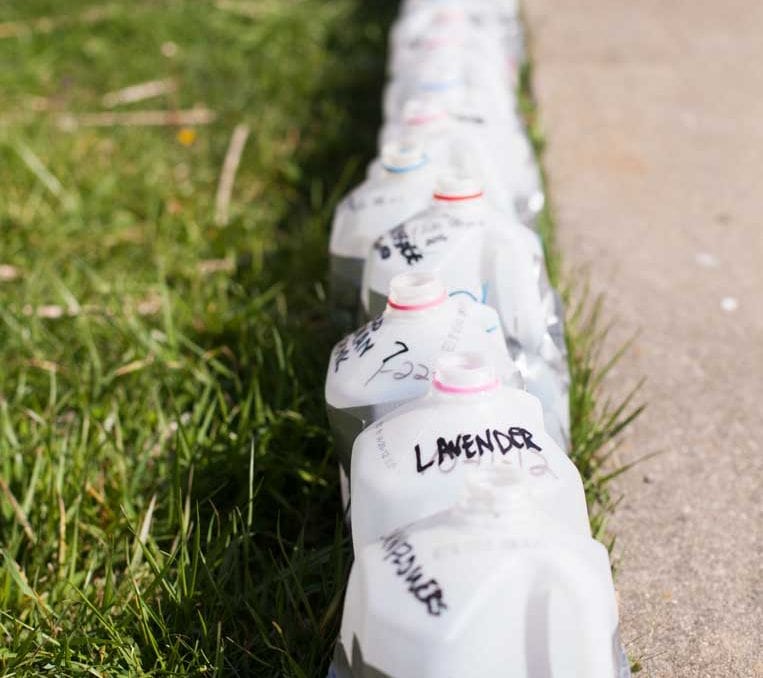
How to care for milk jug greenhouses
Once your greenhouses are sitting pretty, they won’t need much. If your jugs are tightly sealed they will make a greenhouse effect and you’ll see moisture collect on the inside of the jugs. This will drip back down on to your soil inside the container…BUT….if your soil begins to look dry, water.
If your seeds haven’t sprouted yet, you don’t want to just dump water down the hole of your jugs. You can dislodge them or force them deeper into the soil so they don’t emerge. Instead, I like using a spray bottle and just misting water inside. Just four or five squirts through the top is plenty. Some people like to set their jugs in a shallow tub of water as well so the moisture is absorbed from the bottom up. Either way is fine.
Just keep them moist (check them daily) and you’ll soon see sprouts of plants emerging. How long that will take depends on what you’re growing.
What to do if it gets cold
If you’ve sown your seeds and the temperature drops below freezing and they HAVE NOT sprouted, you’re fine! Don’t do anything to the jugs. In fact, there’s a whole method called winter sowing where you do just this. Put the seeds out in winter, leave them under snow and they will sprout naturally when spring arrives.
If your plants have sprouted, you’ll want to either move your jugs indoors or in to a garage for the night then take them back out the next day, or just cover them with a heavy blanket until morning.
What to do if it gets too hot for your milk jug greenhouses
I never have this problem, but if temperatures spike and your sprouted plants seem to be struggling, you can move your jugs into the shade. Some people even have to undo some of the tape and let some air through.
When to sow your milk jug greenhouses
If you don’t want to do the winter sowing technique, it’s really important to know when to sow seeds for your growing area or zone. Here in Kentucky, temperatures can spike to 70 for two weeks in February then tank to below zero again in March–I don’t dare try the full winter sowing approach. Everything would sprout then die.
I start my plants 8 weeks before I want to plant them. That’s usually mid-May here so mid March is when I start my seeds. About a week before you’re ready to transplant, take the tape off your jugs and leave them gapped so the plants can further adjust to the outside temperatures. You can even hinge open the jugs after two or three days. Just remember to check their moisture level and water as necessary.
How to transplant your seedlings from the jugs
When I’m ready to transplant I have two methods:
- Plant the whole contents of the jug in a clump. I use this for tender herbs or small flowers that won’t tolerate being separated. To do this, I open my fingers and then gently place my hand over the plants. Using the other hand, I turn the jug over and gently release the clump of soil and plants into my hand. I turn it back over and put the whole thing down in the hole.
- Turn out and separate. This method works best for vegetables like tomatoes. I use the same method to gently turn over the jug as mentioned above then I gently separate the plants being careful to make the breaks between the plants and keep as much soil and root intact as possible.

Hi! I am currently using this method, but just read your article and realized I planted my seedlings too closely. Is there anything I can do to separate them now? I planted them about 3 days ago. This is my first time doing this :/ thank you in advance!
Nope just leave them as they are Stephanie. If you mess in things now you run the risk of nothing coming up. –Rachel
You say to do this 8 weeks before you want to plant them. You are replanting them but taking them out of the milk carton?
Yes they get removed from the jugs and planted in the ground or in pots.
I tried starting seeds early this year (Ohio), using this method, followed the instructions precisely, except — I scattered seeds rather than planting one in each corner and one in the middle. They germinated well, but too crowded, seedlings were spindly, never grew well in the jug. The zinnias, nevertheless, survived transplantation well, grew to be close 3 ft tall and have bloomed profusely. The other, asters, moonflower, etc., did not survive. Lesson learned, will try again next year. Thanks for the article and comments, very helpful.
Hey Sandy so a few thoughts: Certainly the type of plant will determine how many will fit easily in each jug. For spindly seedlings I usually look at two issues: 1 is the quality of the soil used. It has to be very high quality and 2) is light. Make sure the jugs aren’t getting shade and aren’t being opened or untaped at ALL until time to transplant. I have grown lots of flowers with really good success in addition to herbs and vegetables. Just like a true gardener, you’re ready to go at it again next year. 🙂 Go for it! –Rachel
If I use these for bulbs, would I still need to wait for fall to plant my bulbs?
I haven’t tested bulbs in the jugs Tracy. That’s about the only thing I haven’t tried! I know people do it but you may need to do some research elsewhere on that. –Rachel
I have Baptisa seed that needs the cold stratification. Is now, March 13, in New England a good time, or when is the best time to start?
Hey Pat, you can put yours out now and even if they get buried in snow that’s just fine as long as nothing sprouts. I have never stratified my seeds this way because I don’t grow anything that needs it–but it should work okay! –Rachel
I live in MN and its 63 today and by weeks end back to normal 40s. Should i winter sow?
Yes you certainly can. The trick is making sure that your plants don’t sprout before cold temperatures return. Here in Kentucky, we may be in the 60s and 70s for a week or two (which is plenty of time for plants to sprout) only to have the temperature drop back into the teens for another three or four weeks. To avoid a problem with this, I wait until the middle of March to sow my seeds so that we have more consistent temperatures. If your sprouts do come up and the temperatures drop below freezing, you’ll want to cover your jugs with heavy blankets at night or stick them in the garage overnight and bring them back out during the day. As long as it’s a sunny day the inside of your jugs will get much warmer than the outside air.
You say ton use potting soil but picture is potting mix. Which one is best?
Per a quick search:
Technically, potting soil is nothing but dirt that no longer has the adequate elements necessary to support the growth of potted plants or indoor plants. Potting mix, however, doesn’t have any soil but it is a blend of perlite, peat moss, vermiculite, fine barks, and more.
Well, it sounds like you don’t really like either option before we ever get started here Christine–or maybe you have been Googling definitions, I’m not sure, but I use potting mix in my containers as pictured (I tend to use the term soil and mix interchangeably) BUT (big caveat here) my potting mix is not a blend of any of the items you mentioned. There might be a dash of vermiculite in it…maybe some peat. What matters is that you don’t skimp on Walmart stuff. Your soil should be about $40 per 3 cubic feet to buy or it really will be too cheaply made to sustain life. This is one of those times when you get what you pay for. Also avoid seed starting mixes and “garden soil”. Black Gold and Happy Frog are the only two brands I use.
Is it safe to assume this technique will work with crocosmia bulbs?
I think so Susan. I’ve never grown those specifically, but trees, berry plants, herbs and flowers all work with this method.
Do you leave the top open? I know you discard the lid, but I assume you don’t cover the lid area?
Hey Curt, you do leave it open. A bit of rain will go down it though you will probably still need to water from time to time.
I started seed like this this year! I am so excited to see how they turn out! I would leave a picture, but I don’t know how! I did put 5 seed in each jug, do you have pretty good luck with all five sprouting?
I get near 100% germination on mine Jamie. The key is not to plant them too deeply and everything should do great! –Rachel
A great idea, not only to provide food for yourself – but also to help the bees and other pollinators.