
Easy Yeast Rolls
Just a dozen easy yeast rolls? You got it. No more, no less, and all the easy steps you need to make light, airy rolls anytime you need them.
This recipe was originally published in March, 2014
Yeast rolls seem like they terrify way too many people. Are you one of them? Or maybe you’ve been searching for the softest, most flavorful easy yeast rolls that don’t make a blue ton or use 3 pounds of flour to put together.
You just need 12!
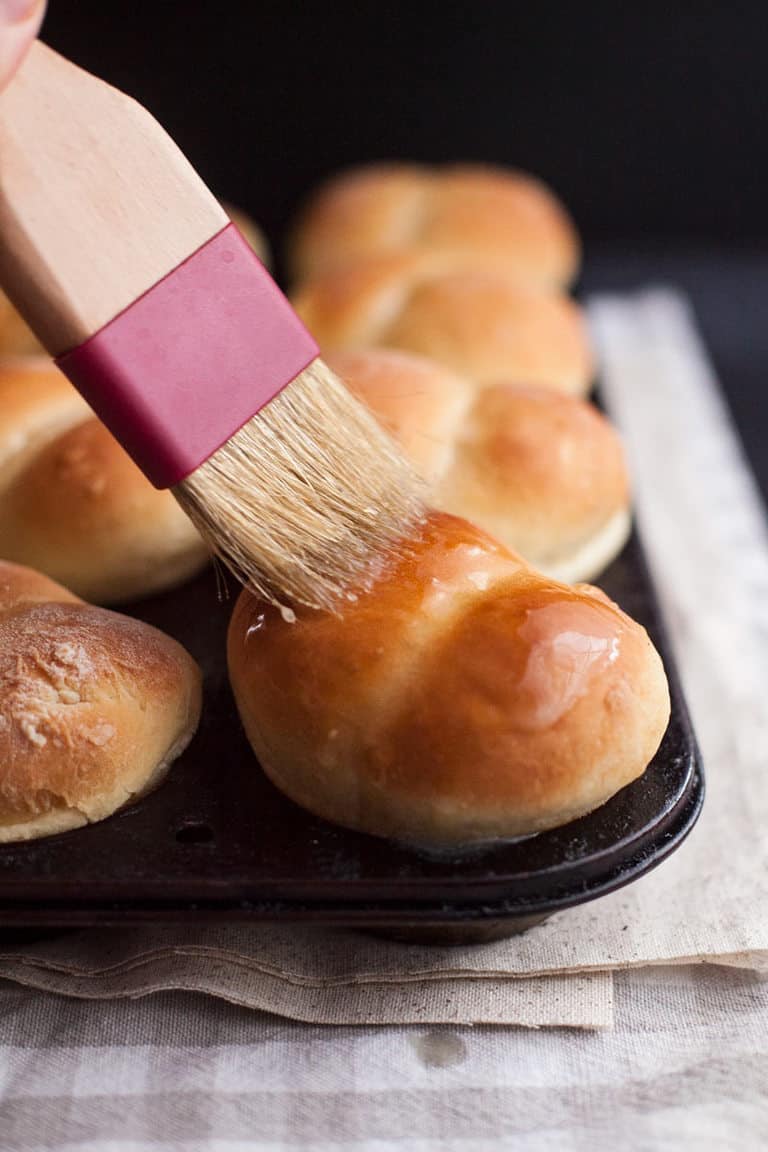
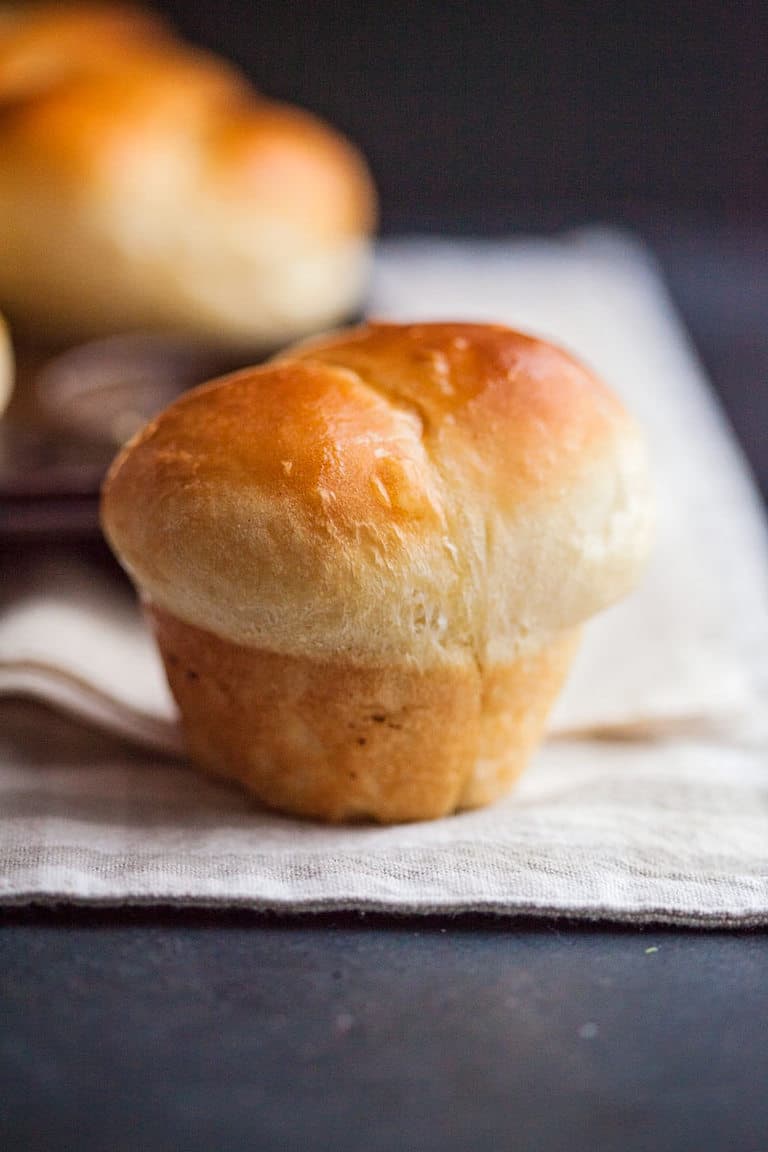
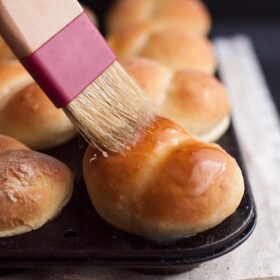
No matter what your situation, these easy yeast rolls will do it. This version is made by rolling two balls of dough about 2 inches in diameter and putting them side by side in a muffin tin to rise. That’s how you get the split down the middle. We called these butt rolls growing up. You can see why obviously.
If you don’t want to roll balls, just put them in the muffin tin in one larger ball or place them in a round cake pan barely touching–that’s another easy way to get your easy yeast rolls done with less fuss.
They’ll emerge from the oven so soft, warm and begging for a smear of butter and jam.
How to make these easy yeast rolls
- You’ll have to tackle yeast. Yes, I know. But you can do it. If you need some help, check out my post on how to activate yeast. It takes about 5 minutes. You can handle it. You can also watch me activate yeast on YouTube.
- Over the years I’ve tried a lot of flours–and a lot of brands of flours–to find one that works best. I actually find that the cheaper the flour is, the better it works, resulting in a lighter dough. If you want to use just all purpose flour, my favorites are King Arthur, Aldi’s flour or Hogsdon Mills from Walmart. I do not recommend Pillsbury or Gold Medal by any stretch.
- Bread flour is also excellent here and something that I really just started using in the last year and a half or so. I really like it here–it has more gluten in it and gives your dough more structure as it rises and I think the the yeast rolls are lighter. I like King Arthur for bread flour. You could also do half all purpose and half bread flour if you wanted to go that route.
- Avoid working too much flour into your dough when you knead it on the counter. A little stickiness won’t hurt anything. Keep your hands floured and avoid dumping it on the dough itself.
- If you want a stronger yeast flavor in your dough, let it rise in a cooler area for longer–the yeast will develop more fully and give you that signature flavor.
The difference between active dry yeast and instant yeast and how to swap them
There have been tons of questions about the difference is between active dry and instant yeast. This recipe calls for active dry yeast which needs to be activated in warm water before using it. I use active dry yeast because it was the standard type of yeast developed before instant and most time trusted recipes are written for that type–but one isn’t necessarily better or worse than the other.
Instant yeast can be activated in water OR it can be added dry right into the flour or dry ingredients and then added to your recipe. Instant yeast does not rise faster than active dry despite the “fast rise” on the package.
If you only have instant yeast on hand
If you only have instant/rapid rise yeast on hand, add the water (warm) that’s used in the recipe in with the eggs and oil. Then open the package of yeast and add it into the flour before adding it to the recipe and proceed as the recipe instructs.
Remember: Instant yeast can still fail
Just because you don’t have to activate instant yeast doesn’t mean it will just automatically rise. Your water must still be the correct temperature (luke warm) and your other ingredients needs to be room temperature as well. Too cold and the yeast still won’t wake up and leaven your rolls.
Not looking to work with yeast? Try my no-yeast quick rolls and give either version a big smear of my slow cooker apple butter.
How to develop a stronger yeast flavor
Yeast doughs develop flavor while they rise. The longer the rise, the more yeasty flavor that will develop. In order to do this, rise your dough in a cool location.
70-80 degree rooms will produce a doubled dough in 1 to 2 hours but to boost flavor, try moving your dough to a cooler part of your house or even a garage or closet that’s about 60 degrees until it doubles in size.
You can rise the dough in the refrigerator but only until it’s doubled–3 to 4 hours.
Can I rise the dough all night in the refrigerator?
Not in this case. I’ve tried it and the yeast amount is too aggressive for a long slow rise resulting in the digestion of all of the gluten in the flour. When morning comes you have a soup of sloppy dough you’ll have to throw out.
If you want to do an overnight or refrigerator roll, you’ll need a recipe written specifically for that process.
Watch me make these rolls on YouTube
Get instructions for this recipe as a loaf of bread here.
How to make these rolls ahead
Freeze them unbaked
The best way to make these ahead is to do the first rise, shape the dough, then freeze the dough balls on a cookie sheet or in the baking pan you want to bake in.
When you want to bake, remove from the freezer, place the dough balls in a greased muffin tin (if you didn’t freeze them in it) and cover with greased plastic wrap. Let the dough rise until doubled which will take 6 to 12 hours then bake.
Freeze them already baked
You can also bake the rolls and freeze them in an air tight container then wrap them in foil and reheat in a low oven for 10 to 12 minutes.
Homemade Yeast Rolls
Ingredients
- 1 cup water about 110 degrees or just slightly warmer than lukewarm
- 1 package active dry yeast *see note 1 for using instant yeast instead
- 3 tablespoons granulated sugar
- 2 tablespoons flavorless oil I prefer avocado but vegetable or canola also works
- 1 egg at room temperature
- 3/4 teaspoons salt
- 3-3 1/2 cups all purpose flour
Instructions
- In a large bowl, dissolve the yeast in the warm water.
- Add the sugar, oil, egg, salt, and half of the flour and mix until just combined.
- Add one more cup of flour and mix until the flour is combined again.
- Add between 1/2 of a cup to 1 whole cup of the remaining flour as needed until the dough comes together and is soft but not gooey. (Usually takes about 3/4 of a cup for me, but will depend on weather and humidity)
- Spray the top with cooking spray and cover with plastic wrap.
- Allow to rise in a warm place for one hour or until doubled.
- Turn dough out onto a floured surface and knead 4 or 5 times until the dough is slightly smooth.
- Spray muffin tin with cooking spray.
- Pinch off balls of dough about 1 1/2 inches in diameter and place two in each muffin tin side by side.
- Allow to rise about one hour more until doubled again.
- Bake at 400 for 12-15 minutes and brush melted butter over the tops when you take them out of the oven.


Cut rolled out dough into 8 pieces, balled and proofed 30 minutes. Made excellent buns!
Hi Rachel! Very excited to try this recipe. I’m wondering if there are any special instructions for high altitude? Thank you for your help!
Hi Susan, there are always changes for high altitude but I don’t know them all. I’d recommend Googling your altitude and reading up on the adjustments for your location. –Rachel
Rachel, what a treat it was to hear your sweet southern accent and your positive, sunny reflections about cooking on YouTube. I think I could settle in for the afternoon and get to know you a bit more. I’m from Kentucky, so probably a little north of you, but still southern. My accent is also recognizable as being southern. Growing up, our family’s favorite holiday food was my grandmother’s yeast pocketbook rolls. So light and warm and fluffy! As a matter of fact, my own daughter used the rolls as the topic for an English writing assignment in a college class. Now that I have grandchildren I wanted to pass on this tasty epicurean delight, but, alas dairy allergies have put a damper on sharing with them. Your recipe, however, has no milk or butter in the base recipe. A couple of years ago I used it and employed my 2 year old grandson in helping to roll out the balls for the pan. So sweet to share that with him.I have three more grandchildren now and hope to create similar memories with them. I guess I’m resigned to be the “cooking grandma” now. That’s a good thing, right? I would send a picture from that day if I knew how.
Oh thank you Elaine! I think food should evoke those good memories and I’m so glad you are allowing it to do that for your family. All the best to you this holiday season. –Rachel
Question: your recipe says “all purpose flour” but I saw in your video a bag of bread flour and I also saw you suggest making sure one is using bread flour. Can you clarify this for me? I have always wondered what the difference is and which works best for what. I suppose bread flour would work best for bread, as the name implies and all purpose would work for other types of bakes goods like cookies and brownies?
Great question Kaley. The answer is that both types of flour will work fine. However, even though this recipe was passed to me using all purpose flour, over the years I’ve found I like the lightness of bread flour so that’s why you saw me use it in the video. Bread flour has a higher gluten content so it holds air better and maintains a bit better structure than all purpose but both make great tasting loaves. I just think the all purpose is a tiny bit heavier. –Rachel
Can you freeze this dough?
Yes you can Heather. I do it after I shape the dough and before their second rise. Then they can be brought out frozen and covered with greased plastic wrap to rise. It might take 4-6 hours to do so plan ahead, but it’s easy. They also freeze well once baked. –Rachel
Hi Feast and Farm! ……. Can your bread recipes be mixed in a bread machine on a dough cycle and then panned and baked? I ask because arthritis has taken the use of my hands away but I still love to cook and bake but have to find workarounds to do it.
Barbara unfortunately I have never used a bread machine nor tested any of my recipes in one. I say try it and don’t let your hands keep you from what you love. I’d say it will work just fine. Report back and let me know.–Rachel
@BarbaraB, I’ve only made this recipe using a bread machine to make the dough. I let it rise in the machine for an hour, punch it down, pull it out, and cut it into equal pieces. I fill a big cookie sheet with them, brush them with butter, sprinkle salt, and put them into the oven.
If the recipe calls for I package active dry yeast how much instant yeast do I use in place of the active dry yeast?
Thank you!
You can use the same amount Barbara. Instant yeast requires no activation (you just toss it in with the flour) but if you aren’t an experienced baker, I always recommend just following the directions and treating it just like active dry. Put it in water and let it activate first before using. –Rachel
Hello from the UK. I have found out that a ‘cup’ is 125g but I’m a little unsure on the tablespoon (a tablespoon here is enormous!) I’m thinking that the amount in your special spoon is about the same as what we would use to eat our breakfast cereal? (we call a dessert spoon) – is that close? Many thanks and looking forward to having a go at bread next week!
Naomi I broke the recipe down in to grams in this recipe (it’s the same one just in a loaf version) https://feastandfarm.com/soft-amish-white-bread/ You can check the grams here then just make them in to rolls. –Rachel
Went through many recipes looking for really light and fluffy rolls until I found this! Have made it many times and love it. But I had a question, if I wanted to make this even ligther and fluffier what could I do?
Hey Gilly, Well, let’s see…I think the first thing is to make sure you’re using bread flour. That makes a huge difference in lightness. Also avoid adding extra flour during kneading and don’t over work your dough. All of those things help. Adding too much flour during kneading is a very common cause of heavy bread. –Rachel
So excited about these! Silly question, do we use salted or unsalted butter on the tops when they come out of the oven?
I only use salted butter Claire. That’s all I keep in my kitchen. I hope you love them! –Rachel