Easy Baked Cheese Crisps
Baked cheese crisps are the perfect way to save money on those expensive boxed versions at the store and cut down on extra additives you don’t need. Low carb and perfectly crispy, they meet your potato chip craving and get you satisfied with just a few bites.
Jump to Recipe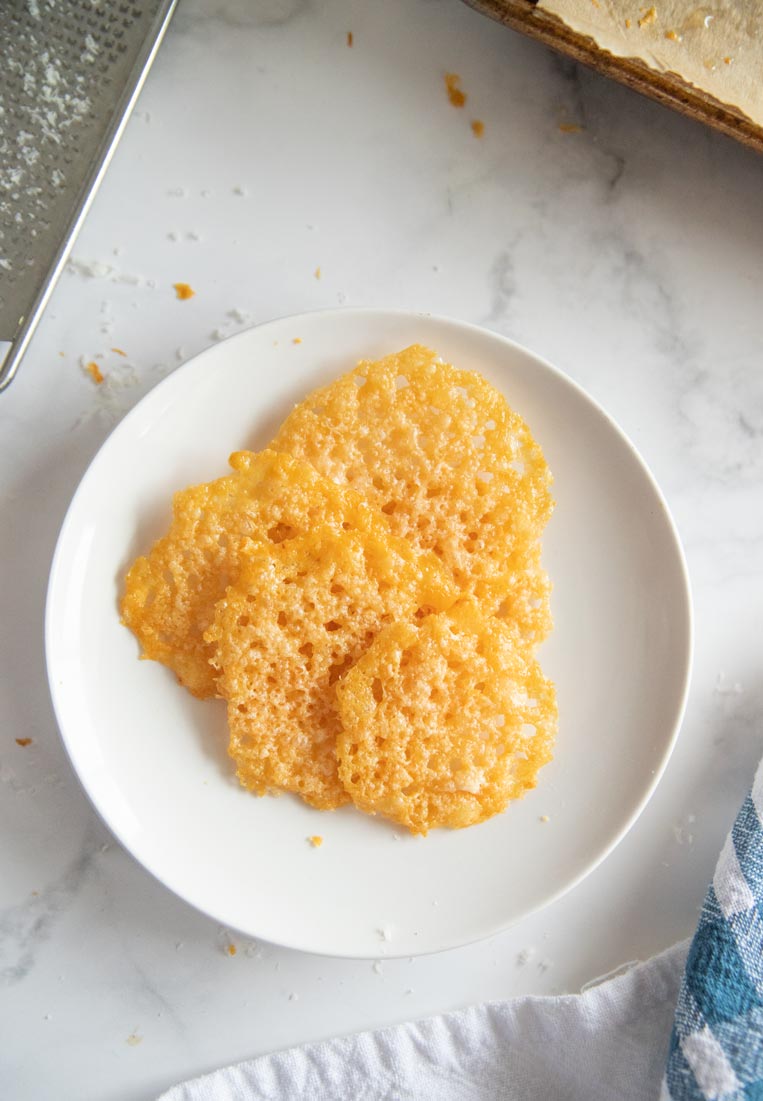
The key to feeling full and helping your body run efficiently is to keep your refined carbs in check. You’ll feel better, think more clearly and have more sustained energy when you choose good fats and protein instead of refined white flour foods like muffins, breads and cereal.
Or in the carb case we’re tackling with this recipe: Potato chips.
Fried in refined inflammatory oils, racking up your daily intake of PUFA’s (polyunsaturated fatty acids) and empty carbohydrates is easy to do with a bag of Lay’s.
But you’re craving that salty crunch. Time to make your own cheese crisps!
The healthy fat will satisfy you fast and you’ll get a salty hit from the cheese that kicks cravings. I can usually only eat two or three of these at a time and I’m good to go.
Are cheese crisps healthy?
They can be if you choose the right cheese for them. In this case, the recipe calls for only 1 ingredient: finely grated parmesan cheese. Make sure you choose real, aged parmesan and don’t use any powdered canned stuff with fillers and anti caking agents.
You can also opt for any hard aged cheese you like. Just don’t use a block of Kraft or pre shredded cheese in a bag. The moisture content is too high and they won’t turn out right. Bagged cheese is also covered in cellulose which will inhibit melting.
I also recommend looking for a grass fed cheese which is higher in beta carotene and omega-3 fatty acids. Organic valley and Aldi both sell nice varieties of grass fed cheddars.
How to make cheese crisps in 15 minutes or less
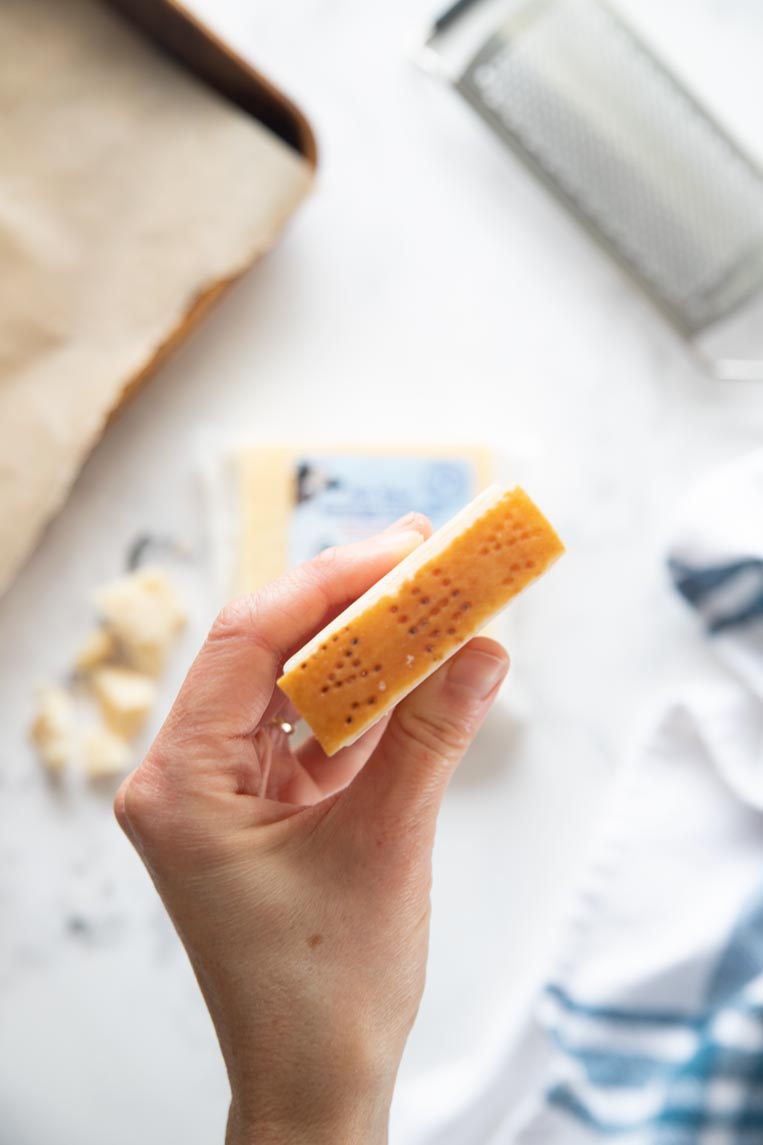
Step 1: Start with the proper cheese. Get a block of real parmesan or a hard aged cheddar for best results. Look for the stamped rind on your parmesan to know if it’s real.
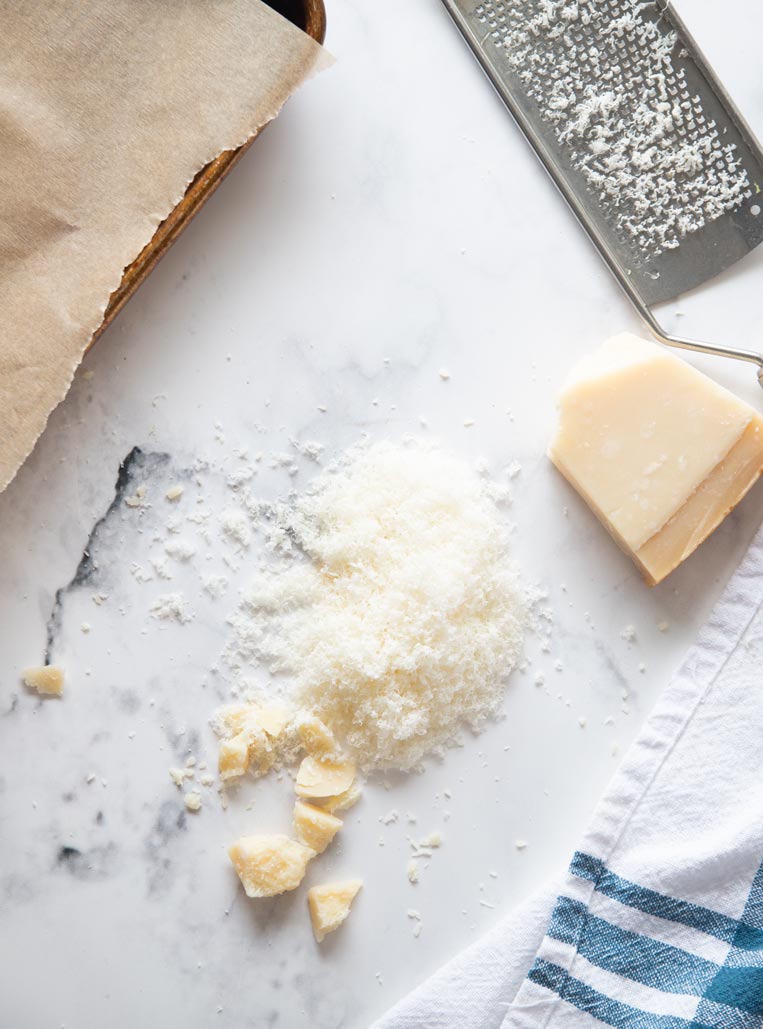
Step 2: Grate the cheese with fine grater so you get pillowy piles of cheese. Larger shreds will also work, you may just have to adjust your cooking time. I’m using a Microplane grater here. I love this thing for all sorts of kitchen tasks!
Step 3: Place 2 tablespoon piles of cheese on a rimmed, parchment paper lined tray. I don’t recommend foil for this. Your cheese could stick. Use your hands to brush any loose pieces back toward the main pile of cheese.
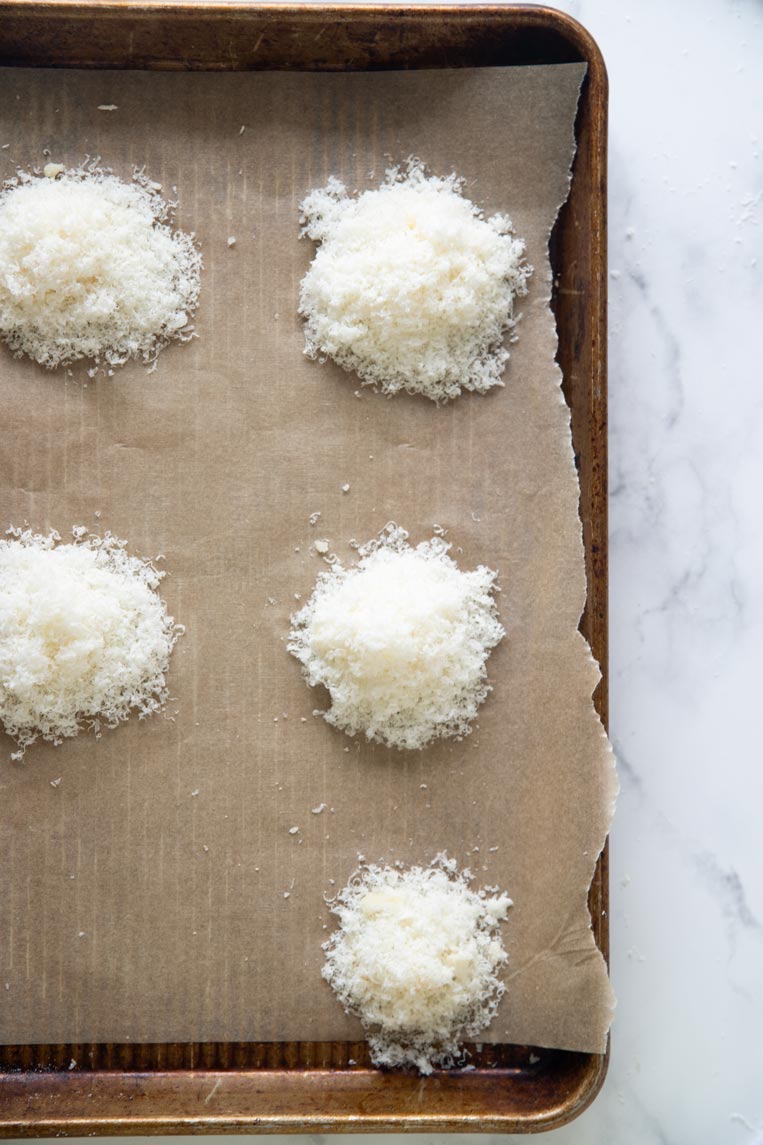
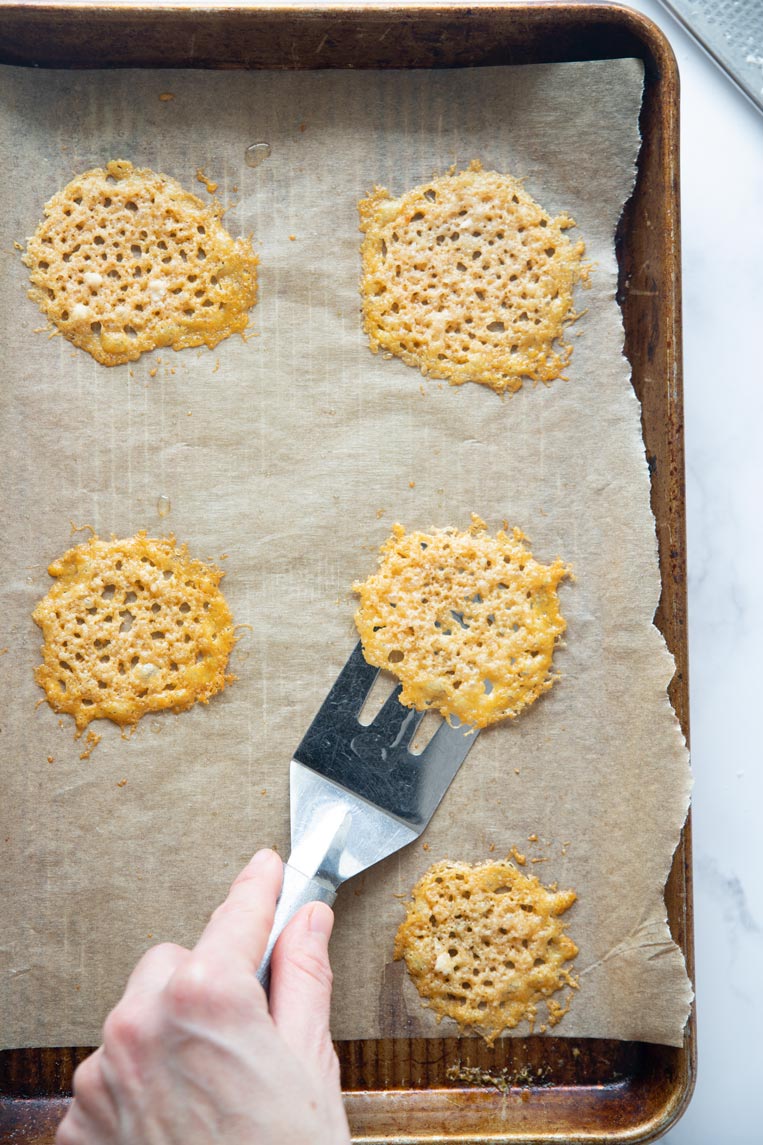
Step 4: Bake at 400 for about 7 minutes turning the pan once during cooking and checking them closely every minute or two. Remove them from the oven when they are evenly golden brown. They’ll be too hot to move at first so let them cool and firm for about 5 minutes before transferring them to a paper towel lined plate to cool completely.
Why are my cheese crisps soggy?
You didn’t bake them long enough or hot enough. All ovens vary in temperature as much as 50 degrees hotter or cooler than what is set on the dial. You’ll need to adjust for those differences.
Cheese crisps bake in about 7 minutes in a 400 degree oven. Make sure they are evenly brown all over and give them a turn halfway through cooking for even heat. If the center doesn’t get as brown as the edges they’ll be soggy in the center when they cool.
What cheeses work best for crisps?
I like firm cheeses that are drier, aged, or “mature”. Cheddars, parmesan, or gruyere would all be excellent choices.
Do these crisps need to be refrigerated?
Technically real parmesan cheese is shelf stable from the aging process and doesn’t need refrigeration. You can leave cheese crisps made with real parmesan in an air tight container on the counter and they’d be fine. If it makes you feel better to chill them, you can do that too.
How long will cheese crisps stay crispy?
Two to three days at the most. They may soften faster if refrigerated. They are really a snack you need to make fresh batches of often. Thankfully they are really fast and easy so you can do that even if you’re busy!

Can flavors be added to crisps?
Absolutely! Just make sure you are using dried herbs and spices and not fresh–they’ll burn. Avoid adding any sort of vegetable that might leak water into your cheese crisps like mushrooms or fresh peppers. If you want to add these, sautee them first to release their liquid and dry them thoroughly before adding or consider using a freeze dried variety. Then try these ideas:
- Garlic powder
- Italian seasoning
- Everything bagel seasoning
- Red pepper flakes
- Dried jalapeno pepper pieces
- Mexican spices
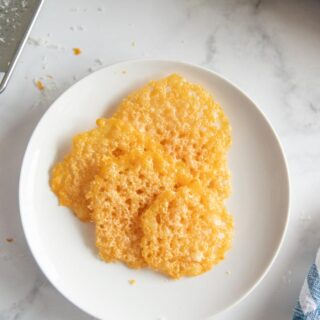
Easy Baked Cheese Crisps
Ingredients
- 1 cup parmesan cheese finely grated
Instructions
- Preheat the oven to 400. Adjust a rack to the center.
- Line a rimmed baking tray with parchment paper.
- Pile 2 tablespoons of grated cheese on to the tray, leaving about 2 inches between the piles. Sprinkle on any herbs or spices if using them.
- Bake about 7 minutes until evenly golden, turning the tray once during cooking. Keep your eye on them and take them out when they are evenly golden.
- Allow to cool 5 minutes on the tray then transfer them to a paper towel to cool completely. Eat right away or store in an air tight container up to three days at room temperature.





Would pecorino Romano work?
Yes Sarah that would be wonderful! –Rachel
OMG, I LOVE THESE!!! I buy them at Sam’s Club, I like theirs better than Costco. Now I can just make my own!!!
Yes you sure can! They are so easy. –Rachel