
Crispy Fried Chicken Tenders
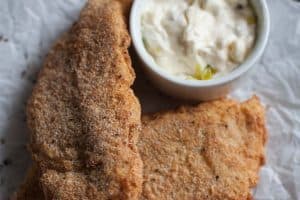
Truly crispy fried chicken tenders are a dinnertime staple you’re whole family will love. Get all my tips for making that crispy crust you crave, seasoning like a pro (and shortcuts if you don’t know how), and fry them up like “cast iron skillet” is your middle name.
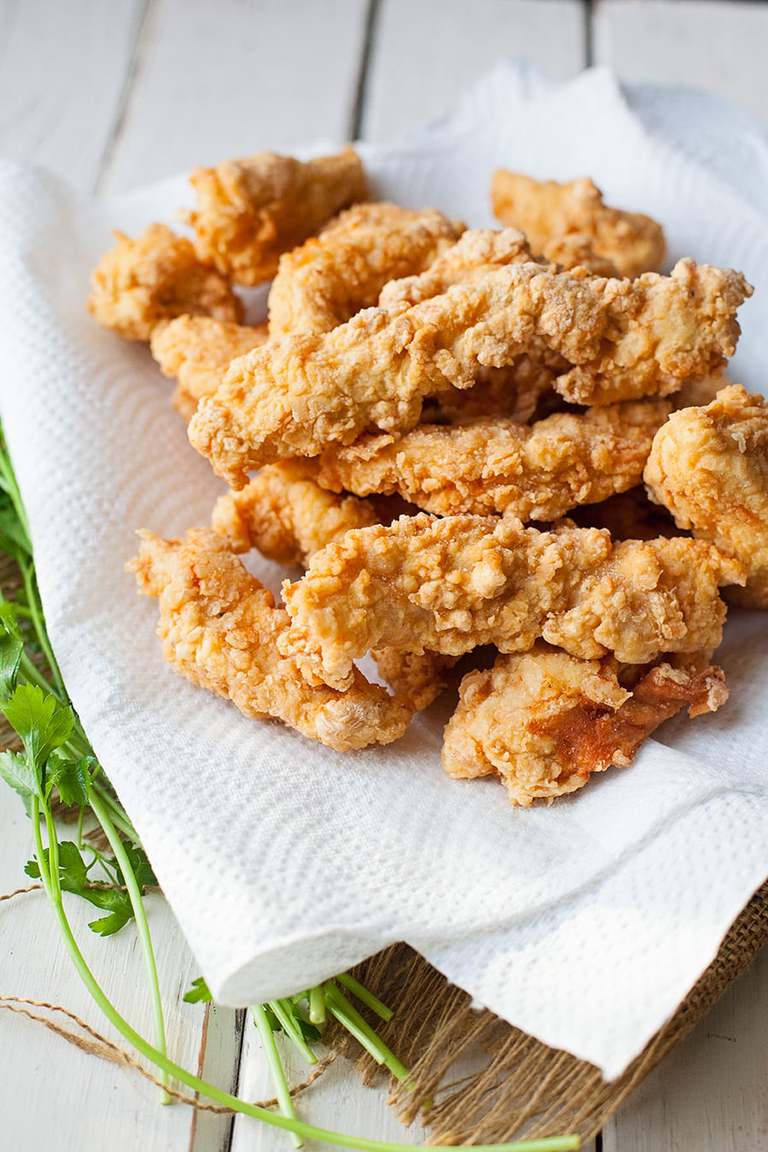

Key Points for this Recipe
- Learning to fry is tricky at first. If you want to use an electric skillet to keep the heat even, you can do that. Otherwise cast iron will give you the most even heat.
- Expect that you may get the oil too hot and burn your chicken tenders or too cool and cause the breading to fall off. This happens as you’re learning. Adjust your heat up or down as needed.
- Make sure your flour is well seasoned. You can also just season the chicken directly. You’ll need more seasoning than you think you will for the flavor to carry over to the final product.
- Consider adding garlic powder, onion powder, or other seasonings to the flour. 1-2 teaspoons should do it, or to taste.
- Press the breading on your chicken tenders very firmly and let them sit 5 minutes before frying. This helps the breading really bond with the chicken.
- I like to use chicken breasts sliced in to strips as my “tenders” instead of actual tenders because of the tough tendon that runs through them.
- Refined coconut oil is excellent for frying if you don’t want to use vegetable oil.
How to store leftover chicken tenders
Store leftovers in the fridge in an air tight container for up to three days.
Seasoning options
Try these as cajun chicken or Nashville hot versions.
How to know if chicken tenders are done
Cook your tenders to an internal temperature of 165 f, and there should be no pink inside when you cut them open. You can use a meat thermometer to check the temperature if you are unsure.
Watch me make the full recipe on YouTube
Add a skillet of cornbread and you’ll be all set! You can learn how to make cornbread here if you don’t know how or get brave and learn how to fry bone-in buttermilk fried chicken.
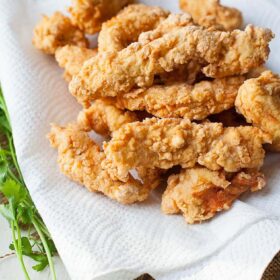
Crispy Fried Chicken Tenders
Ingredients
- 1-2 pounds chicken tenders or 2 large boneless skinless chicken breasts sliced into 1-inch thick strips
- 1 1/2 cups all purpose flour
- 3/4 teaspoon salt
- 1/2 teaspoon black pepper
- 1 egg beaten with 2 tablespoons water
- vegetable oil for frying
Instructions
- Fill a 9-inch cast iron or standard skillet with about 2 inches of oil. Start heating it over medium-high heat while you bread the chicken. (Keep an eye on it!)
- In a large bowl, mix the flour, salt and pepper.
- In another large bowl, beat the egg and water
- Dredge the chicken in the flour, coating well. Shake off excess flour and dip in the egg, the back in the flour.
- Set the chicken to the side to rest for about 5 minutes. (This helps the coating stick better)
- Check your oil temperature with a candy thermometer if necessary (you should be around 365-375 degrees) or drop in a little bit of flour–if it sizzles immediately, you can add one piece of chicken.
- If the chicken sizzles, add about 5 pieces at a time and cook until golden brown on that side–about 8 to 10 minutes or so.
- Turn, and repeat until all brown.
- Cook the rest of the chicken in batches.
- Transfer to a paper towel lined plate and sprinkle with a little more salt if needed.




Hi from UK, my very first attempt at fried chicken, I used spicy chicken flour my word my lad loved it thank you so much, this will always be my go to for fried chicken! so gorgeous x
Way to go Catherine!
I fried for the first time – but have been a self taught cook since I was 10.
28 years later… I tried to fry!!
My kids LOVED these and so did my hubby! They came out perfect!!
They said they reminded them of “Raising Canes” chicken strips!
Thanks for a great recipe
Wonderful Emily! Frying is a practiced skill for sure. I’m glad you did it! –Rachel
I tried this recipe, and I loved it. I made some of the tenders in my deep fryer, and some I baked. They were both amazing. Definitely would recommend this recipe to friends and loved ones.
@Caine A Wing, How long and at what temp did you bake them? Thank you.
Mine wasn’t crispy like I had imagined them being. They looked beautiful, but the fried coating quickly became soft.
Hey Allison, they were probably fried in oil that was a little too cold, or you piled them up on top of each other during cooling and they steamed. More likely your oil temp was just too low. Give ’em another try. 🙂
Can you substitute regular flour for gluten free flour?
Absolutely Amy. I do it all the time! –Rachel
Another trick to see if the oil is ready is to stick the end of a wooden spoon in there. It will sizzle just like a piece of chicken, but without the risk of ruining a piece of your chicken.
You won’t ruin it if you just dip in the edge, but yes the wooden spoon trick has been around a long time. –Rachel
absolutely love this recipe!! I have been so scared to make fried chicken and i finally did it and with this recipe I nailed it my first time!!! Thanks for sharing this recipe!!!
Have you tried cooking these with an air fryer?
I don’t own an air fryer Bec but other readers have done it I think with decent success. Sort through the comments and see if you don’t find some answers on that. –Rachel
Tried this recipe with my makeshift, home made deep fryer and it turned out great as far as juiciness and crispiness. I did under-season quite a bit and regretted it slightly. Had to add salt after cooked. I think someone suggested marinating the chicken and that is an interesting idea to add any spin you want. All together I rate this recipe a 5 out of 5. The seasoning is always to taste and that’s my fault. I tend to over season things and didn’t want to F this up. Wife loved it (despite the lack of seasoning on my part) and the kids were too busy dipping them in the sauce of their choice.
Thank you for the recipe, Rachel.
Milton
I have made these twice now the first time was not enough of salt and pepper. The second time I did something different. I took my chicken strips. I took a container I filled the container with 1/4 cups of water. Then I add some salt and garlic powder and a dash of white pepper. I took the chicken and placed it in the bowl with the mixture. Then I put a plastic wrap over it and I let it sit in the icebox for an hour. After that I took it out and made the flour mixture. I did put a lot more pepper a little bit more salt. I did the egg ingredients just like you said. And I did what you said flour egg flour. I did one taste test reason for that is because I already put salt and white pepper in the beginning with my water marinade. I fried it in my baby fryer I did not use an iron skillet. It came out perfect crispy and everything. I let it sit before I tried it. Then I tried it the chicken was moist and juicy the flour mixture was okay but I had to add more black pepper to it but marinating the chicken first was a lot better. I also marinate my chicken like that before I make sweet and sour chicken but not too much garlic. I always taste my marinade to make sure that it’s not too much garlic I do one teaspoon but sometimes even one teaspoon is too much. You can do whatever works for you and your family. Thanks for the recipe really do appreciate it.
First time fryer here. I loved this recipe so much! Thank you. They turned out perfect!
Way to go Pete!