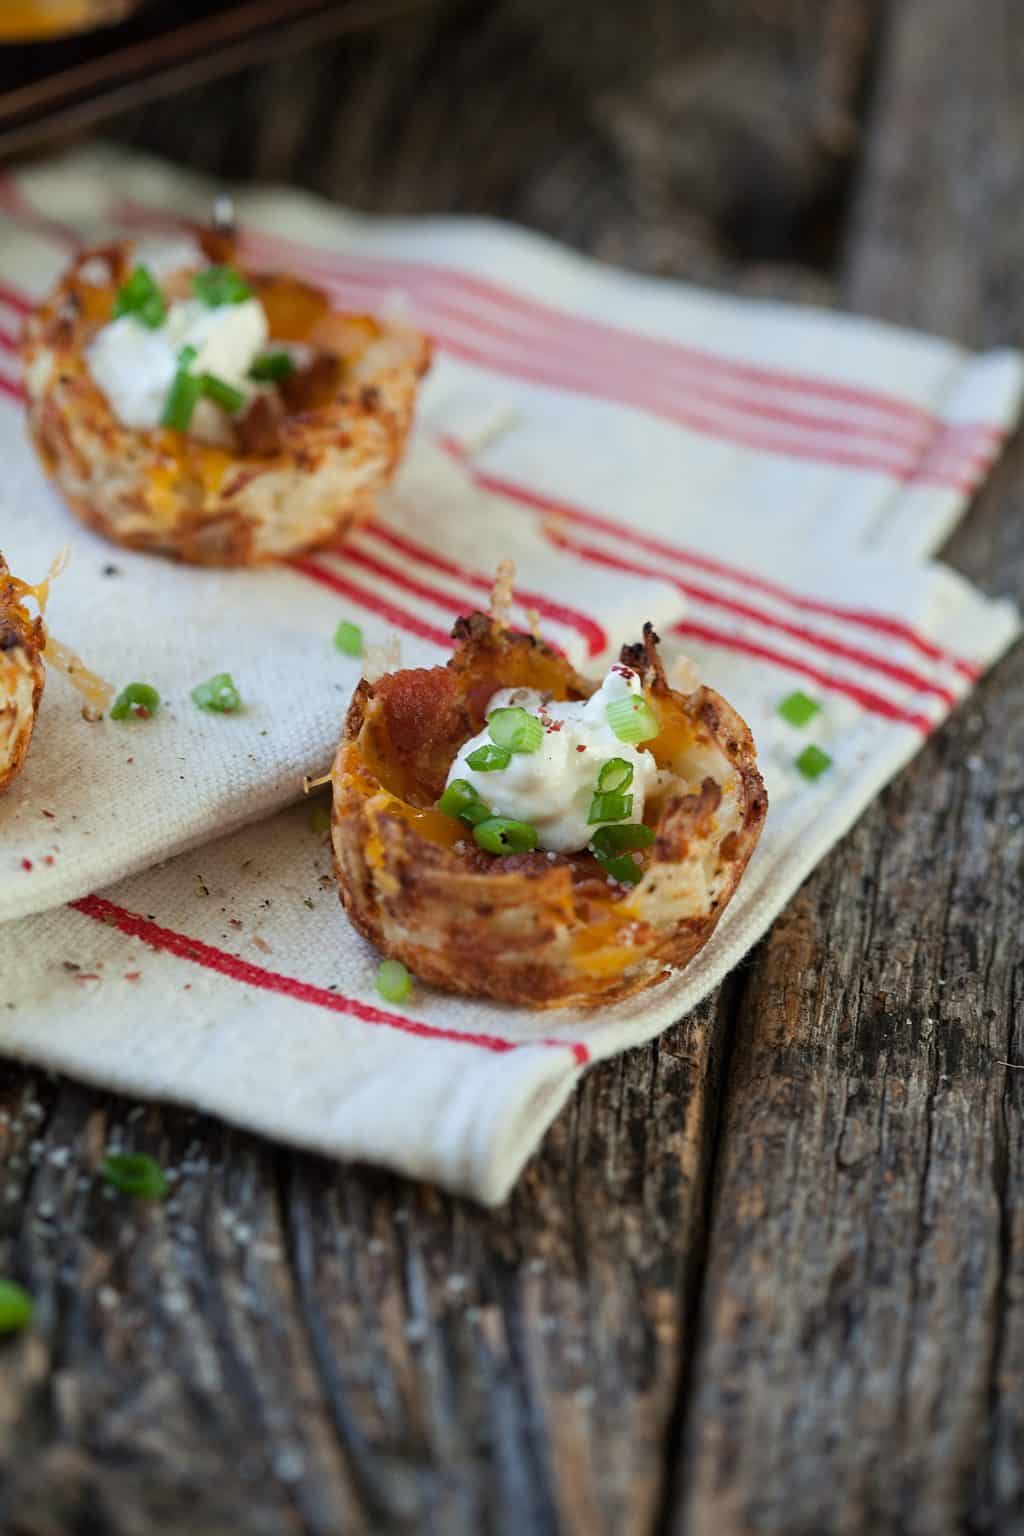
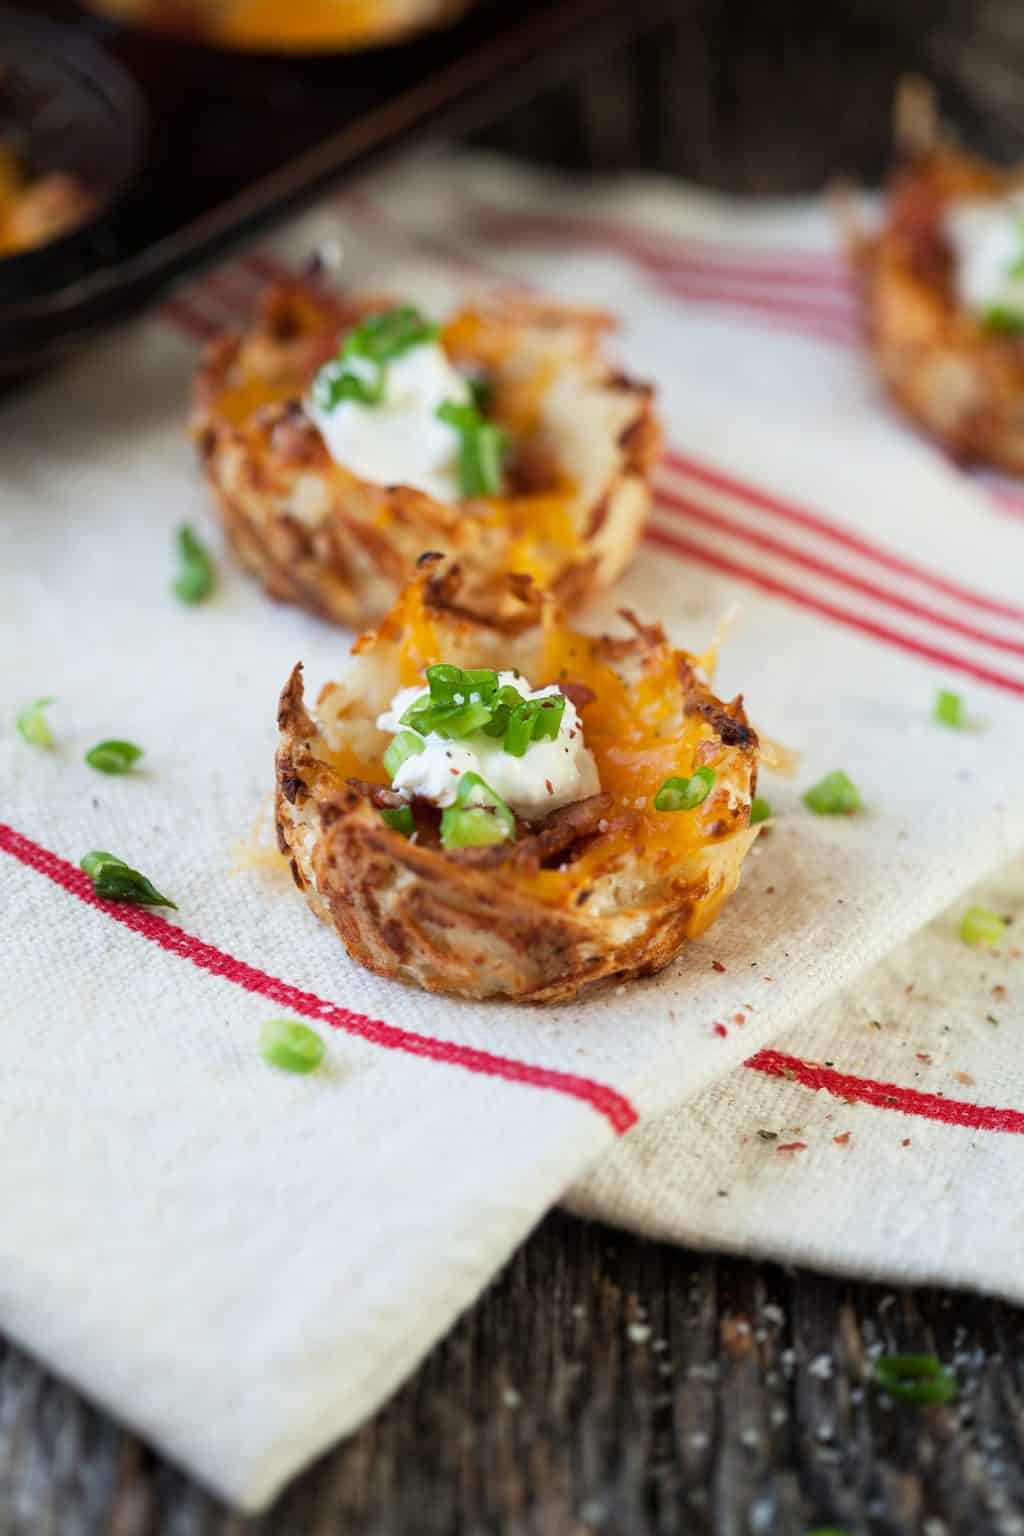
Loaded hash brown potato skins
Tired of the baking, scraping and re-baking for that crispy loaded potato skin crust? Now you can get these perfect little appetizers on your holiday or coffee table (hello football food) in a half hour or less–no crazy potato handling required.
I am telling you now that if the pot luck madness doesn’t stop around here I might lose it. I have three more to go and I’ve been to no less than 10 in the last 6 weeks. I am pot luck fried.
And dang I thought these loaded hash brown potato skins (also called nested potato skins) were genius till I looked at Pinterest and found that there are already a couple million of them floating around out there. I’ll be 1,000,001. I am not afraid. And it doesn’t change the fact that these are easy, cheap to make and doggone tasty.
I ate six of these once their little portrait session was over. I could have eaten the other six but Logan got to them first. They are that just-right appetizer you’ll want to make anytime you need a safe crowd-pleasing dish and they would even make a great game night treat or side dish at dinner with salad and a roast chicken.
They don’t have to be “just” for parties–but they’ll save your biscuits if you can’t think of anything to make!

Loaded hash brown potato skins
Ingredients
- 3 cups frozen shredded hash browns thawed
- 2 egg whites beaten
- 1/2 teaspoon onion powder
- 1/2 teaspoon garlic powder
- 1/4 teaspoon salt
- 1/4 teaspoon black pepper
- 1/2 cup shredded parmesan cheese
- 3/4 cup shredded sharp cheddar cheese
- 4 slices bacon cooked crisp and crumbled
- 1/3 cup sour cream approximately
- 1/3 cup sliced green onions or chives
Instructions
- Preheat the oven to 425.
- Grease a muffin tin well with cooking spray and set aside.
- In a medium bowl, mix the hash browns, egg whites, salt, pepper, garlic powder, onion powder and parmesan cheese.
- Place about 1/4 cup of the mixture into each muffin tin and press to spread them up the sides slightly.
- Spray liberally with cooking spray again and bake for 25-30 minutes until the outside is golden brown.
- Remove from the oven and turn on the broiler.
- Add about 1 tablespoon of cheese to each muffin tin and add a sprinkling of bacon.
- Place them back under the broiler until the cheese melts--about 3 minutes or so. Keep an eye on it!
- Remove and allow to sit in the tin 3 or 4 minutes then using a knife or offset spatula loosen the edges and remove to a rack to cool slightly.
- Top with sour cream, green onions and a sprinkling of extra salt and pepper if desired.





Even with a generous spray of non-stick spray and in a non-stick muffin pan, these stuck and I had to use a butter knife to scrape them out. RIP my non-stick muffin pan.
Ah man…not all non stick pans are made equal, that’s for sure. And non stick spray is hit or miss too sometimes! I love USA pans for truly non stick. –Rachel
Great party food!
Has anyone tried making these in mini-muffin cups? I had in mind a smaller version.
I haven’t made them in a mini version but it would work just fine Sue. You would just want to keep an eye on them and bake them for less time–maybe 15 minutes or so? You’d just have to watch them.
Advice for making ahead and freezing? Could you make the cups and freeze them and then bake from frozen at step six instead of broil? Just wondering your opinion. I need all finger apps for a 200 person wedding!! Yikes!!
That’s a tall order Marta! I would say to make them and then refrigerate them for up to 3 days and then rewarm them. I’m afraid if you freeze them you may not get the crispiness back when you reheat. I have some great appetizers here on the blog like my green onion and bacon quiche that freeze well too. You may want to check those out. Good luck with the wedding. 😉
those look delicious! I’m going to give them a shot!
They were pretty great Noel! I hope you will try them–so much easier than scraping skins and such! 🙂