How to broil skirt or flank steak
Learn how to broil skirt steak and flank steak that stays juicy and tender from oven to table and is ready in 15 minutes or less. It’s one of my secrets to really fast dinners everyone loves! Use this basic salt, pepper, and olive oil version to get yourself started, then feel free to throw in marinades, seasonings and whatever flavors you enjoy.
What is the difference between skirt steak and flank steak?
Both cuts come from the abdominal area of the cow. The skirt steak comes from the diaphragm area–but both have worked hard and can be tough if they aren’t cooked and sliced correctly. Skirt steak is cheaper than flank steak where I live and tends to be a smaller cut than the flank, but you cook both with the same technique and both have great beef flavor. You can learn more about the differences between skirt steak and flank steak here.
Can I marinate skirt steak or flank steak overnight?
Yes. Thankfully these tougher cuts can hold up to marinating very well. Throw it in anything you’d like and let it sit covered in the fridge–it will probably help tenderize the meat even more.
How to cook skirt steak or flank steak
Both skirt steak and flank steak beg for high heat and searing for a short amount of time. Leaving the inside a bit rare will help ensure tenderness and flavor. That’s why broiling or grilling are such great techniques to use for these cuts. Remember skirt steak is thinner than flank steak and will take significantly less time to cook.
How to broil skirt or flank steak
- Open the package and unfold it. Take it out of the package and unfold it so it’s one layer. You’ll also notice that it has one side that has more fat on it than the other. Position this side up so we can get ready to remove some of that.
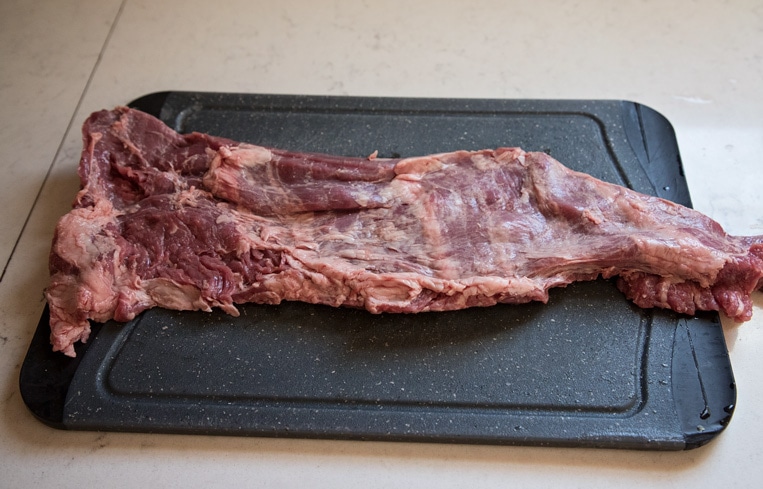
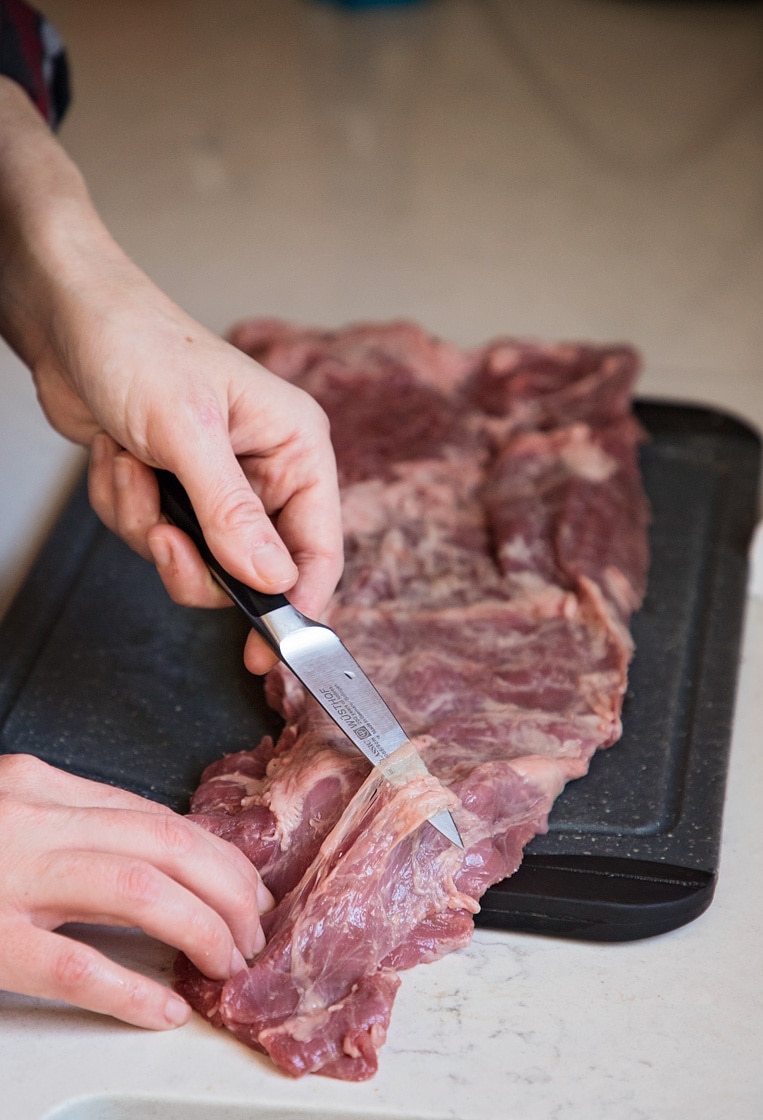
2. Remove the connective tissue on one end. Starting at one end, loosen the thin, almost blueish white connective tissue that covers the steak. You only need to loosen a bit of it so you can grab on to it and pull it away.
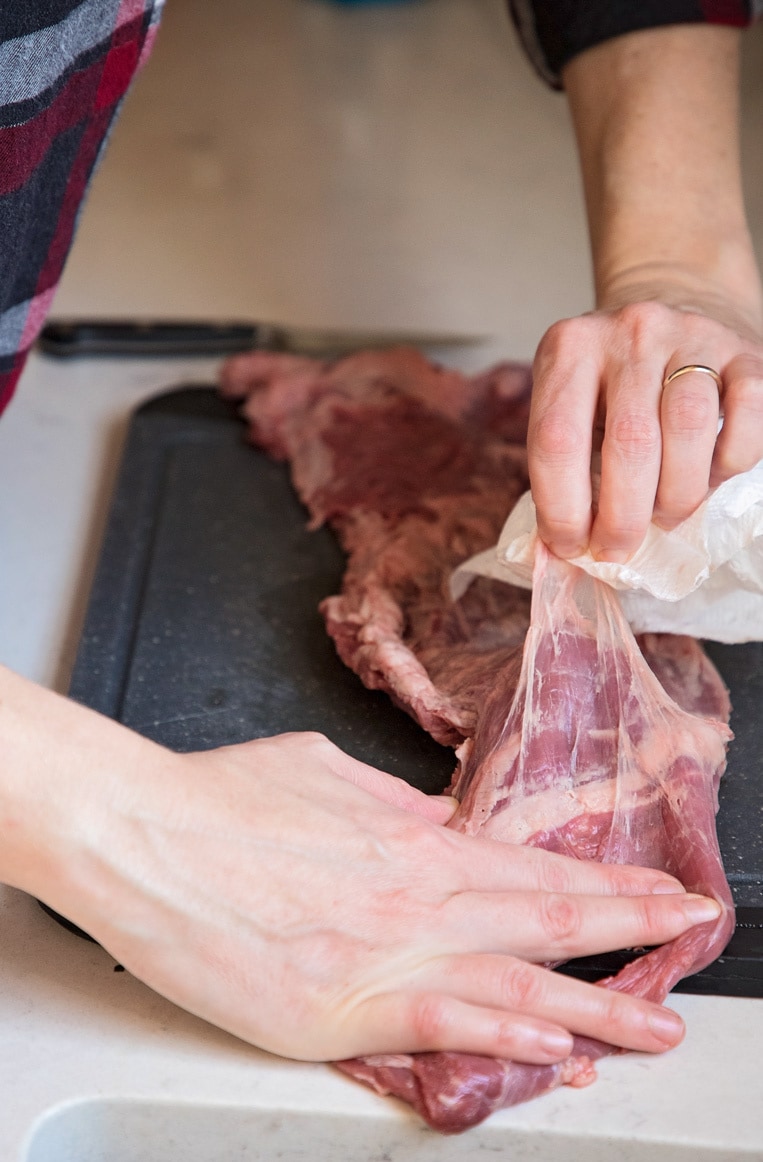
3. Use a paper towel to peel away most of the tissue. Grab the loosened connective tissue and pull back toward yourself while holding the steak down with the other hand. You may need to repeat this process a time or two before you get the majority of the tissue off. Use your knife to loosen any stubborn spots and cut away any big bits of fat. You won’t get it all off–that’s okay. Just get what you can.
4. Line a baking tray with aluminum foil and lay your steak on. If your steak is very long, you may need to cut it in half. Drizzle both sides with regular olive oil, vegetable oil or avocado oil–something that won’t smoke like crazy in the oven. Maybe a tablespoon total for the whole thing.
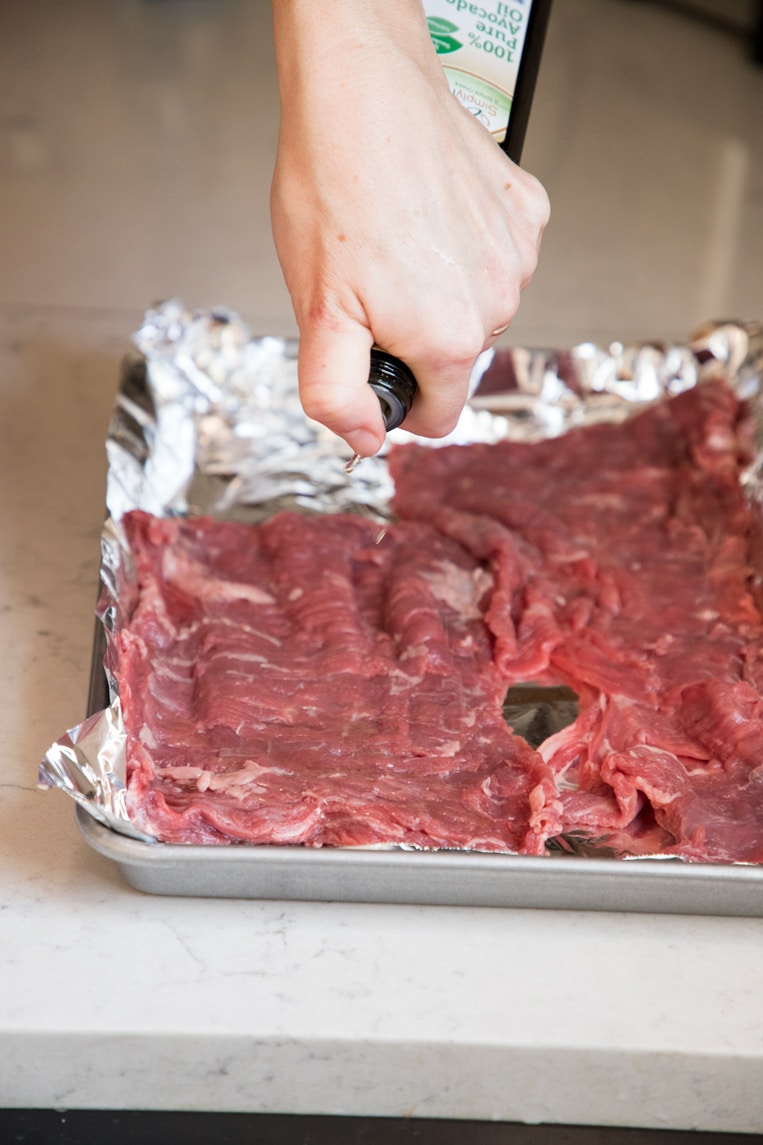
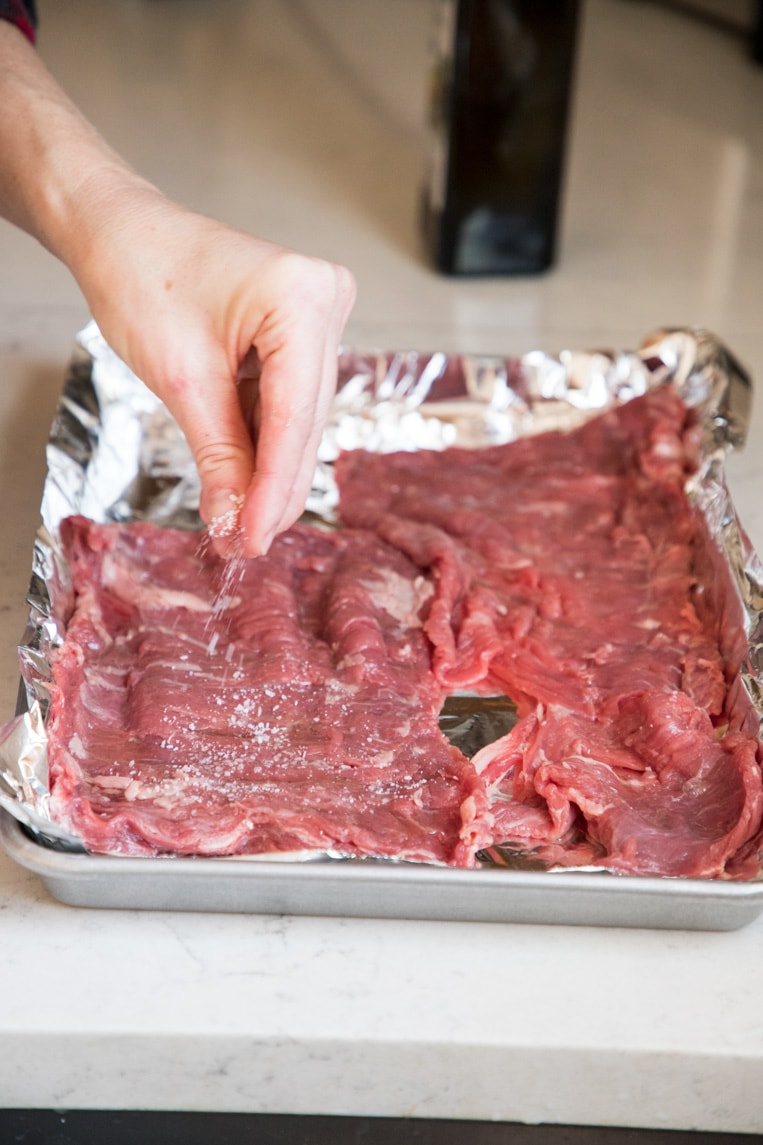
5. Sprinkle both sides with salt and pepper. Make sure to get all of the surfaces well. How much salt you’ll need will really depend on the size of your steak, but a teaspoon to a teaspoon and a half of kosher salt is plenty. If you are using regular table salt, use 3/4 of a teaspoon for the whole steak.
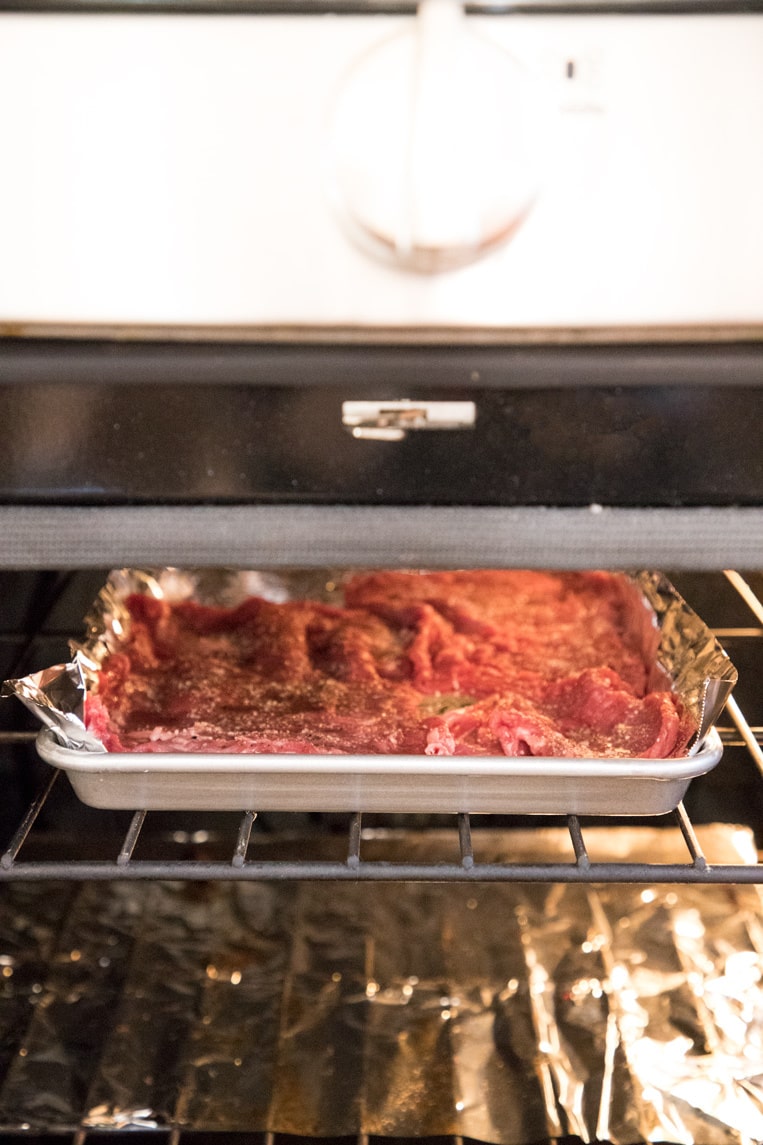
6. Broil it hot and fast. Most broilers only have off and on. But if yours has a high and low setting, go with the highest one you have and get the oven rack as close to the top of the stove or near your element as you can. You want this steak to cook hot and fast. Broil one side for about 4 minutes, flip it and broil 3 more or so or to desired doneness.
Flank steaks can be up to an inch thick, so you may need to broil it longer if you want it more well done. Use a meat thermometer if you aren’t sure and try to avoid cutting in to your hot steak to check the center. All the juices will leak out.
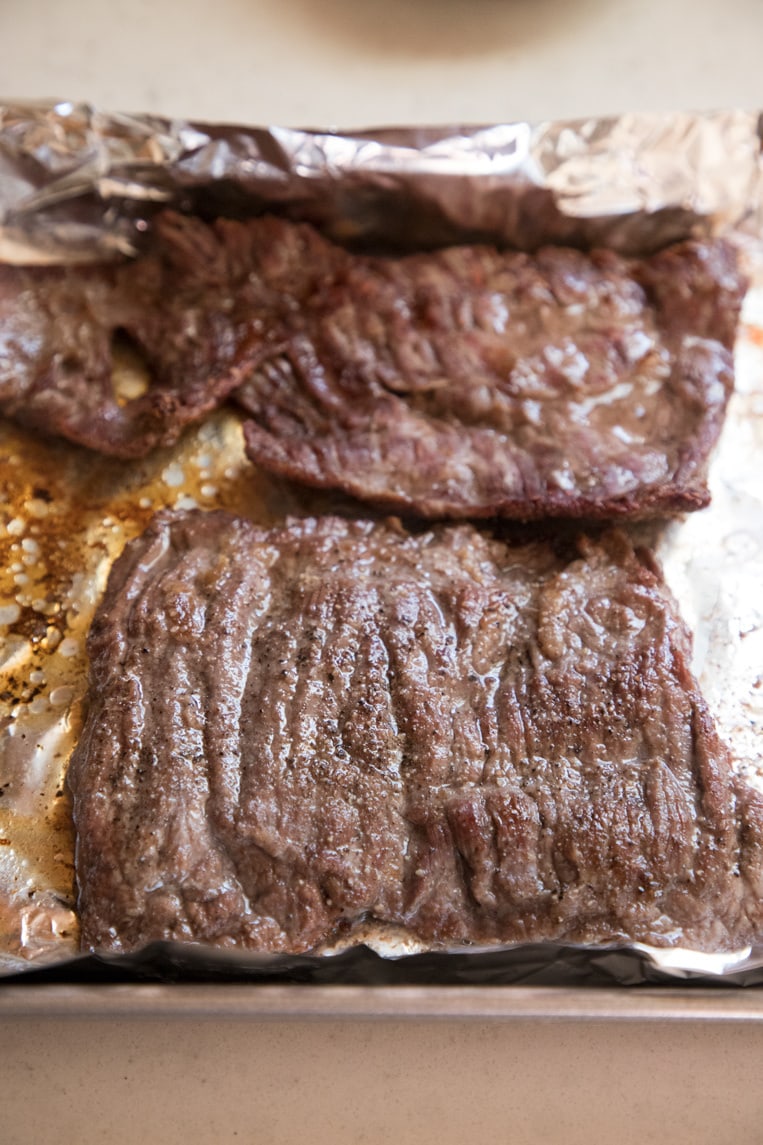
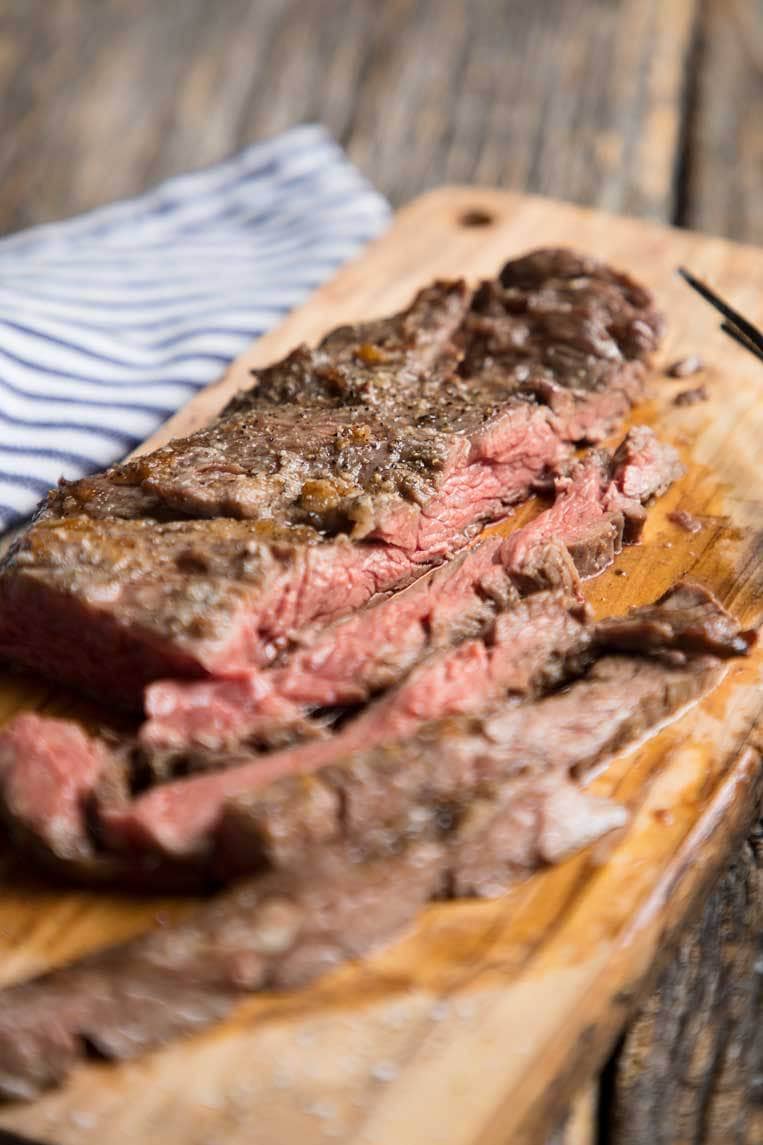
7. Let the steak rest for 10 minutes. If you cut in to it too soon, all the juices will leak out and you’ll have a piece of tough rubber on your hands.
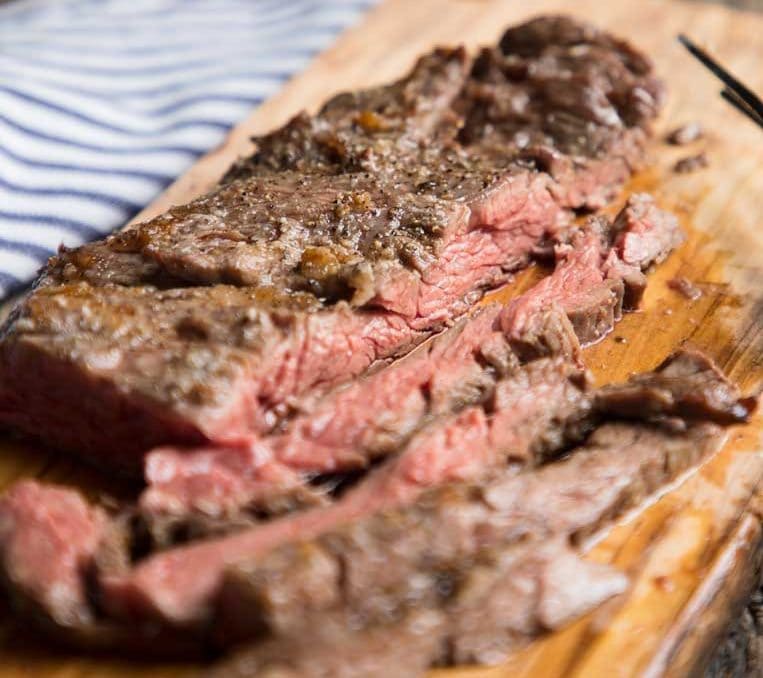
This is a good time to pay attention to the grain of your steak. Take a look at which way the lines are running. In this picture you can see that they run up and down. You’ll want to cut against the grain, or left to right to ensure your meat is tender and easy to eat.
8. Slice your steak in to thin strips. Depending on how you will eat your broiled skirt or flank steak will depend on how thickly you cut it. Thinner pieces will always be better for fajitas, or our favorite–steak salads.
Watch me make this skirt steak:
How to broil skirt or flank steak
Ingredients
- 1 1-2 pound skirt or flank steak
- 1 tablespoon olive, vegetable or avocado oil
- 1 teaspoon kosher salt
- 1/2 teaspoon black pepper
Instructions
- Preheat the broiler on high. Move an oven rack as close to the broiler as possible.
- Remove the connective tissue and extra fat from one side of your steak using a knife and a paper towel. It’s okay if you don’t get it all off. Just get what you can.
- Transfer the steak to a foil-lined rimmed baking sheet. Cut the steak in half to make it fit if necessary.
- Drizzle over the oil and spread it around on both sides. Sprinkle evenly with salt and pepper.
- Place under the broiler (keep an eye on it!) and broil on the first side about 4 minutes depending on thickness of your steak. Skirt steaks will need much less time than a flank steak will. Turn the steaks over and broil 3 to 4 more minutes or use a meat thermometer to check the temperature and remove your steaks at your desired level of doneness.
- Allow your steaks to rest, lightly covered with foil for 10 minutes before slicing.
- Cut steaks against the grain–so across the lines of the meat–to ensure that each slice is tender.





Do you think pre-heating oven a few minutes with your broiler before you put steak in is important? I hear different things on this.
Hey Lisa, If you have an electric broiler you can certainly pre heat it. I have gas and once it’s on, it’s just on and I don’t need to preheat. –Rachel
First time making skirt steak.
Quick & easy!
This looks great, going to try it tonight. Is there a sauce you would recommend.
Hi Dave, I love blue cheese dressing on my steak or a great balsamic vinaigrette.
The recipe is ok…but using salt or acids with aluminum foil is a BIG no no ! Salt reacts with aluminum and you end up getting it in your food. Same for aluminum pots and pans. Leave out he aluminum, Rookie 😉
Hey Gary, yes I’ve given up all foil so no worries there. I’ll go in and make an addendum on this post. 😉 –Rachel
We made this and it was perfect! If we were to grill the steak next time, how long would you grill on each side?
It depends on the heat level. I’m a charcoal user and not a gas griller, but medium high heat should allow you to cook yours for the same time as the oven broiler. Use a meat thermometer to monitor the temperature if you feel more comfortable with that. –Rachel
Very well written. This works well and tasted amazing. Thanks for posting.
You’re welcome Rick. Glad you liked it.